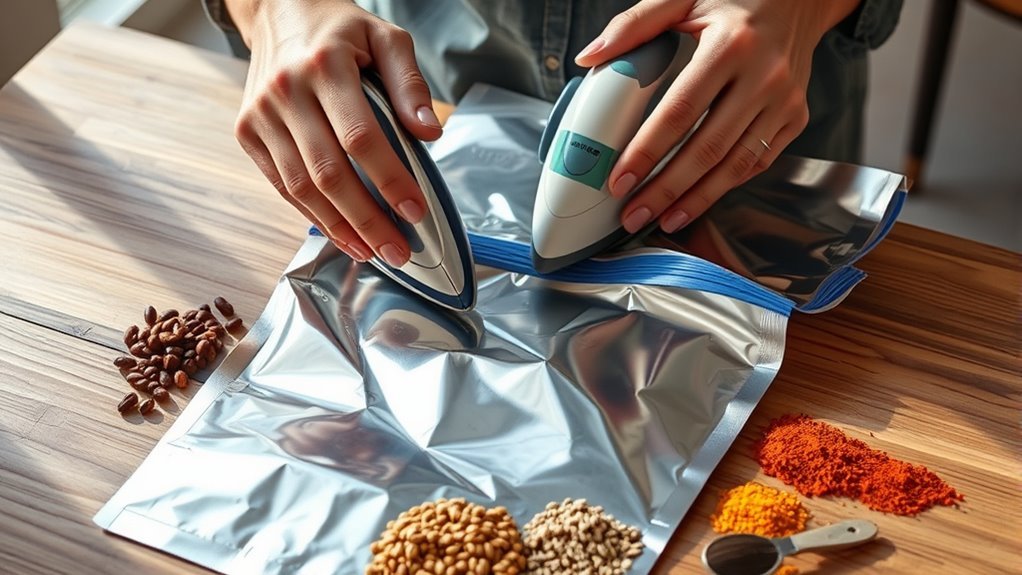
How Do I Seal Mylar Food Storage Bags in 5 Easy Steps?
To seal Mylar food storage bags in five easy steps, start by gathering your bags, oxygen absorbers, heat sealer or iron, and a clean surface. These materials are essential for keeping your food fresh and protected.
Next, fill the bag with dry food, leaving some space at the top. This extra space helps when sealing and ensures the bag isn’t overfilled.
Add an oxygen absorber to remove any air inside and press out the excess air gently. This step is key to preserving your food for longer.
Then, seal the top edge firmly using your heat sealer or iron. Make sure the seal is tight to prevent air from getting in.
Finally, test the seal for leaks by gently pressing the bag and checking for any air escaping. Don’t forget to label the bag with the contents and date for easy storage.
Keep going to discover useful tips for perfect seals every time!
Key Takeaways
- Fill the Mylar bag about one-third full with dry food. Make sure to leave 4-6 inches of headspace at the top.
- Next, insert an oxygen absorber on top of the food. Then, remove any excess air by pressing down or using a vacuum.
- Now, fold the bag’s top edge neatly. Set your heat sealer or iron to medium-high heat and be sure not to use steam.
- Seal the bag’s top edge firmly for 5-10 seconds per pass. You might need to repeat this step to get a strong, airtight seal.
- Finally, test the seal by gently tugging or dunking the bag in water. Once sealed, label your bag and store it in a cool, dry place.
Gather Your Supplies and Tools
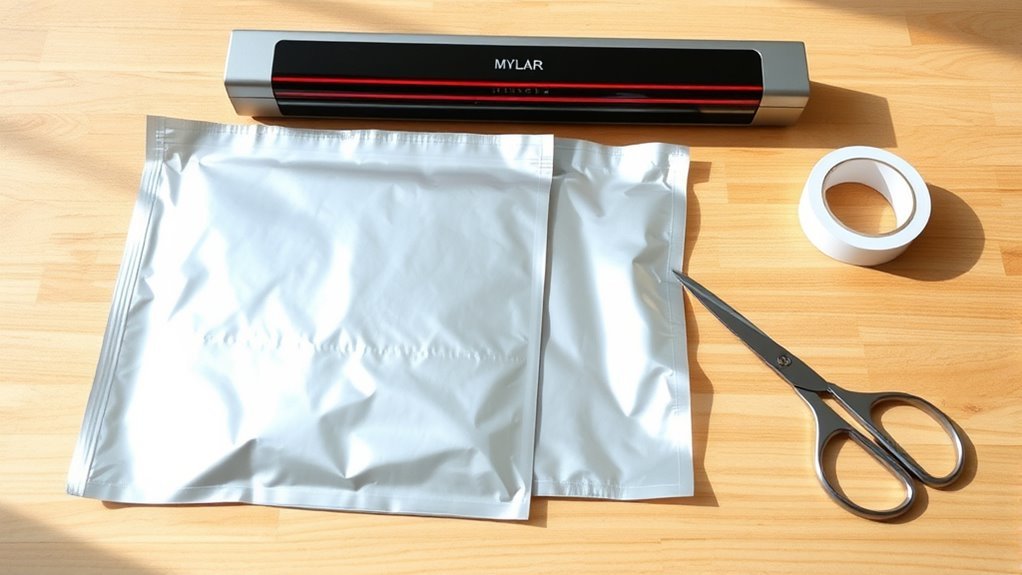
Before sealing your Mylar bags, make sure you gather all the necessary supplies and tools to guarantee a strong, airtight seal. Use food-grade Mylar bags with a thickness between 3.5 to 7 mil for durability and excellent barrier protection.
You’ll also need oxygen absorbers sized to match your bag volume—typically 2000cc for gallon-sized bags. For sealing, have a heat sealer or impulse sealer with adjustable temperature and dwell time to ensure consistent, effective seals.
Prepare a clean, flat surface or sealing station to work on. Keep scissors handy for trimming excess Mylar after sealing, a marker for labeling, and a digital scale if you need precise measurements.
Gathering these supplies upfront sets you up for successful Mylar sealing and long-lasting food storage. It really makes the whole process smoother and more reliable.
Prepare the Food and Mylar Bag
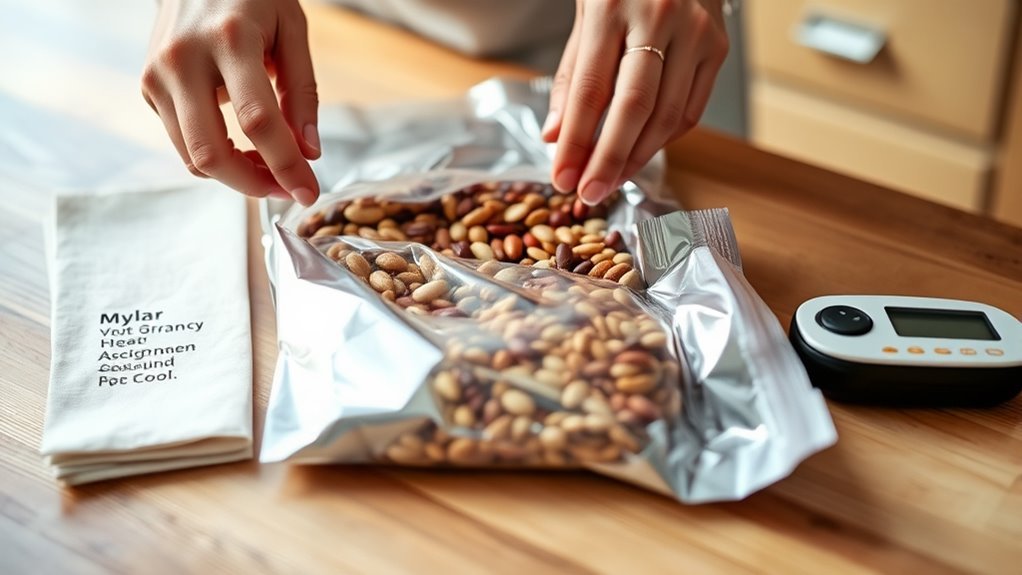
Once you’ve gathered all your supplies, focus on preparing the food and Mylar bag properly. Make sure the food is completely dry to prevent spoilage and moisture buildup inside the bag.
Lay the bag flat on a clean, dry surface and carefully align the edges for a smooth seal. Remember to fill the bag about one-third full and leave 4-6 inches of headspace at the top to allow space for sealing.
- Ensure food is dry and clean
- Fill bag one-third full
- Leave 4-6 inches of headspace
- Lay bag flat on a dry surface
- Align bag edges evenly before sealing
Following these steps will help you achieve a strong, airtight seal while protecting your food’s freshness. It’s pretty simple once you get the hang of it!
Insert Oxygen Absorbers and Remove Excess Air
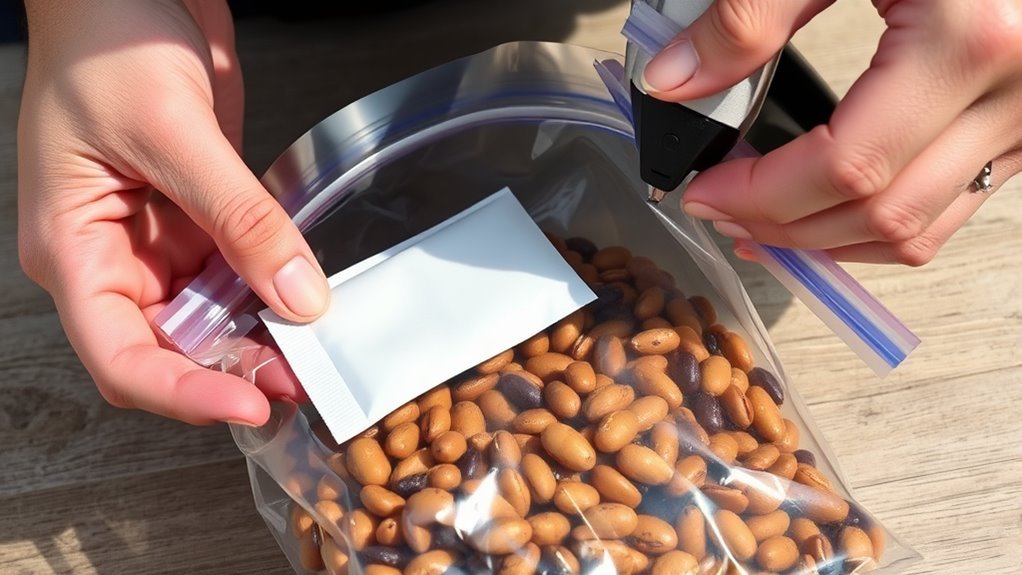
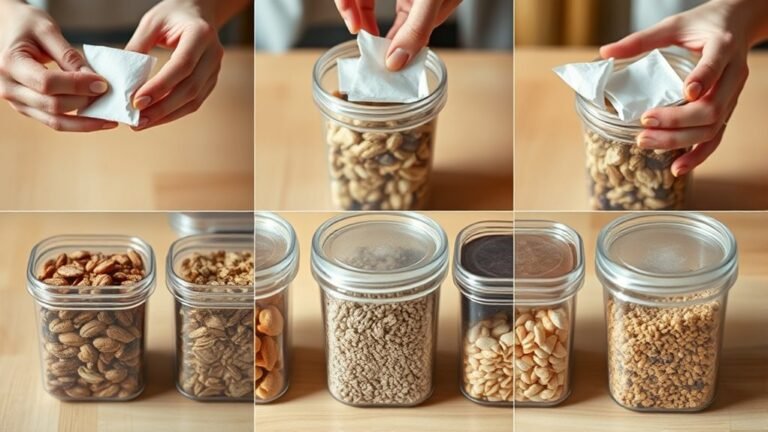
After filling your Mylar bag, place the appropriate oxygen absorber directly on top of the food to prevent spoilage. This small packet absorbs remaining oxygen, extending your food’s shelf life.
Next, carefully remove air by pressing down on the bag or using a vacuum if available. Removing air reduces oxygen levels and helps create an airtight seal later.
Leave about 4-6 inches of space at the top to seal the bag properly. Be sure to remove as much excess air as possible before sealing to minimize oxygen exposure inside.
Once you’ve inserted the oxygen absorber and removed air, you’re ready to proceed with sealing the Mylar bag securely to maintain freshness and prevent contamination.
Seal the Mylar Bag Using Heat or Sealing Equipment
Although sealing Mylar bags requires some care, you can easily create an airtight closure using either a clothes iron or an impulse sealer. Both methods rely on applying consistent heat to fuse the bag’s edges, ensuring your food stays fresh.
Sealing Mylar bags is simple with heat from a clothes iron or impulse sealer for airtight freshness.
To seal the Mylar bag effectively, follow these steps:
Fold the top edge neatly and place the bag on a flat, heat-resistant surface. Set your clothes iron to wool or medium-high heat without steam.
Press the iron firmly along the edge for 5-10 seconds per pass. For impulse sealers, adjust to the recommended dwell time and temperature before sealing.
Consider a second narrow pass after the initial seal cools to strengthen the airtight seal. This careful use of heat guarantees a reliable seal every time.
Test the Seal and Label for Storage
To guarantee your Mylar bag is properly sealed, dunk it in water and watch for bubbles that signal leaks, or gently tug the seal to confirm it holds firm. This airtight check is essential, especially for long-term storage, to ensure your food stays fresh and protected.
Once you confirm the seal is secure, label the bag clearly with the product name, weight, and sealing date using waterproof markers or labels. Proper labeling helps you track freshness and manage your food rotation efficiently.
Finally, store your labeled Mylar bags in a cool, dark, and dry place to maintain the seal’s integrity and extend the shelf life of your stored food. This simple routine keeps your food safe and easy to identify.
Frequently Asked Questions
What Is the Best Way to Seal Mylar Bags?
The best way to seal Mylar bags is by using an impulse sealer set to the right temperature and time. You’ll get a strong, airtight seal that keeps your food fresh for the long haul.
It’s pretty simple once you get the hang of it. Just make sure you don’t overheat the bag, or it might melt. And if you don’t have an impulse sealer, a household iron or a heat sealer can work in a pinch, but impulse sealers are definitely the easiest and most reliable option.
Can I Use a Hair Straightener to Seal Mylar Bags?
You can absolutely use a hair straightener to seal Mylar bags—it’s like giving your food a warm hug. Just clamp the edges tight for several seconds.
Then let it cool to lock in freshness perfectly. It’s a quick and handy trick when you don’t have a traditional heat sealer around.
Can You Use a Regular Vacuum Sealer to Seal Mylar Bags?
You can’t reliably use a regular vacuum sealer to seal Mylar bags because they’re thicker and need heat sealing.
Instead, use a heat sealer or a vacuum sealer with a Mylar-specific attachment for airtight seals.
That way, you make sure the bags are properly sealed and your items stay fresh.
Do Mylar Bags Have to Be Heat Sealed?
No, you can’t just rely on fairy dust—Mylar bags do have to be heat sealed to keep your food fresh.
Don’t trust zippers alone; heat sealing locks out air and moisture like a pro bodyguard.
Conclusion
Now that you’ve mastered sealing Mylar bags, you’re basically a food preservation superhero! With just a few simple steps, you can lock in freshness and protect your food from spoilage like a pro.
Remember, the key is in the seal—tight and secure keeps your food safe for years. So go ahead, seal those bags confidently, and enjoy peace of mind knowing your supplies are ready for anything life throws your way!
Sealing Mylar food storage bags properly ensures long-term freshness and guards against moisture, air, and pests. It’s a simple but crucial skill for anyone serious about food preservation. Keep practicing these easy steps, and your Mylar bags will keep your food fresh, safe, and ready whenever you need it.