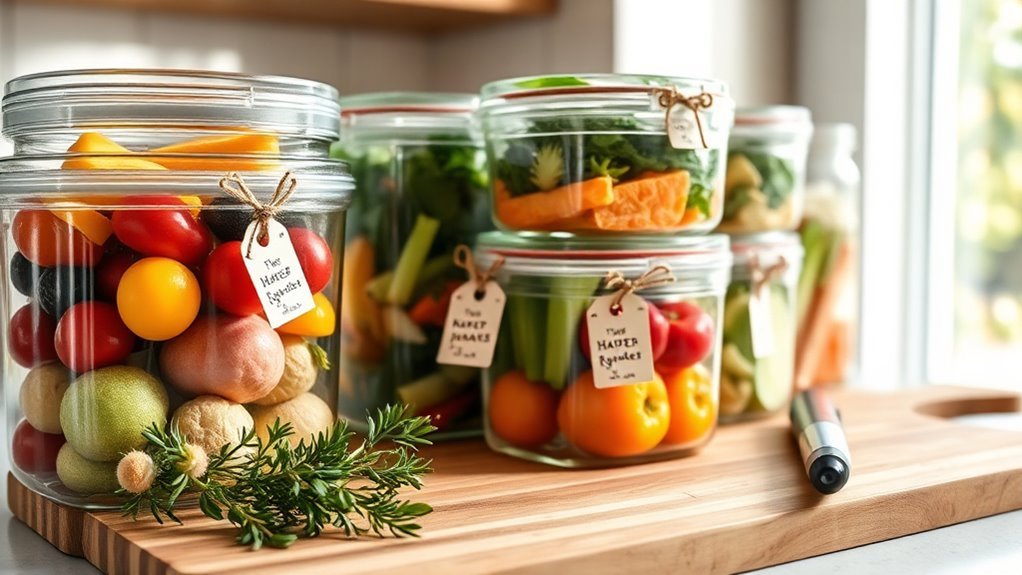
5 Tips You Should Use to Label Food for Storage
To label food for storage effectively, it’s a smart move to choose reusable labels like chalk or dry-wipe styles. These options help you avoid sticky residue and cut down on waste, which is great for both your kitchen and the environment.
When writing your labels, keep things clear and simple. Include the food type, freezing date, and quick notes like portion size or cooking status. This way, you’ll always know what’s inside and how to handle it.
Make sure to place labels where they stay clean and visible. Avoid spots that get covered in frost, so you don’t lose track of what’s stored. Also, always keep track of freeze and use-by dates to ensure your food stays fresh and safe.
Following these simple tips helps you save money and reduce waste. Trust me, there’s even more you can do to improve your food storage game!
Key Takeaways
– Use reusable chalk or dry-wipe labels to prevent adhesive residue and allow easy updating.
This way, you won’t have to deal with sticky messes, and changing the label is a breeze.
– Clearly write the food type, freezing date, and any important notes like portion size or cooking status.
It helps you know exactly what’s inside and when it should be used.
– Place labels where they stay dry, visible, and free from frost or condensation, typically on the front or top.
That way, you won’t have to guess what’s inside when you’re in a hurry.
– Track both freezing and use-by or thaw-by dates on labels in a consistent, clear format.
Keeping dates straight means less waste and safer food.
– Reuse containers and labels by wiping off old markings to reduce waste and save money.
It’s better for the environment and your wallet!
Choose the Best Labels and Materials for Freezer Foods

Start by selecting labels that can stand up to freezer conditions without creating extra waste. You’ll want to avoid single-use sticky labels since they often leave residue and damage packaging when removed.
Instead, opt for reusable chalk labels paired with a dry wipe pen or cloth. This way, you can easily update labels as you rotate your freezer stock.
Choose reusable chalk labels with a dry wipe pen for easy, eco-friendly freezer organization and labeling updates.
Dry-wipe, whiteboard-style labels and pens are great because they clean off smoothly and cut down on waste. If you need to use tape, choose masking tape—it’s freezer-friendly and often reusable, unlike many disposable label tapes.
Also, consider reusing take-away container lids and surfaces, then label directly on the container. This keeps your freezer organized while minimizing extra packaging and waste.
Write Clear Labels With Food Type, Dates, and Notes
Once you’ve chosen durable, reusable labels, focus on writing clear information that helps you identify and manage your frozen foods easily. Always include the food type, like “chicken curry,” along with the freezing date—not the purchase date—to track how long items stay fresh.
This helps you use the first in, first out system efficiently. Add brief notes such as portion size (“serves 2”), cooking status (“cooked”), or prep details (“home-made”) to avoid confusion later.
Use bold, legible writing so you can quickly spot contents and dates. If you opt for removable labels, such as those written with a dry-wipe pen, just make sure the text remains clear and intact until you use the food.
Clear, detailed labels save you time and reduce food waste. It’s definitely worth the little extra effort!
Put Labels Where They Stay Clean and Easy to See
To keep your labels readable, place them where ice, frost, or condensation won’t cover them. This means choosing a spot on the container or bag that stays clean and visible.
Label the front or top of flat packages so you can quickly spot what’s inside without moving items around or thawing food unnecessarily.
Here are some tips to keep your labels clean and easy to see:
Use chalk-style labels or dry-wipe markers on smooth surfaces to prevent smearing. Avoid sticky labels in wet, cold areas since adhesives can fail.
Place labels on parts of containers that stay relatively dry to keep text legible. You might want to opt for masking tape or reusable labels for stable adhesion in freezer conditions.
This way, your labels stay intact and clear for easy food identification. It just makes finding what you need a lot simpler!
Pick Reusable Labels to Cut Waste and Save Money
Although disposable labels might seem convenient, choosing reusable options like chalk labels and dry-wipe markers helps you save money and reduce waste over time. Chalk labels are easy to wipe off and rewrite, while dry-wipe markers rub off cleanly with a cloth. This lets you reuse containers without constantly buying new labels.
Masking tape also works well since you can pull it off and reapply it a few times. Don’t overlook reusing take-away containers—just wipe their surfaces and relabel to cut packaging waste.
When you need to change labels often, pick materials that remove cleanly without damaging your containers. This way, you keep your storage organized while avoiding the ongoing cost and environmental impact of disposable sticky labels.
Track Freeze and Use-By Dates Right on Your Labels
When labeling your frozen food, make sure to include both the freezing date and a clear use-by or thaw-by date. This helps you keep track of how long your food stays at its best and prevents spoilage.
Here’s how to do it right:
Here’s how to do it right: clearly label frozen food with dates for safe, easy tracking and use.
- Use a clear format: ITEM + DATE FROZEN + “USE BY (date)” or “THAW BY (date)” for easy stock rotation.
- Label leftovers with the date you froze them, not when you cooked them, to track safety correctly.
Always write dates in a consistent format (like day-month-year) and place labels on the front or top for visibility.
If you repackage or portion food, update the label with the new freezing date and contents to avoid confusion.
Frequently Asked Questions
How to Organize Food Storage Containers?
You should group similar containers together, stack them neatly, and label each with contents and date. Keep labels consistent in location and use wipeable markers.
This helps you quickly find what you need and avoid waste. It’s a simple way to stay organized and save time in the kitchen!
What Is the Definition of a Food Label?
A food label’s your guidebook, telling you what’s inside and how to handle it safely.
It’s the printed story on packaging that reveals ingredients, allergens, and dates, helping you make smart, safe choices every time you eat.
What to Look for on Labels for Diabetics?
You should look for carbohydrate amounts, serving sizes, and added sugars on labels to manage your blood sugar effectively.
Also, note if food is homemade or packaged, as carb content can vary widely between products.
It’s a good idea to double-check these details to keep your blood sugar in check.
Labels can be tricky, but once you get the hang of it, reading them becomes second nature.
How Do You Label a Working Container of Food?
You label a working container by writing the food name and freeze date clearly on it.
Use reusable masking tape or washable chalk labels with dry wipe markers to update information easily and keep your freezer organized.
That way, you always know what’s inside and when it was stored. It makes life a lot simpler!
Conclusion
When you label your food like a pro, you’re not just organizing; you’re creating a roadmap in your freezer jungle. Clear, reusable labels help you navigate with ease, saving money and reducing waste.
By tracking dates and placing labels where they won’t get lost, you’ll always know what’s inside and when to use it. This simple step makes meal planning and food storage so much easier.
So, take these tips to heart—your future self will thank you for turning chaos into calm. Proper food labeling is key to reducing food waste and keeping your kitchen organized. It helps you save money, avoid spoiled food, and make the most of your storage space.
In the end, labeling food for storage isn’t just about neatness; it’s about smart living, making your life simpler, and keeping your meals fresh and tasty every time.