How to Dry Food for Storage in 3 Simple Steps
To dry food for storage, start by washing and cutting your fruits or veggies into small, even pieces. This helps them dry evenly and faster.
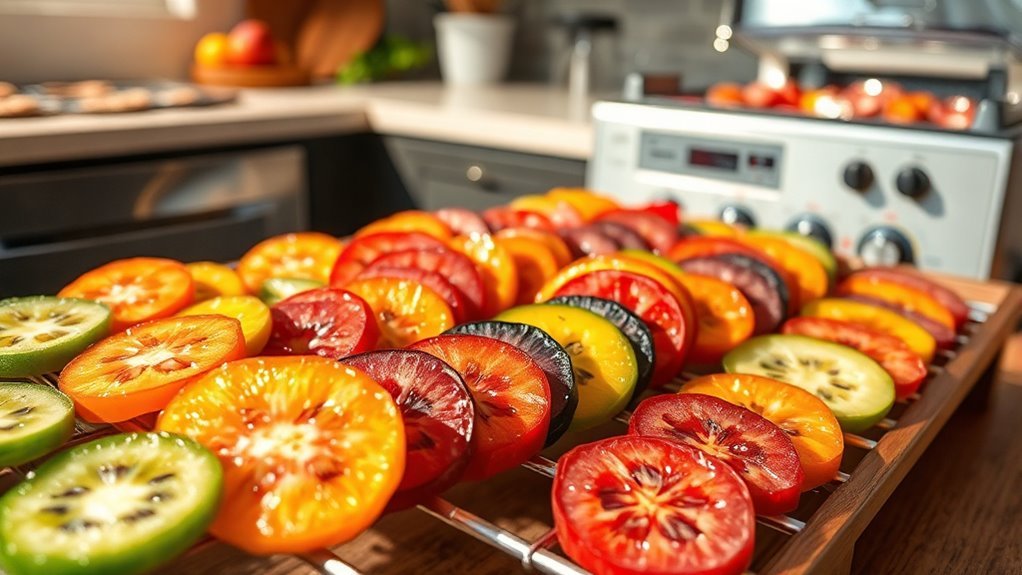
Then, arrange the pieces in a thin, single layer on your drying trays.
Make sure there’s enough space between each piece for proper airflow.
Next, dry your food at a steady temperature between 140–160°F. Don’t forget to rotate your trays often to ensure everything dries evenly.
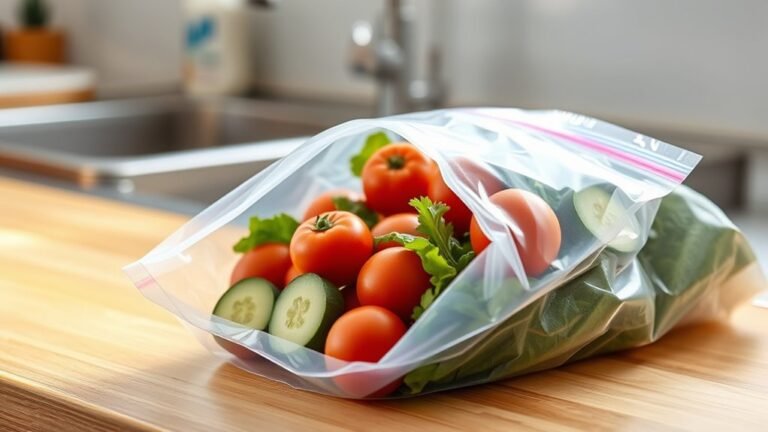
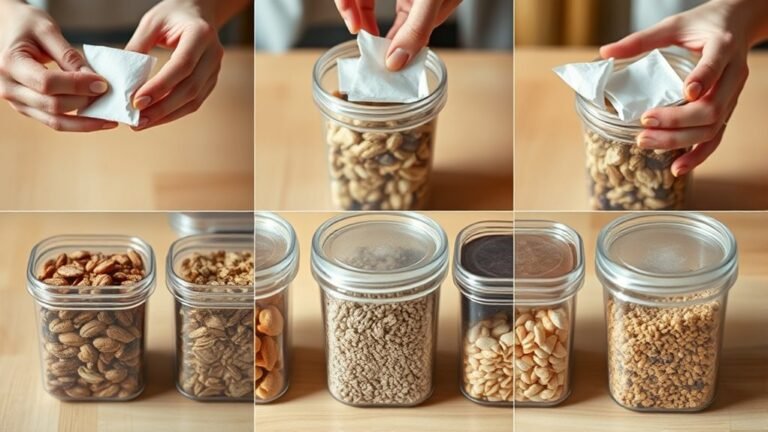
Finally, once your food is fully dried, store it in airtight freezer bags. This keeps moisture and mold out, helping your dried food last longer.
Keep following along for more tips on drying different foods safely and effectively!
Key Takeaways
- Wash and cut food into uniform pieces to ensure even drying.
- Arrange food in thin, single layers with space for airflow on trays.
- Dry at steady temperatures between 140–160°F, adjusting heat to prevent over-browning.
- Rotate trays regularly and avoid interruptions to promote consistent dehydration.
- Store fully dried food in airtight freezer bags, preferably in the freezer to prevent spoilage.
That way, your dried food stays fresh and tasty for longer!
Get Your Food Ready for Even Dehydrating
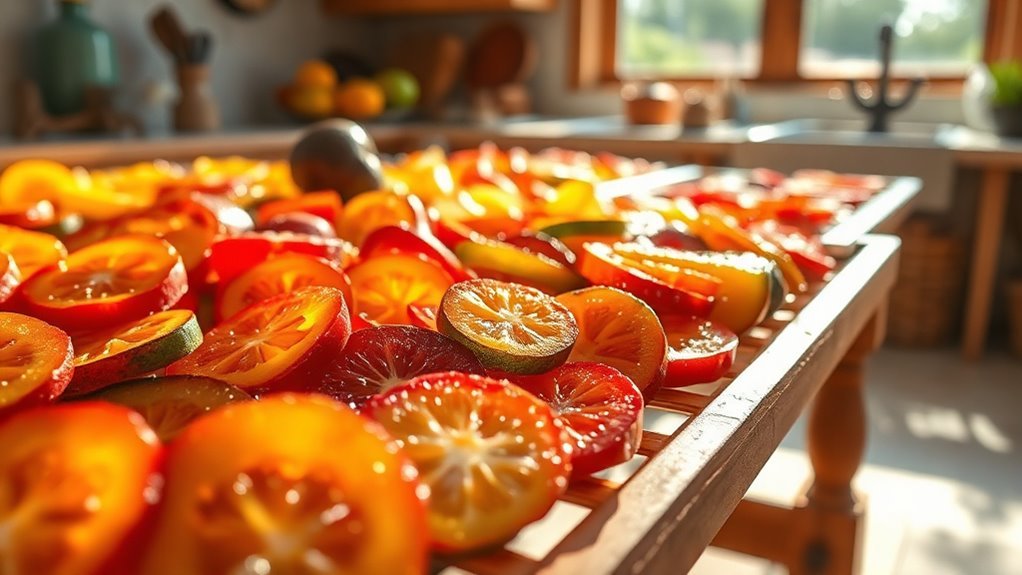
Before you start dehydrating, make sure to wash your fruits and vegetables thoroughly and cut them into small, uniform pieces. This helps your food at home dry evenly and prevents spoilage.
Thoroughly wash and cut fruits and vegetables into uniform pieces for even drying and to prevent spoilage.
Arrange the pieces in thin, single layers—about 1–2 pounds per tray—to promote consistent airflow. For root vegetables, steam and drain them first, then mash without adding butter or oil.
Spread the mash in half-cup servings and only powder or pack once fully dry. When drying mushrooms, slice and cross-cut them for uniform surfaces, then dry at around 135°F for 4–10 hours depending on humidity.
Keep trays clean and don’t interrupt the drying process. Rotate trays often to ensure even dehydration.
Proper prep sets the foundation for successful food preservation at home. It really makes all the difference!
Dehydrate Food Safely With Proper Temperature and Airflow
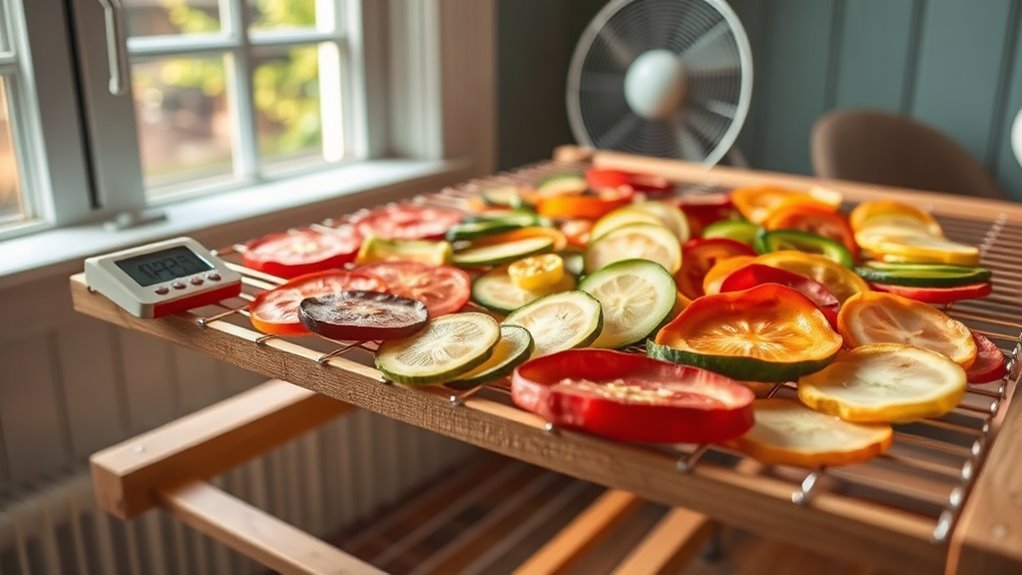
Once your food is prepped and arranged properly, controlling the temperature and airflow becomes the key to safe and effective dehydration. Use steady heat between 140–160°F, checking with an oven thermometer every 30 minutes to avoid scorching and ensure consistent drying.
Start at 150–160°F for quick moisture loss, then reduce to around 140°F to finish without over-browning. Proper airflow prevents case hardening—keep thin, even single layers with about 1½ inches of space around trays, and rotate them frequently if using an oven.
Don’t interrupt drying, as pausing and restarting raises spoilage risks. In humid climates, opt for electric or convection ovens instead of solar drying.
Mastering these steps ensures safe food preserving by thoroughly removing moisture and preventing bacterial growth.
Store Dehydrated Food to Keep It Fresh and Safe
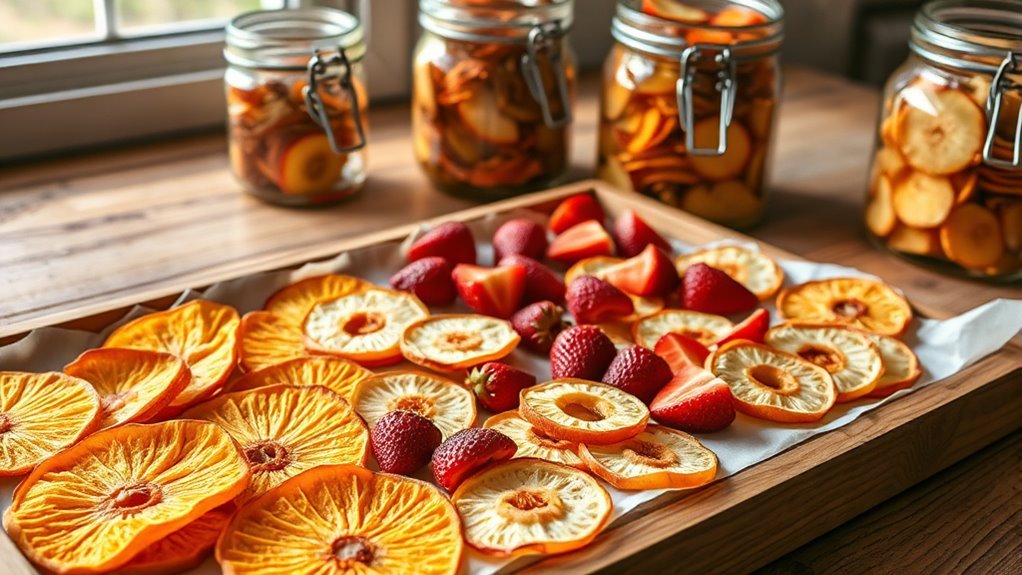
Though drying removes most moisture, you should always make sure your dehydrated food is completely dry before storing it to prevent spoilage. Leftover moisture can encourage mold, so package your food in freezer bags.
For extra safety, store them in the freezer. When preserving food like canned meats and beans, drain thoroughly and dehydrate at about 135°F until fully dry—meats take 4–8 hours, beans 4–6 hours.
Since canned meat retains some fat, hot storage increases rancidity risk, so cold storage is best. Use non-reactive materials—avoid galvanized screen, aluminum, copper, fiberglass, or vinyl—to prevent contamination.
If you’re unsure about dryness, let your packaged food rest in freezer bags for a couple of hours to check for moisture before committing to long-term storage. These steps ensure your dehydrated food stays fresh and safe.
Frequently Asked Questions
How to Storage Dry Food?
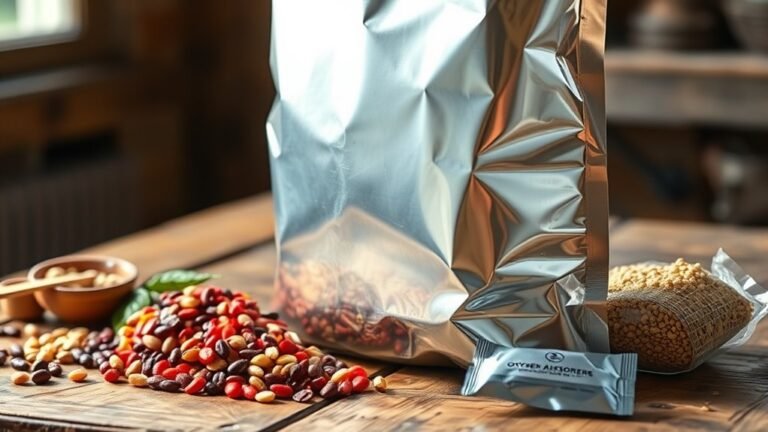
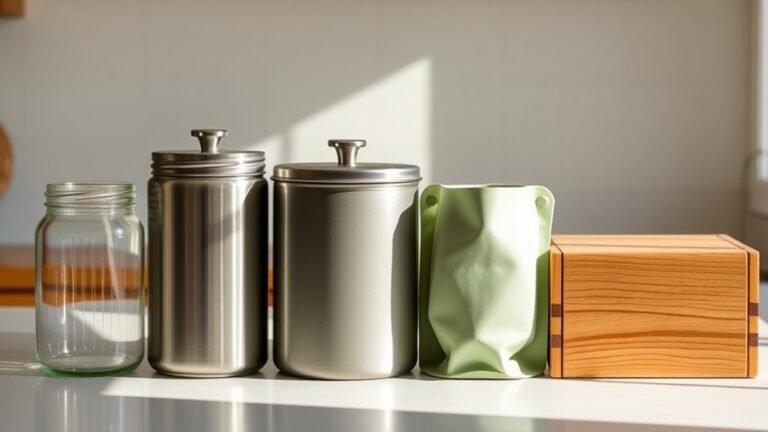
You should store dried food in airtight, moisture-resistant bags or containers. Keep them in the freezer to prevent spoilage and rancidity.
Make sure the food is completely dry and check for any moisture before sealing and freezing. This way, your dried food stays fresh longer and tastes great when you’re ready to use it.
What Is the Difference Between Dehydrating and Drying?
Dehydrating uses controlled heat and ventilation at specific temperatures to remove moisture evenly.
On the other hand, drying is a broader term that includes any method reducing moisture.
It’s often less controlled, like sun drying or air drying your food for storage.
How Long Can Dried Foods Be Safely Stored?
You can safely store dried foods for 6 months to a year if they are fully dried and sealed airtight.
If you want to keep them longer, just freeze them. Always check for any moisture before storing to prevent mold and spoilage.
It’s a simple step but super important!
Is It Safe to Store Dry Food in Plastic Containers?
You know what they say, “Better safe than sorry.”
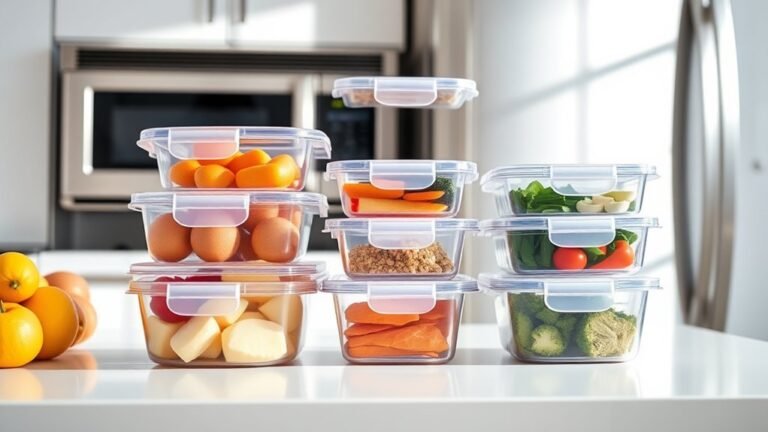
Yes, you can store dry food in plastic containers, but make sure it’s bone dry. Use airtight, food-grade plastics to prevent moisture and spoilage.
Conclusion
Now that you’ve mastered the art of drying food, you’re holding the key to preserving nature’s bounty like a timekeeper of flavor. With every crisp bite, you’re savoring sunshine and harvest memories, safely stored away for darker days.
Keep your dried treasures airtight and cool, and they’ll stay fresh as a morning breeze. Embrace this simple ritual, and you’ll always have a pantry full of sunshine, ready to brighten any meal or moment.
Drying food for storage is a fantastic way to extend the life of your favorite fruits, vegetables, and herbs. By following these easy steps, you’re ensuring that your dried foods stay flavorful and nutritious. So go ahead, enjoy the convenience and taste of homemade dried food anytime you want!