
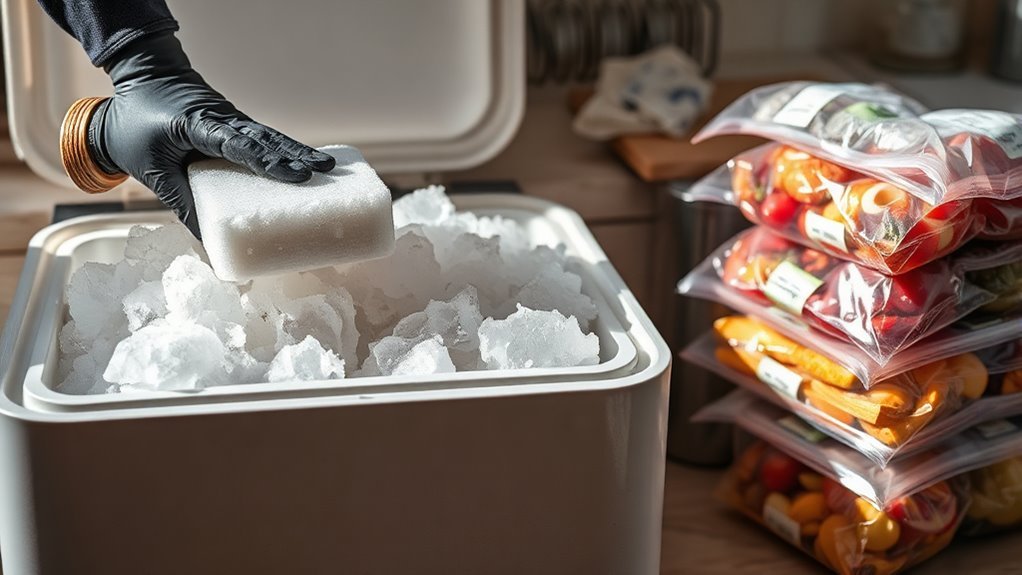
How to Use Dry Ice for Long-Term Food Storage in 3 Easy Steps
To use dry ice for long-term food storage, start by packing your food in airtight containers and cooling them beforehand. This helps keep your food fresh and prevents moisture buildup. Using airtight containers is key to maintaining quality over time.
Next, place dry ice in sealed bags with insulation so it doesn’t come into direct contact with your food. Then, use a pre-chilled cooler with extra insulation to slow down the dry ice sublimation. This step helps keep the temperature low for longer periods.
Finally, make sure there’s proper ventilation to let the carbon dioxide gas escape. Never seal the cooler airtight, as pressure can build up. Also, check dry ice levels regularly to replace it when needed. Follow these simple steps, and you’ll be ready to handle long-term food storage efficiently with dry ice.
Key Takeaways
- Pack food in airtight, leak-proof containers and pre-chill them before placing in the cooler to keep everything fresh.
- Make sure to label the containers clearly with the contents and date. Also, ensure there’s proper venting for safe gas release.
- Place dry ice in insulated bags, but avoid letting it touch the food directly. Using a pre-chilled cooler helps with efficient cooling.
- Add extra insulation around the dry ice and keep the cooler tightly closed. This slows down sublimation and helps extend the freezing time.
- Keep vents open to maintain good ventilation and avoid sealing the cooler airtight.
- Don’t forget to regularly check the dry ice levels so you can replenish it when needed.
Get Your Food and Containers Ready for Dry Ice

Before you start using dry ice for long-term food storage, get your food and containers ready to help ensure the best freezing and safety. Choose items that truly need freezing, like fruits and vegetables, and pack them in airtight, leak-proof containers or bags to minimize moisture loss and prevent flavor transfer.
If you can, chill or pre-cool your produce and other foods before packing; this reduces the amount of dry ice needed to bring everything down to temperature. Use a thick cooler or insulated bag around your containers since dry ice works best when heat transfer is slowed.
Remember to label each container clearly with item details and date, and vent them properly because dry ice turns into carbon dioxide gas, which needs to escape safely during storage. It’s a simple step, but super important for safety.
Add Dry Ice and Insulate Your Cooler Properly

Start by placing dry ice in sealed bags with insulation on at least one side, making sure it doesn’t touch your food directly. Add the dry ice to a pre-chilled cooler to cool your contents quickly and efficiently.
Then, insulate the dry ice properly to slow sublimation. This way, you keep your food frozen longer. Here’s how to do it right:
- Use an extra insulated layer or open-weave insulation around the dry ice.
- Keep the dry ice away from direct food contact to avoid damage.
- Add enough dry ice to last several days, and plan to restock if needed.
- Keep the cooler lid closed tightly to trap cold air and maintain temperature.
Following these steps will help you get the most out of dry ice for long-term food storage.
Keep Dry Ice Ventilated and Check Its Levels

Once you’ve properly insulated your dry ice and arranged it in your cooler, you need to make sure it stays ventilated to prevent pressure buildup from escaping carbon dioxide gas.
Never store dry ice in an airtight container or seal your cooler completely, as trapped gas can cause dangerous pressure. Instead, place it where airflow is possible, like the bottom of an insulated cooler with vents or gaps, and avoid covering it tightly with plastic wrap.
Check the dry ice levels regularly—daily for smaller amounts and every 1–2 days for larger blocks—since it sublimates continuously. If you’re storing food for several days, replenish the dry ice as needed and monitor the temperature inside, not just the block size.
Use insulated separators that allow airflow to extend dry ice life without sacrificing ventilation.
Frequently Asked Questions
Can You Store Dry Ice Indefinitely?
You can’t store dry ice indefinitely because it sublimates over time.
To maximize its life, keep it in a well-insulated container and minimize airflow.
Also, make sure to replace it regularly based on temperature and storage conditions.
How to Use Dry Ice to Keep Food Cool?
You’re basically giving your food a chilly hug by placing dry ice in an insulated bag with some ventilation.
Pre-chill your cooler, use little dry ice carefully, and switch to regular ice to keep things cool longer.
It’s a smart way to keep your food fresh without it freezing solid. Just be sure to handle dry ice with care!
How to Make Ice Freeze Longer?
To make ice freeze longer, you’ll want to insulate it well. Using dry ice sparingly as a pre-chill can also help.
Make sure there’s enough airflow to prevent pressure buildup. But don’t go overboard with dry ice — it’s best to save CO₂ and extend freeze time.
How Does Dry Ice Stay Frozen?
Imagine a magician’s trick where ice vanishes without melting—that’s dry ice. It stays frozen because it’s solid carbon dioxide, skipping liquid form and turning directly into gas at -78.5°C.
This process keeps things insanely cold. So, instead of melting like regular ice, dry ice just disappears into gas. Cool, right?
Conclusion
Using dry ice for long-term food storage is like planting a seed in winter—you prepare the soil, protect it from the cold, and patiently watch it preserve life beneath the frost. By getting your food ready, adding dry ice carefully, and keeping it ventilated, you’re nurturing freshness through time.
With these simple steps, you become the guardian of your food’s journey. You ensure it stays as vibrant as a spring bloom when you’re ready to enjoy it.
So, when using dry ice for long-term food storage, remember to handle it with care and keep your container ventilated to avoid pressure buildup. Preparing your food properly and layering the dry ice correctly helps maintain freshness and extends shelf life. By following these easy steps, you’re not just storing food—you’re preserving its quality and taste for weeks or even months ahead.