How to Seal Mylar Bags for Food Storage in 3 Easy Steps
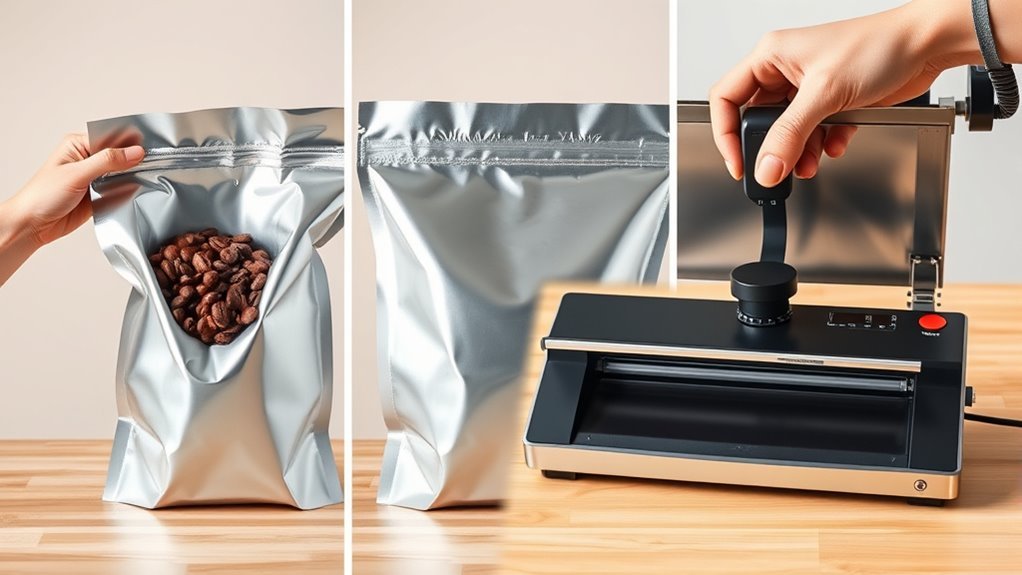
To seal Mylar bags for food storage, first gather clean bags, oxygen absorbers, and a sealing tool. These items are essential for keeping your food fresh and safe from moisture, air, and pests. Using the right materials makes all the difference in long-term food preservation.
Next, fill each bag with dry food, leaving enough headspace. Then add an oxygen absorber on top. This step helps maintain the quality of your food by removing excess oxygen that can cause spoilage.
Finally, seal the bag tightly using a heat sealer or iron, checking carefully for gaps or weak spots to guarantee airtightness. If you want to protect your food even better and avoid spoilage, keep going to see how to perfect each step.
Key Takeaways
- Fill Mylar bags with dry food, leaving 4-6 inches of headspace for sealing and oxygen absorber placement.
- Place an oxygen absorber on top of the food inside each bag before sealing.
- Use a heat sealer or iron to seal the bag, making sure you get a smooth, wrinkle-free seal line.
- Take a close look at the seal for any gaps, pinholes, or light leakage to make sure it’s airtight.
- Give the seal a gentle tug to test its strength, and you can even submerge the bag in water to check for escaping bubbles.
Get Your Materials Ready for Mylar Bag Sealing
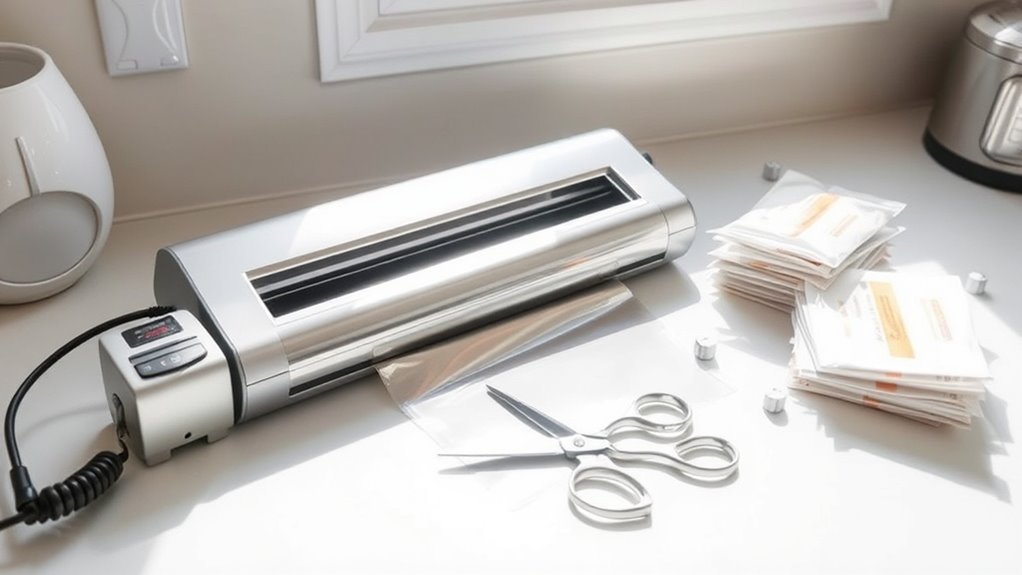
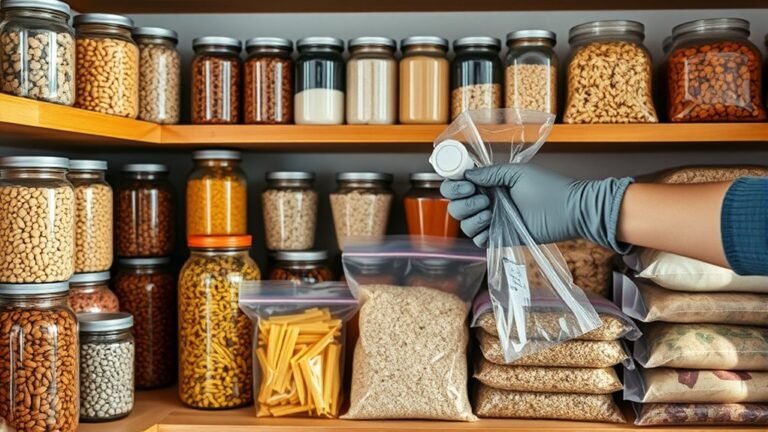
Before you begin sealing Mylar bags, make sure you’ve gathered all the essential materials: food-grade Mylar bags, oxygen absorbers sized to your food quantity, sealing tools, labels, and pens. Proper preparation is key to success.
Gather all essential materials before sealing Mylar bags for a successful and efficient food storage process.
Set up a clean, dry work area to prevent moisture or powder from interfering with the seal. Moisture can compromise the integrity of your food storage, so keep everything dry.
Choose oxygen absorbers that match the size of your Mylar bags and the amount of food inside. Using the correct oxygen absorber size helps maximize shelf life and keeps your food fresh longer.
Once your materials are ready, label each bag clearly with product information, date, lot number, and absorber size. This step is vital for inventory management and makes future use easier.
Taking these steps ensures you’re fully prepared to seal your Mylar bags effectively and maintain your food’s quality over time.
Fill Mylar Bags and Add Oxygen Absorbers
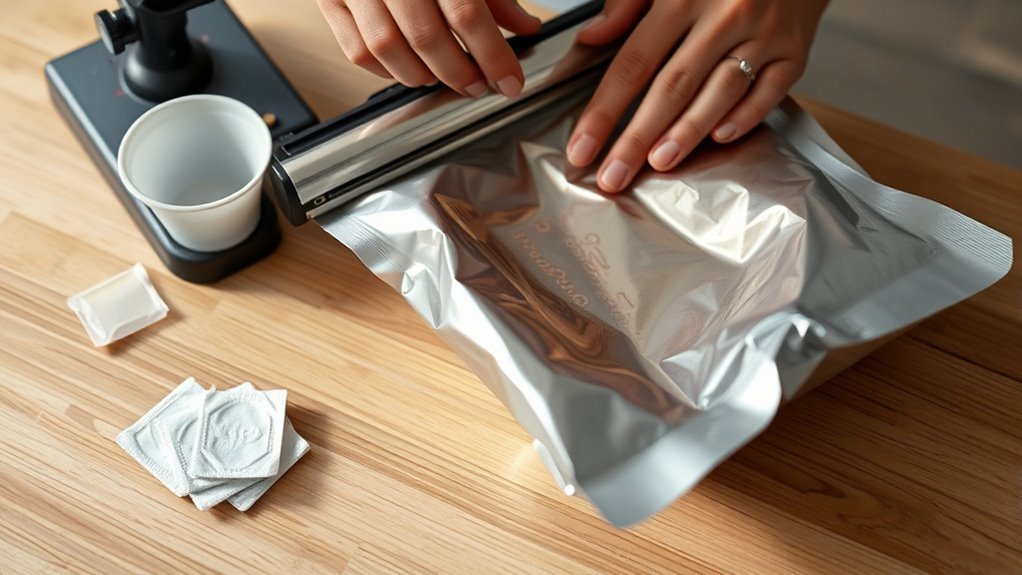
With your materials ready and labeled, you can start filling your Mylar bags with dry, low-moisture foods like rice, beans, or powdered milk. Be sure to fill bags only up to about 4-6 inches from the top, leaving enough headspace for sealing and adding oxygen absorbers.
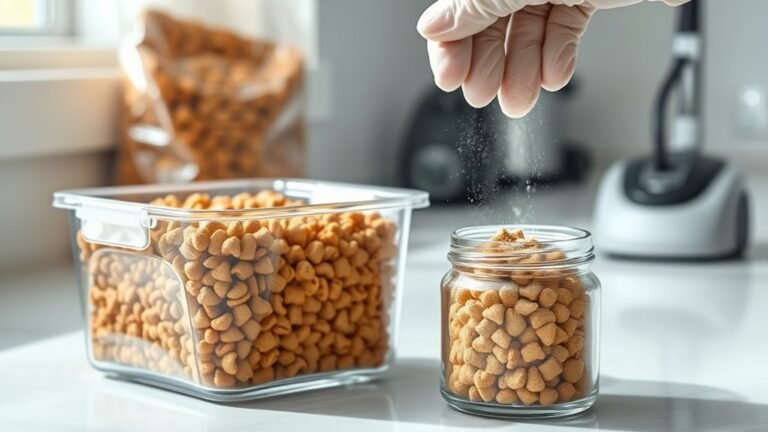
Distribute the dry foods evenly to prevent shifting, which helps achieve an air-tight seal during vacuum sealing. Once filled, place an oxygen absorber on top of the food inside each Mylar bag.
These absorbers are essential for oxygen removal, which slows down spoilage and markedly extends the shelf life for long-term storage. Avoid overfilling, as this can interfere with sealing and reduce the oxygen absorber’s effectiveness.
Properly filling Mylar bags and adding oxygen absorbers ensures ideal food preservation by maintaining an air-tight environment that protects your dry foods from moisture, oxygen, and pests. This step is key to preparing your food for secure, long-lasting storage.
Seal Your Mylar Bag and Check the Seal
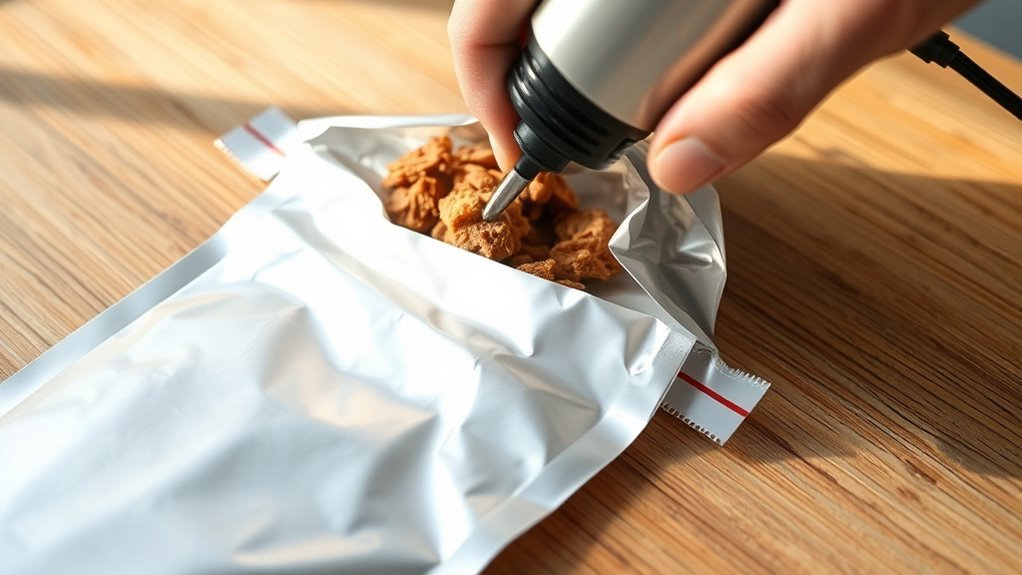
Once you’ve filled your Mylar bag and added the oxygen absorber, seal it carefully using a heat sealer or an iron. To guarantee an airtight seal, inspect the entire seal line for wrinkles, gaps, or pinholes that could let air or moisture slip in.
A smooth, even seal free of debris is essential for long-term storage. After sealing the bag, gently tug the sealed edge to test its strength and confirm airtightness.
Next, perform a water test by submerging the sealed seam; if bubbles escape, the seal integrity is compromised, and you’ll need to reseal the bag. Use a flashlight to check for any light leakage along the seal, which signals weak spots.
Frequently Asked Questions
What Is the Best Way to Seal Mylar Bags?
The best way to seal Mylar bags is to use a heat sealer or a clothes iron, applying consistent heat along the edge. Make sure the edges are clean and dry, then double seal for extra protection.
This helps keep everything inside fresh and airtight. Plus, a double seal gives you peace of mind that nothing will sneak in or out. It’s pretty simple once you get the hang of it!
Can I Use a Hair Straightener to Seal Mylar Bags?
You can use a hair straightener to seal Mylar bags; it’s like turning up the heat on a cold day.
Just clamp, hold for a few seconds, and move steadily for a tight, airtight seal.
It’s pretty simple once you get the hang of it.
Just make sure the heat isn’t too high, or you might melt the bag instead!
Why Are Mylar Bags Being Discontinued?
You’re seeing Mylar bags discontinued mainly because production costs are rising, supply chains are disrupted, and environmental concerns push companies toward sustainable alternatives.
Plus, demand shifts and import restrictions limit their availability in some areas.
It’s a mix of factors all happening at once, making these bags harder to find than before.
How Long Will Food Last in a Mylar Bag?
Food can last decades in Mylar bags, yet spoil quickly if sealed poorly. You’ll enjoy 10 to 30 years of freshness when you seal tightly, use oxygen absorbers, and store in cool, dry conditions.
Just make sure you do it right! Proper sealing and the right storage conditions make all the difference.
Conclusion
Now that you know how to seal your Mylar bags in just three easy steps, you’re ready to keep your food fresher than a mountain breeze for years!
Just remember, a perfect seal is like a superhero cape for your food—it protects against air, moisture, and spoilage. Follow these simple steps every time, and you’ll never worry about wasted food again.
Sealing Mylar bags is truly the secret to food storage success! When you properly seal your Mylar bags, you lock in freshness and extend shelf life, making it a reliable method for long-term food storage. So go ahead, use these tips to confidently store your dry goods, snacks, or emergency supplies. With airtight Mylar bags, your food stays safe, delicious, and ready whenever you need it.