7 Steps to Make Wax Cloths for Food Storage
To make wax cloths for food storage, start by choosing lightweight, natural cotton fabric. Pre-wash it well to remove any chemicals that might be on the fabric.
Next, get your workspace ready with all the supplies you’ll need. Cut the fabric to size, leaving a bit of extra allowance around the edges for sealing later on.
Now, gently melt beeswax using a double boiler. Once melted, use a brush to apply the wax evenly across the fabric’s surface.
After that, bake the fabric briefly to help set the wax.
Let the cloth dry fully before using it.
With proper care, these wax cloths last a long time and keep your food fresh. It’s pretty simple once you get the hang of each step!
Key Takeaways
- Choose lightweight, 100% natural cotton or linen fabric, pre-washed and ironed, for optimal wax absorption and durability.
- Cut fabric with extra inches for coverage and use pinking shears or seal edges to prevent fraying.
- Melt beeswax safely in a double boiler at about 170°F, adding pine resin and jojoba or coconut oil for flexibility.
- Evenly apply melted wax to fabric with a brush, ensuring full edge coverage for sealing.
- Bake waxed fabric at 200°F for 5 minutes, then cool and air dry before use to set the wax coating.
Choosing the Right Fabric for Wax Cloths
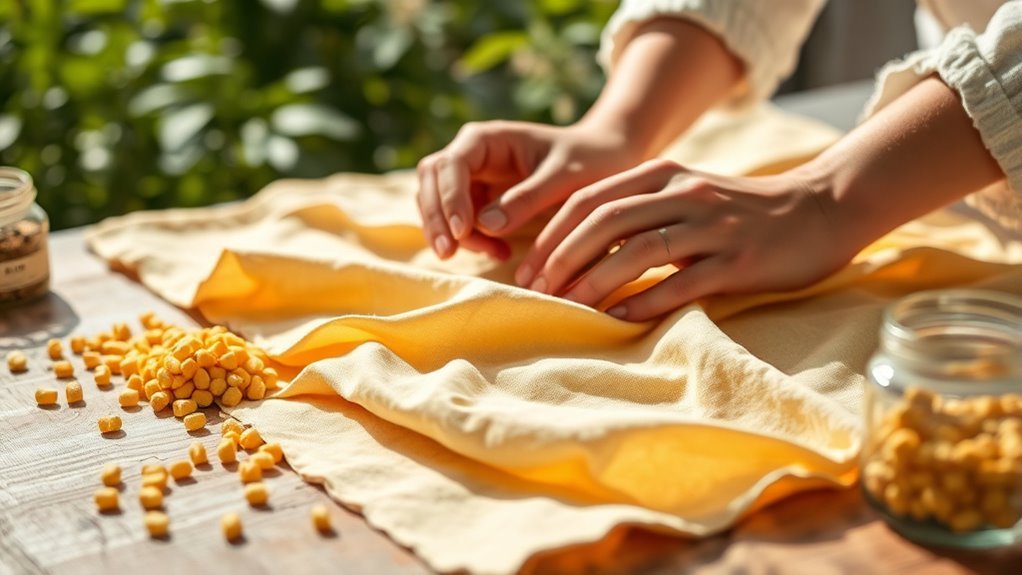
When choosing fabric for your wax cloths, you’ll want to pick 100% natural materials like cotton, linen, or hemp because they absorb beeswax well and wrap easily around food containers.
Opt for cotton fabric that’s lightweight and tightly woven to guarantee durability and flexibility. Avoid fuzzy or thick fabrics like flannel since they hinder even wax coating and reduce pliability.
For the best results, pre-wash and iron your fabric to remove sizing and wrinkles, which helps the beeswax adhere better. Choosing unbleached or organic natural fabrics also makes your wax cloths more eco-friendly and safer for food contact by avoiding chemical residues.
Thoughtful fabric selection sets a solid foundation for effective and sustainable wax cloths. It’s a simple step that really makes a difference!
Preparing Your Workspace and Supplies
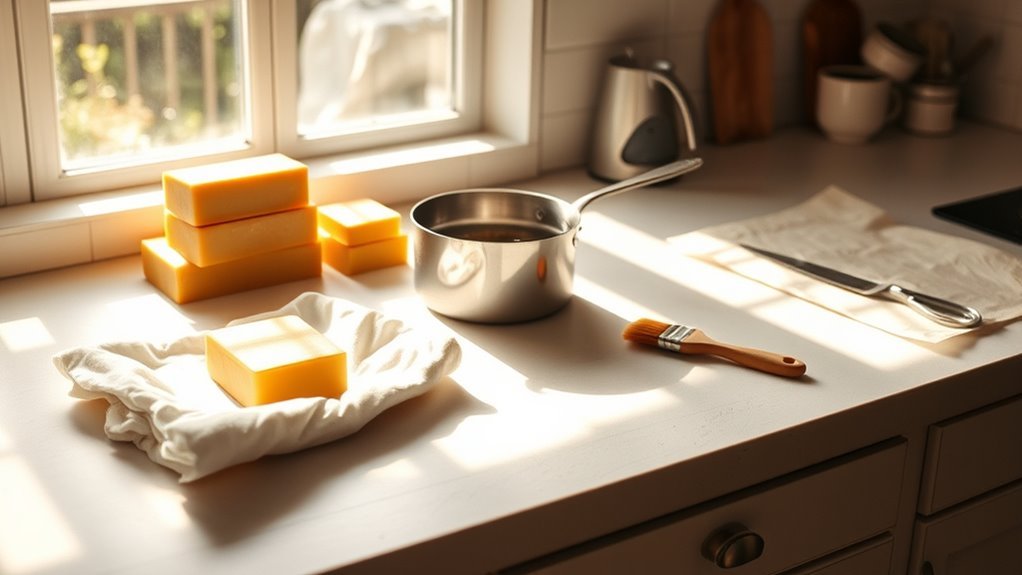
Choosing the right fabric lays the groundwork, but setting up your workspace properly makes the process smooth and mess-free. Start by selecting a clean, flat workspace, then cover surfaces with parchment paper to protect against wax spills.
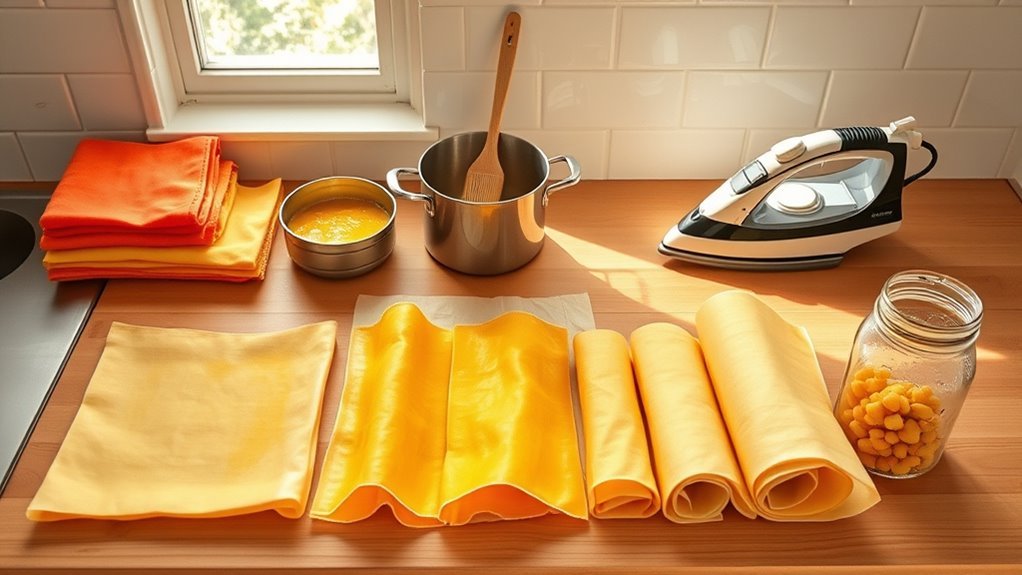
Gather all your supplies—natural fabric, beeswax, pine resin, jojoba or coconut oil, scissors, and a double boiler. Organize everything within easy reach to keep your process efficient.
Set up your double boiler carefully, maintaining a temperature around 170°F to safely melt wax and pine resin without damaging their properties. Have your scissors ready but avoid cutting fabric here; that comes later.
Cutting and Prepping the Fabric
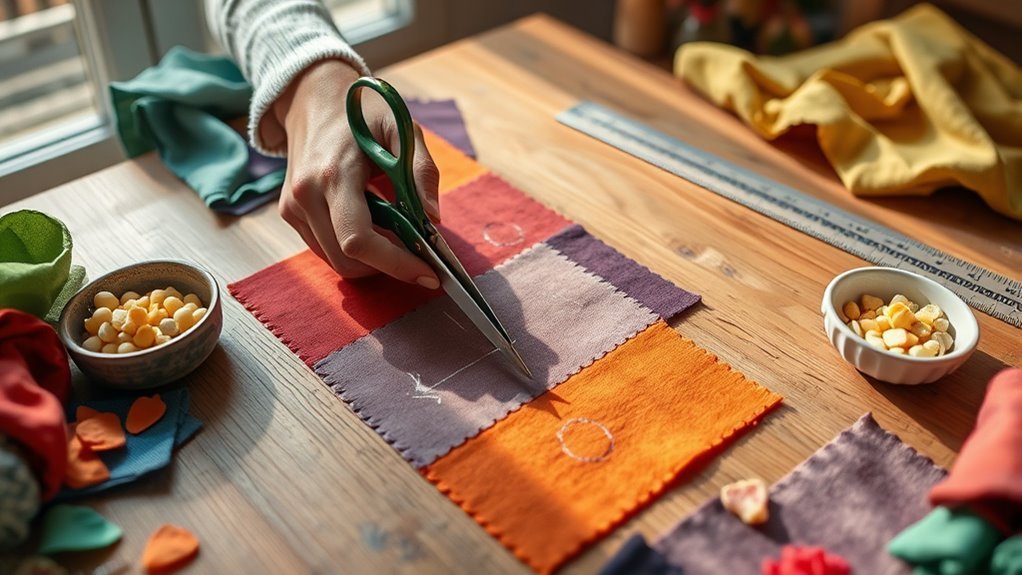
Before you cut your fabric, make sure it’s natural, unbleached cotton or linen—organic if possible—and thoroughly washed to remove any chemicals or sizing.
Measure your containers, then cut your fabric with an extra 2-4 inches on each side for overhang and sealing.
To prevent fraying, use pinking shears on the edges or plan to seal them later with wax.
Iron the fabric before waxing to ensure a smooth surface for even coating.
| Step | Tip |
|---|---|
| Cut fabric | Add 2-4” for sealing and overhang |
| Edge prep | Use pinking shears to reduce fraying |
| Iron fabric | Smooth surface for better wax adhesion |
Proper cutting and prepping set the foundation for a durable wax cloth wrap.
Melting Beeswax Safely
Although melting beeswax might seem straightforward, you must do it carefully to preserve its quality and avoid harmful fumes. Use a double boiler or place a heat-safe jar in a pot of simmering water to ensure gentle melting.
Avoid direct heat, such as stovetop flames, because it can burn the beeswax and release unpleasant odors. Before melting beeswax, shave beeswax chunks to promote even heating and speed up the melting process.
Keep a close eye on the temperature with a thermometer. Try to keep it around 170°F and never let it go above 180°F.
This careful approach helps prevent the loss of volatile compounds and keeps beeswax’s natural properties intact. By following these steps, you’ll melt beeswax safely and effectively, setting the stage for creating durable wax cloths without compromising quality.
Applying Beeswax to the Fabric
Once you’ve melted the beeswax, pine resin, and jojoba oil together at around 170°F, you can start applying the mixture to your fabric. Begin by evenly sprinkling or dipping the fabric into the melted wax to guarantee full coverage, paying close attention to the edges.
Then, use a brush or spatula to spread the wax evenly, creating a smooth coating across the entire surface. This application step helps the wax penetrate the fabric fibers for effective sealing.
After waxing, place the fabric on a lined baking sheet and bake it at 200°F for about 5 minutes. The baking process encourages the wax to melt deeper into the fabric, solidifying a durable, flexible coating that’s perfect for food storage.
Setting and Drying Your Wax Cloths
After you apply the wax mixture, hang your cloths in a well-ventilated area to let them dry completely. This usually takes about 30 minutes to an hour.
To prevent curling or warping during drying, place your wax cloths on a flat surface or a hanging rack. Make sure the area has good ventilation and the room temperature is moderate. Avoid direct sunlight or heat sources that could soften the wax.
This drying process allows the wax to cure and harden evenly. It forms a durable, flexible coating that’s perfect for food storage.
Once dry, inspect the cloths for any sticky or uneven spots. If you find any, you can briefly reheat the cloths to melt and redistribute the wax, making sure the coating is even throughout.
Caring for and Using Your Wax Cloths
To keep your wax cloths in great shape, wash them gently with cool water and mild soap. Then, air dry completely before storing.
Before use, warm them with your hands to soften. It’s best to avoid wrapping raw meat or oily foods, which makes cleaning easier.
When they start to lose stickiness, just reapply beeswax. This helps extend their life and keeps them flexible.
Cleaning and Maintenance
Although wax cloths are durable and reusable, you’ll need to clean and maintain them carefully to keep their effectiveness. Use cold water and mild soap to wash your reusable beeswax wraps, avoiding hot water that can melt or strip the wax coating.
For minor spills, gently wipe them with a damp cloth. Just steer clear of abrasive scrubbers that may cause damage.
After cleaning, let the wraps air dry completely before storage. Keep them in a cool, dry place to maintain flexibility and stickiness.
Periodically reapply beeswax to refresh the coating and extend their lifespan. Avoid dishwashers or microwaves, as high heat degrades the wax.
Proper cleaning and maintenance will guarantee your wax cloths remain functional and eco-friendly for a long time.
Proper Usage Techniques
Keeping your wax cloths clean is only part of the process; knowing how to use them properly will help you get the most out of their natural properties. The proper technique starts with warming the wrap using your clean hands or a gentle heat source, increasing pliability for easy wrapping.
When cleaning, always use cold or lukewarm water with mild soap. Avoid hot water or dishwashers since they can damage the wax coating.
After washing, air drying is essential to prevent mold growth. Over time, if your wraps become stiff or less sticky, you might want to reapply the wax by reheating them in the oven to refresh the wax layer.
Just remember, careful maintenance—like mindful wrapping and proper storage—ensures your wax cloths stay effective and last a long time.
Storage and Longevity
When you store your wax cloths properly, you’ll preserve their flexibility and sealing power much longer. After each use, focus on gentle cleaning by wiping them with cool water and mild soap—never hot water or dishwashers, as these harm the beeswax coating.
Thorough air drying is essential to prevent mold and maintain pliability. For storage, fold or roll the wraps loosely and keep them in a cool, dry place; this storage method supports durability and mold prevention.
If you notice reduced stickiness or flexibility, consider reapplication of beeswax to extend their lifespan. And remember, avoid using wax cloths for raw meat or greasy foods, as oils degrade the wax.
Following these steps ensures your wax cloths stay effective for food storage over many months. It’s a simple routine that really helps keep them in top shape!
Frequently Asked Questions
How to Make Waxed Fabric for Food Storage?
You melt beeswax, pine resin, and jojoba oil, then apply the mixture evenly onto clean fabric. After baking it briefly to absorb, you let it cool completely.
This creates reusable, eco-friendly waxed fabric for food storage. It’s a simple and effective way to reduce plastic waste while keeping your food fresh!
What Are the Downsides of Using Beeswax Wraps?
You’ll face cracks and tears, stiffness in heat, and residue buildup.
You can’t seal liquids or greasy foods well, and reheating might cause flaking.
What Is the Best Fabric to Use for Beeswax Food Wraps?
You’ll want to use 100% cotton, hemp, or linen fabric for beeswax wraps. These natural fibers absorb wax well, are durable, and provide a tight weave that helps your wraps last longer and work effectively.
Cotton is super popular because it’s soft and easy to work with. Hemp and linen are a bit sturdier and can give your wraps extra strength. Either way, choosing natural fabrics is the way to go for the best results!
How Long Does a Beeswax Food Wrap Last?
Your beeswax food wrap lasts about 1 to 2 years if you care for it properly. You’ll want to wash it gently with cold water and mild soap, and re-wax it when it starts losing stickiness.
Taking good care of it really makes a difference. Just be gentle when cleaning, and it’ll stick around for quite a while!
Conclusion
Congrats, you’re now officially a beeswax wizard! Who knew slathering fabric with sticky wax could feel so empowering?
Forget plastic wrap—your kitchen’s new eco-hero is a slightly gooey cloth. Just don’t try to microwave it or you’ll have a waxy mess to explain.
Keep these wraps handy, and you’ll save the planet one sandwich at a time. Because nothing says “environmentalist” like smelling faintly of a beehive while storing your snacks.
Making your own wax cloths for food storage is not only fun but a fantastic way to reduce plastic waste. These reusable wraps keep your food fresh and help protect the environment. So next time you reach for plastic wrap, remember your beeswax cloths—your eco-friendly, sustainable kitchen sidekick!