7 Steps to Freeze Food for Long Term Storage
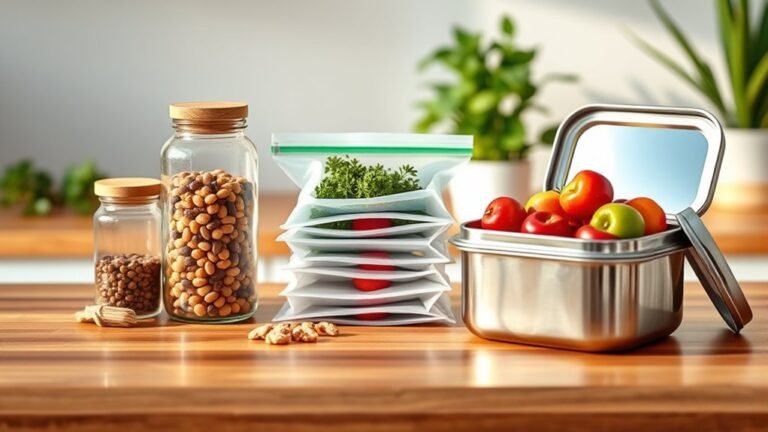
To freeze food for long-term storage, start by choosing airtight, freezer-safe containers that can handle low temperatures without cracking or leaking. This helps keep your food fresh and safe for months.
Next, prep your food by washing it thoroughly, cutting it into uniform pieces, and blanching vegetables to lock in their quality and nutrients.
Make sure to leave some space in the containers because food expands as it freezes. Seal the containers tightly to prevent air exposure and avoid that dreaded freezer burn.
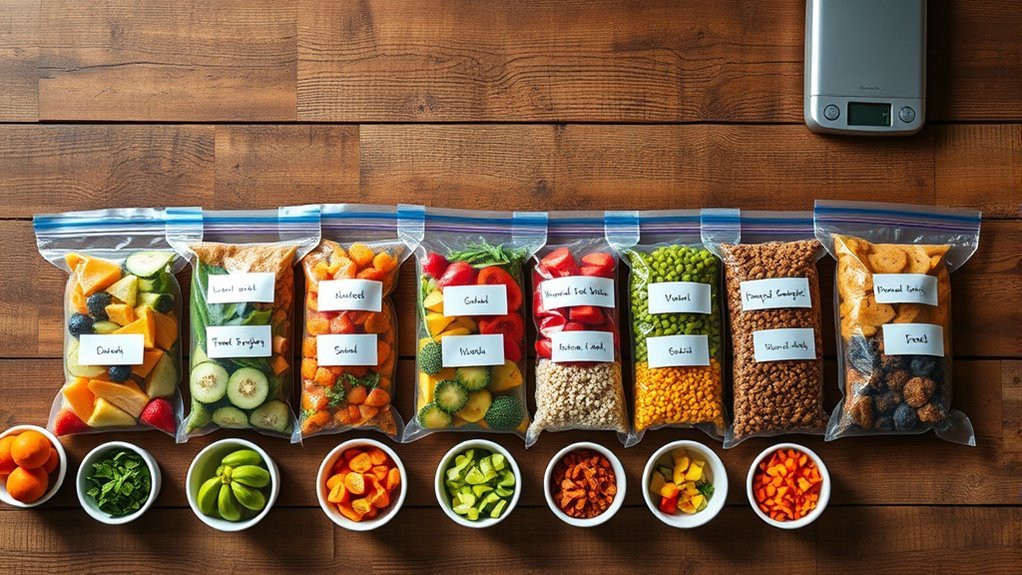
Don’t forget to label each package clearly with the contents and the date so you can keep track of what’s inside.
Organize your freezer by grouping similar items together and placing them in the coldest part of the freezer.
Following these simple steps will help guarantee your food stays fresh, tasty, and safe over time. Want to learn more? There are plenty of tips out there to help you optimize your freezer’s efficiency and maintain top food quality.
Key Takeaways
– Select airtight, freezer-safe containers or vacuum-sealed bags to prevent freezer burn and maintain food quality.
This helps keep your food tasting fresh and looking good even after a long time in the freezer.
– Wash, cut, and blanch vegetables before freezing to preserve texture and nutrients.
Blanching might sound fancy, but it just means briefly boiling veggies and then cooling them fast. This step really helps keep them crisp and tasty.
– Cool cooked foods completely before packaging to avoid ice crystal formation and bacterial growth.
Hot food can cause all sorts of problems in your freezer, so be patient and let it cool down.
– Leave appropriate headspace in containers to allow for food expansion during freezing.
Food expands as it freezes, so don’t fill containers to the brim.
– Store food in the coldest freezer area, label with dates, and organize by rotation for efficient long-term storage.
Labeling helps you keep track of what’s oldest so nothing goes to waste. And putting things in the coldest spot means they freeze evenly and stay safe longer.
Choose Appropriate Freezer-Safe Containers
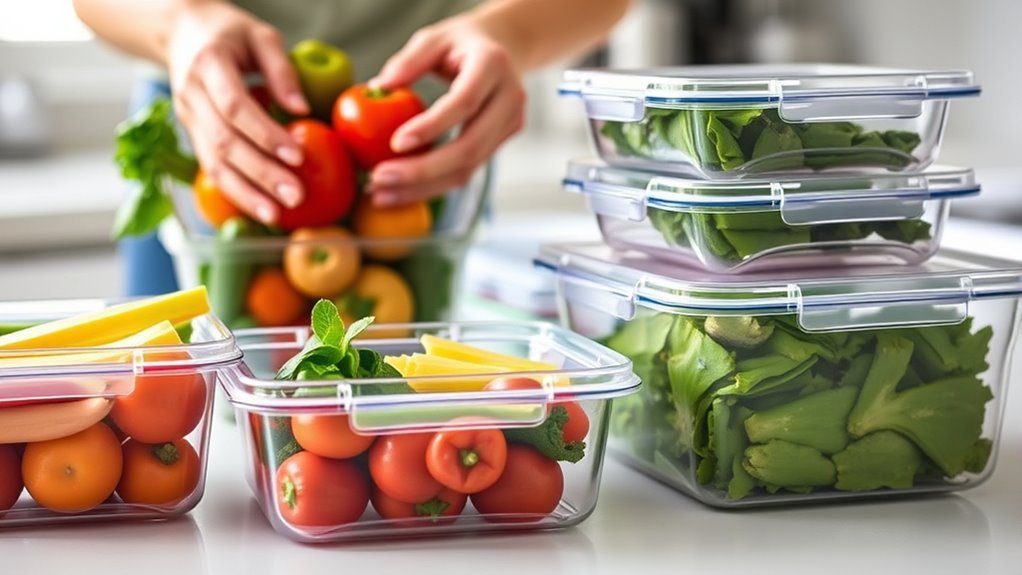
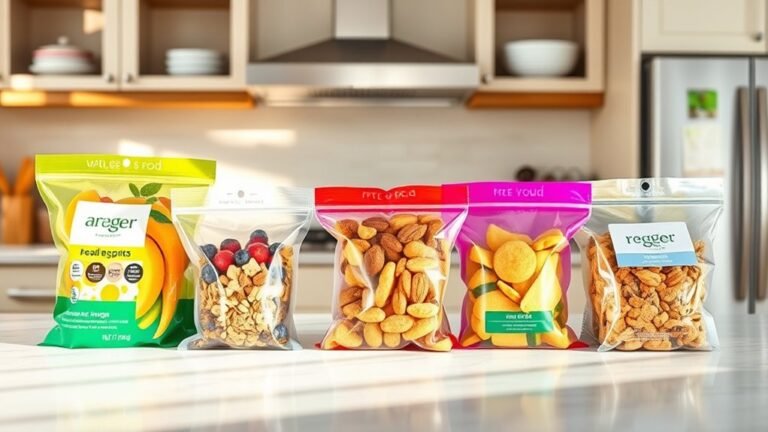
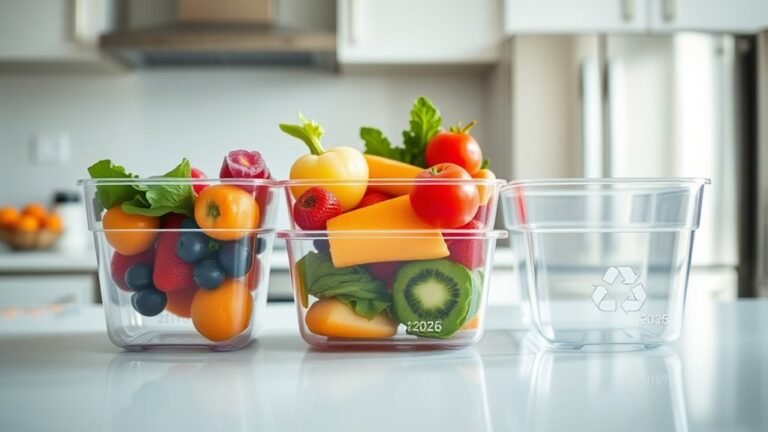
When you’re preparing to freeze food, choosing the right containers is essential to preserving quality and preventing freezer burn. You should use airtight, freezer-safe containers made from durable material like rigid plastic, glass, or vacuum-sealed bags labeled specifically for freezer use.
These materials withstand temperatures at or below 0°F (-18°C) without cracking or warping. Avoid thin, porous, or non-freezer-safe storage options like regular plastic or paper, as they can tear or allow moisture transfer.
Remember to leave 1 to 2 inches of headspace in each container to accommodate food expansion during freezing. It’s an easy step that really helps keep your food safe.
Finally, always use clear labels on your containers that include the contents and date. This helps you rotate your food properly and ensures you use items before spoilage or freezer burn occurs.
Prepare Food for Freezing
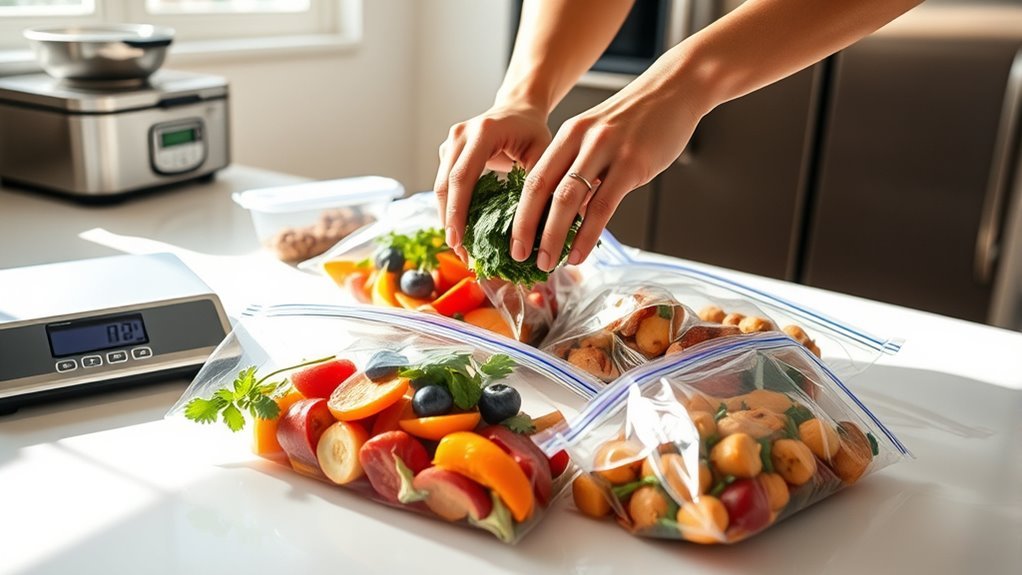
Before freezing, you’ll want to wash and cut your food into uniform pieces. This helps guarantee it freezes and thaws evenly.
To prepare food properly, blanch vegetables by boiling or steaming them briefly. Then cool them quickly in ice water to stop enzyme activity.
Make sure cooked foods cool completely before packaging. This maintains food safety and helps avoid ice crystals.
Use airtight containers, freezer bags, or vacuum-sealed packaging. These protect your food in the freezer from freezer burn and moisture loss.
Label each package clearly with the contents and date. This way, you can keep track and rotate your stock efficiently.
Following these steps helps you freeze foods safely and maintain their quality. That way, your frozen food efforts result in fresh, tasty meals when you’re ready to thaw and enjoy.
Leave Space for Expansion
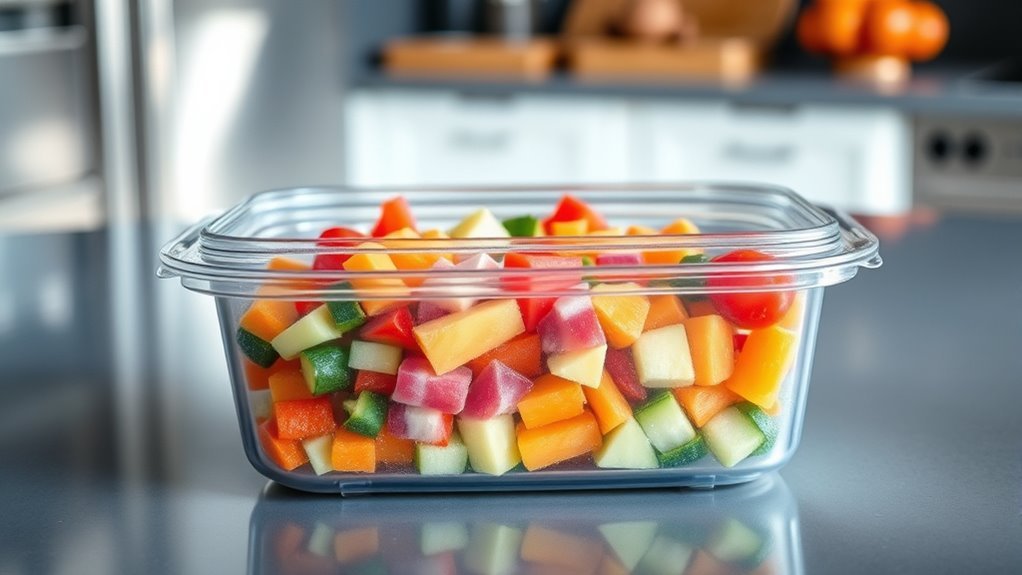
When freezing food, make sure to leave enough space in your containers to allow for expansion. This prevents cracking or bursting and keeps your lids from popping off.
Always check the container’s guidelines to freeze safely and avoid damage. It’s a simple step that can save you a lot of hassle later on.
Allow Room to Expand
How much space should you leave in your containers before freezing? When freezing liquids like soups or sauces, leave at least 1 to 2 inches of headspace to allow for container expansion.
This is essential because freezing liquids expand about 9% as water turns to ice. For freezer bags, remove excess air and leave about ½ to 1 inch of space at the top to accommodate this expansion without bursting.
Wide-mouth jars require around 1 inch of headspace, especially for jams or similar liquids, to prevent cracking. Allowing room to expand not only helps prevent container damage but also preserves the quality of your frozen foods.
Prevent Container Damage
Since liquids expand as they freeze, you’ll need to leave at least an inch of headspace in your containers to prevent cracking or bursting. For soups or sauces, add an extra two inches to accommodate freezer expansion and avoid container damage.
Always avoid overfilling to ensure overflow prevention and allow space for expansion. Using flexible containers or freezer bags helps, as they can stretch slightly without breaking when the contents expand.
Be sure to check manufacturer guidelines for maximum fill levels to minimize the risk of damage during freezing. By following these steps, you’ll protect your containers and keep your food safe, preventing leaks and messes caused by improper headspace and freezer expansion.
Seal Containers to Prevent Air Exposure
Choose airtight containers or resealable freezer bags to keep air out and protect your food. Make sure to squeeze out as much excess air as possible before sealing to prevent freezer burn.
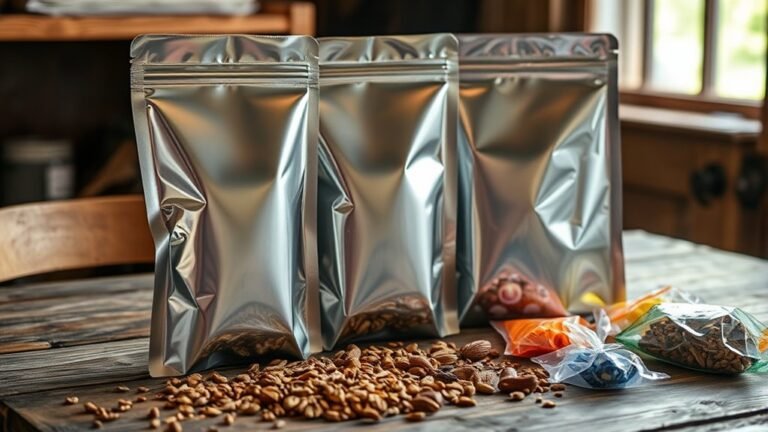
If you want the best protection, consider vacuum sealing to remove nearly all the air from your packaging. That way, your food stays fresher for longer!
Choose Airtight Containers
To keep your food fresh and flavorful during long-term freezing, you’ll want to use airtight containers made of plastic, glass, or vacuum-sealed bags. Choosing the right airtight containers is essential for effective food preservation.
Make sure to seal each container tightly to prevent air exposure, which can cause freezer burn and degrade your food’s texture and flavor. Vacuum-sealed bags are especially effective because they remove most of the air, enhancing storage quality.
Avoid overfilling containers to allow for food expansion and maintain a proper seal. Label each container with the date and contents to track freshness and reduce waste.
Remove Excess Air
How can you guarantee your frozen food stays fresh and tasty for months? The key is thorough air removal before sealing. Removing excess air limits oxygen exposure, preventing freezer burn and moisture loss, which keeps your food’s texture and flavor intact.
Whether you use freezer bags or containers, squeeze out air tightly. This sealing step reduces bacteria and mold risk, enhancing food preservation. Here’s a quick guide:
| Container Type | Air Removal Method | Benefits |
|---|---|---|
| Freezer Bags | Squeeze out air | Reduces freezer burn |
| Plastic Containers | Press lid firmly | Limits moisture loss |
| Vacuum-Sealed Bags | Use vacuum sealer | Extends shelf life |
| Glass Jars | Leave minimal headspace | Prevents mold growth |
| Silicone Bags | Squeeze air manually | Maintains texture |
Proper sealing is essential for long-term freezing success. So, make sure you’re getting all the air out before you stash your food away!
Use Vacuum Sealing
Removing excess air from your frozen food is a great start, but vacuum sealing takes preservation to the next level. Vacuum sealing removes nearly all air from specially designed bags, creating an air-tight environment that dramatically reduces freezer burn.
This method helps maintain your food’s fresh flavor and texture while extending storage time—often doubling or tripling it. To get the best results, cool your food completely before sealing, then use a vacuum sealer to extract the air and seal the bag tightly.
Label Packages With Contents and Date
Although freezing preserves your food, you’ll want to label each package clearly with its contents and the date it was frozen. Proper labeling is essential for effective storage and helps maintain an organized inventory.
Use waterproof markers or durable labels to prevent smudging or fading over time. Write the date in a consistent format like MM/DD/YYYY to track how long items have been stored.
Be specific about the contents—write “chicken breast” or “vegetable stir-fry” rather than just “chicken” or “veggies” to avoid confusion later.
If you divide larger portions into smaller containers or transfer food to new packaging, recheck and update your labels.
This simple organization step ensures you’ll always know what’s inside each container and when it was frozen, making your long-term storage efficient and hassle-free.
Organize Items in the Freezer Efficiently
When you arrange items in your freezer thoughtfully, you make it easier to find what you need and reduce waste. Effective freezer organization helps you track storage times and practice proper food rotation.
To maximize space and maintain proper air circulation, follow these tips:
- Place older items at the front to use them first, supporting food rotation.
- Use uniform-sized containers and bags to stack neatly and save space.
- Label packages clearly with contents and freezing dates to monitor storage times.
- Store heavier or bulkier items at the bottom, lighter and frequently used ones on top for easy access.
Store Food in the Coldest Part of the Freezer
After organizing your freezer efficiently, you’ll want to make sure you store food in its coldest part to keep it fresh longer. The coldest part is usually near the back or bottom, where cold air sinks and stays steady.
This consistent temperature, ideally 0°F (-18°C), is vital for food safety and preserving quality. Avoid placing items near the freezer door since frequent opening causes temperature fluctuations that can lead to freezer burn and spoilage.
Use a freezer thermometer to pinpoint the coldest spot for ideal storage. Keeping your food in this zone minimizes thawing and refreezing cycles, reducing freezer burn risk and ensuring your frozen goods last as long as possible without losing flavor or texture.
Frequently Asked Questions
What Foods Should You Not Freeze in the Freezer?
You shouldn’t freeze eggs in shells, canned foods, mayonnaise, cream sauces, lettuce, whole unblanched fruits, soft cheeses, or certain dairy products because freezing changes their texture, causes spoilage, or ruins their quality after thawing.
Freezing can really alter how these foods feel and taste once they’re thawed. So, it’s best to keep these items out of the freezer to avoid any unpleasant surprises later on.
Is There Any Downside to Freezing Food?
Freezing food is like pressing pause on a movie—it preserves but doesn’t improve.
You’ll risk texture loss, freezer burn, or bacterial survival if handled poorly. So, don’t expect frozen food to stay fresh indefinitely or perfect after thawing.
Is It Better to Freeze Food in Glass or Plastic?
It’s better to freeze food in glass if you want to avoid chemicals and reduce freezer burn. But you’ll want to handle it carefully to prevent breakage.
Plastic’s lighter and safer for rough handling and tight storage. So, it’s a good choice if you need something more durable or space-saving.
What Are Common Mistakes When Freezing Meals?
Nearly 20% of frozen food gets wasted. You’ll commonly mistake freezing meals too early, skipping air removal, neglecting labels, overloading the freezer, or using improper packaging.
All of these can harm flavor, texture, and safety. So, it’s really worth paying attention to how you freeze your meals!
Conclusion
By following these seven steps, you’ll keep your food fresh and tasty for months. Did you know that freezing can extend the shelf life of many foods by up to 12 months? That means less waste and more meals ready when you need them.
So, take the time to freeze properly—it saves money, reduces spoilage, and makes mealtime easier. Freezing food for long term storage helps you preserve nutrients and flavors, keeping your meals just as delicious as the day you froze them.
You’ll thank yourself when you open that perfectly preserved meal later! Proper freezing techniques are key to maximizing shelf life, preventing freezer burn, and ensuring your food stays safe and enjoyable. It’s a smart way to manage your kitchen, reduce food waste, and always have convenient, tasty options on hand.