10 Steps to Make a Cold Room for Food Storage
To make a cold room for food storage, start by selecting a cool, dark spot with stable temperatures. This is key to maintaining freshness and extending the shelf life of your food. A location with good drainage is essential, so water won’t pool around your storage area.
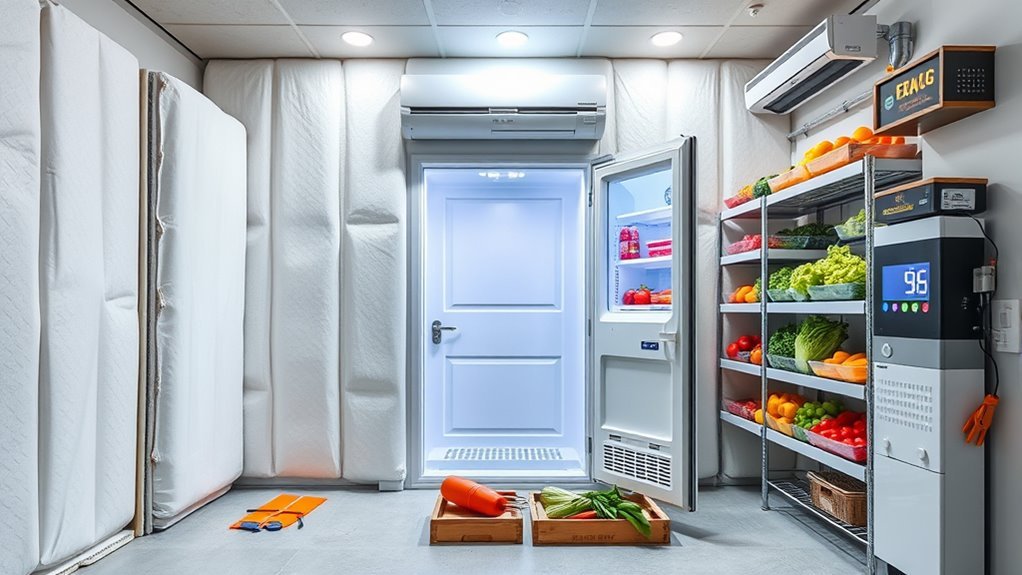
Next, build insulated walls using moisture-resistant materials and vapor barriers. This helps keep the cold in and humidity out, protecting your stored food. Don’t forget to construct a sturdy roof and a well-sealed, insulated door to maintain consistent temperatures.
Install vents to allow proper airflow, balancing intake and exhaust for optimal ventilation. Keeping the temperature around 37-40°F and humidity between 90-95% is ideal to prevent spoilage.
Natural insulation like straw or foam works great for keeping things cool.
Finally, monitor the conditions regularly with sensors and make adjustments as needed. It might take some trial and error, but keep exploring and you’ll master every detail of creating your perfect cold room.
Key Takeaways
- Choose a naturally cool, dark, and ventilated location away from heat sources for stable temperature and humidity control.
- Excavate below frost line, build insulated walls and floors using moisture-resistant materials and vapor barriers for temperature and moisture stability.
- Install insulated, airtight doors with weatherstripping and ensure roof drainage with waterproof, insulated roofing materials.
- Set up adjustable intake and exhaust vents with insect screens to promote airflow and maintain 90-95% humidity.
- Use rust-proof, spaced shelving for air circulation and monitor temperature and humidity regularly with calibrated thermometers and hygrometers.
Selecting the Ideal Location for Your Cold Room
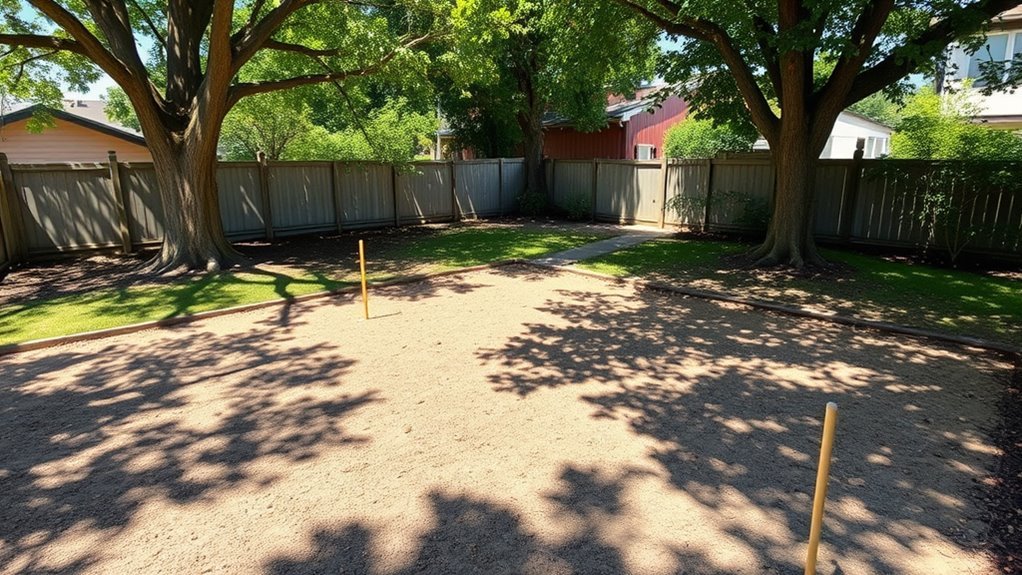
When selecting the ideal location for your cold room, you’ll want to pick a naturally cool, dark spot like a basement or cellar to keep temperatures stable between 32°F and 60°F. Choosing a cool location away from heat sources such as boilers or sun-exposed exterior walls helps maintain consistent temperature control, essential for preserving your food.
Make sure the space offers good ventilation or can be easily ventilated to regulate humidity and air circulation effectively. This prevents moisture buildup and keeps your stored items fresh.
Additionally, consider accessibility for regular stocking and maintenance while ensuring the area is secure from pests and animals. By focusing on these factors, you’ll create an excellent environment that supports your cold room’s efficiency and longevity.
Preparing the Site and Ensuring Proper Drainage
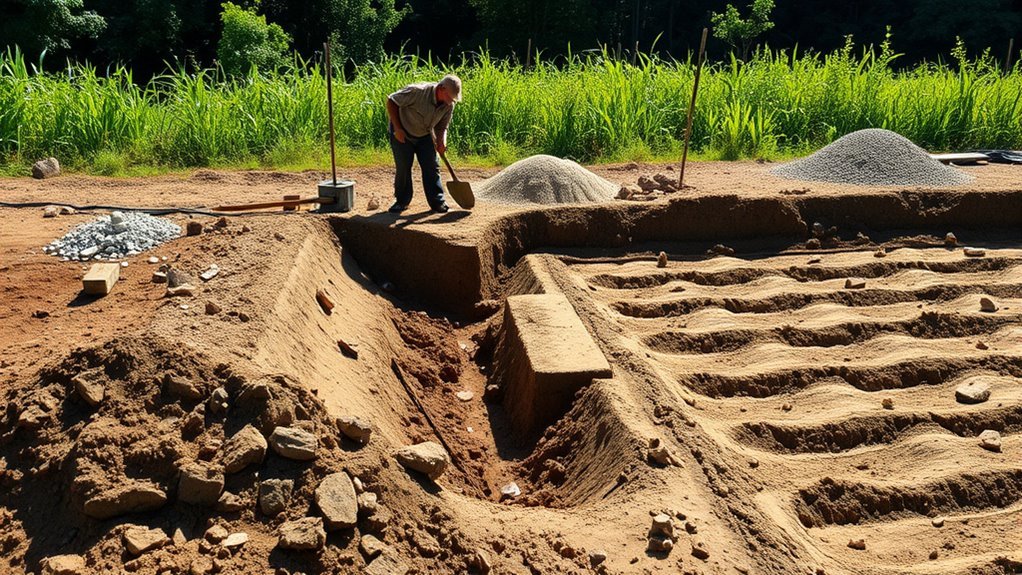
Although selecting the right location sets the foundation, properly preparing your site and ensuring effective drainage are crucial to building a durable cold room. You’ll want to focus on these key steps:
- Excavate a hole with a foundation extending below the frost line to prevent shifting from freeze-thaw cycles.
- Install a perforated drainpipe on the cellar’s backside, resting on gravel, and slope it to direct water away for ideal drainage.
- Backfill around the cellar with compacted soil and gravel, then cover the roof with earth, gravel, and vegetation to boost insulation and avoid surface water pooling.
Following these steps helps maintain structural stability while enhancing insulation and drainage. This way, you can make sure your cold room stays cool and dry year-round.
Building Strong and Insulated Walls
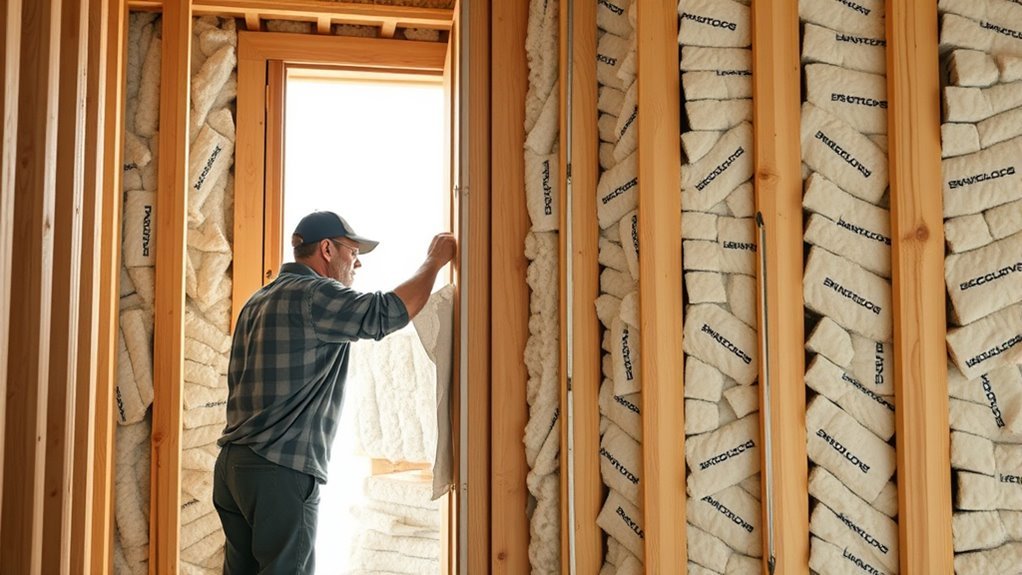
You’ll want to choose insulation materials like polyurethane or polystyrene foam to keep temperatures steady inside your cold room. Building durable wall frames with moisture-resistant materials guarantees your structure stays strong and prevents heat transfer.
Don’t forget to seal joints and surfaces tightly to block air leaks and protect against moisture. This way, you’ll keep your cold room efficient and long-lasting.
Choosing Insulation Materials
How do you guarantee your cold room stays consistently cool and energy-efficient? Choosing the right insulation materials is key. You need to focus on thermal resistance, airtightness, and moisture control.
Use rigid foam insulation like polystyrene or polyisocyanurate panels for high R-values. This ensures strong thermal resistance.
Apply spray foam or closed-cell foam in wall cavities to create an airtight seal. This prevents air leaks that waste energy.
Cover insulation with vapor barriers such as polyethylene sheeting or foil-faced barriers. These help control moisture and prevent mold growth.
Also, select moisture-resistant materials for your walls to support insulation and avoid water damage. Proper sealing around joints and seams with caulk or expanding foam helps maintain your cold room’s insulation effectiveness and energy efficiency.
Constructing Durable Wall Frames
After selecting the right insulation materials to keep your cold room cool and energy-efficient, focus on building sturdy wall frames that support both strength and insulation.
Use 2×4 or 2×6 lumber to construct wall frames, making sure they’re level and square for maximum stability. Secure the frames firmly to the floor and ceiling with nails or screws to ensure proper anchoring.
Install insulation like foam board or mineral wool between the studs to boost thermal efficiency. Don’t forget to leave space for ventilation gaps or ducts within the walls to promote airflow and maintain consistent temperatures.
Finally, cover the wall frames with moisture-resistant drywall, sealing all joints carefully to prevent air leaks and moisture intrusion. This step is key to protecting your cold room’s integrity.
Constructing a Durable Roof and Door
You’ll want to choose roofing materials that provide strength and insulation, like reinforced concrete topped with rigid foam and moisture barriers.
For the door, focus on effective insulation using foam and airtight seals to keep your cold room’s temperature stable. Proper construction here prevents heat loss and protects your stored food from pests and weather.
Roofing Materials Selection
Since the roof and door are critical for maintaining your cold room’s temperature, choosing the right materials is essential. For roofing, you want materials that provide excellent insulation and are waterproof to protect against water damage and temperature fluctuations.
Here’s what you should focus on:
- Use rigid insulation panels like urethane or Styrofoam for the roof to keep temperatures stable.
- Cover the insulation with a durable, waterproof layer such as a thick polyethylene sheet or roofing membrane to prevent leaks.
- Build the roof with a slight slope to ensure proper drainage and avoid water pooling, which can compromise the structure.
Following these steps will help you construct a reliable, insulated, and waterproof roof that keeps your cold room efficient and long-lasting.
Door Insulation Techniques
Just like the roof, the door plays a vital role in keeping your cold room airtight and insulated. Start by framing the door with 2×2 lumber and filling gaps with foam board or mineral wool to boost door insulation.
Construct the door using plywood layered with rigid foam or spray foam insulation for durability and enhanced thermal efficiency. Apply weatherstripping or specialized door seals around the edges to create an airtight seal that prevents warm air from sneaking in.
Don’t forget to install a threshold or door sweep at the bottom to minimize drafts and maintain steady interior temperatures. Reinforce the door core with sturdy metal or wood framing to resist warping and wear over time.
This way, your cold room stays energy-efficient and reliable. It’s all about keeping that cold air in and the warm air out!
Installing Effective Ventilation Systems
Although cold rooms rely on low temperatures to preserve food, effective ventilation plays a crucial role in maintaining consistent airflow and humidity levels.
Proper ventilation helps prevent mold growth and keeps your stored produce fresh.
To install effective ventilation systems, follow these steps:
- Place intake vents near the floor and exhaust vents near the ceiling to promote natural airflow.
- Use adjustable vents or dampers to control airflow and maintain ideal humidity, preventing drying or excess moisture.
- Add a small fan or exhaust system to actively circulate air, especially in larger cold rooms, ensuring uniform temperature and humidity.
Don’t forget to install insect screens on vents and regularly clean them to keep airflow optimal and protect your food from pests.
Adding Shelving and Storage Solutions
When adding shelving and storage solutions to your cold room, choose sturdy, rust-proof materials like wire or treated wood that can handle heavy canned goods and produce. Install shelves with a 1-2 inch gap from the wall to promote air circulation and prevent moisture buildup.
Opt for adjustable shelving to accommodate jars, bins, and various produce sizes, enhancing your storage flexibility. Secure shelves with braces or supports, especially if you live in an earthquake-prone area, to avoid shifting or falling.
Use shallow shelves about 16 inches deep to maximize organization, making items easy to access and see. Thoughtful shelving and storage choices not only improve organization but also extend the freshness of your food by allowing proper airflow and reducing clutter.
Managing Temperature and Humidity Levels
You’ll want to keep your cold room’s temperature between 32°F and 50°F, aiming for around 37-40°F to preserve most foods.
Managing humidity is just as important—using techniques like damp burlap or water pans helps maintain the ideal 90-95% for fresh produce. Don’t forget to monitor these levels regularly with reliable thermometers and hygrometers to keep everything fresh and prevent spoilage.
Temperature Control Methods
To keep your cold room effective for food storage, you need to carefully manage both temperature and humidity levels. Proper temperature control prevents spoilage, while good insulation stabilizes internal conditions.
Here’s how to guarantee optimal performance:
- Use accurate monitoring tools like thermometers and hygrometers to keep temperature between 32°F and 50°F and humidity at 90-95%.
- Insulate walls, floors, and ceilings with foam board or mineral wool to reduce temperature fluctuations and maintain steady humidity.
- Incorporate ventilation systems with intake and exhaust vents to promote air circulation. This balances humidity and prevents buildup of gases like ethylene.
Humidity Regulation Techniques
Although managing temperature is essential, controlling humidity plays an equally important role in preserving your produce. You’ll want to maintain humidity levels between 90-95% to keep root vegetables and leafy greens fresh.
To boost moisture naturally, use damp burlap, place water pans, or sprinkle water on the floor. A dirt or gravel floor also helps retain moisture effectively.
Proper ventilation is critical; make sure your cold room has intake and outlet vents to circulate air, regulating humidity and preventing mold growth. This balance of humidity and airflow keeps your stored food in ideal condition.
Monitoring Tools and Tips
Since maintaining stable temperature and humidity is essential, you should equip your cold room with reliable monitoring tools. Using a digital thermometer and hygrometer helps you track conditions precisely, ensuring your stored food stays fresh.
Here are three monitoring tips to keep your cold room optimal:
- Use a thermometer with min/max recording to spot temperature fluctuations. Also, place sensors at different spots to detect uneven areas.
- Install a hygrometer to maintain humidity between 90-95%, which is ideal for most root vegetables and greens.
- Regularly perform calibration on both devices to guarantee accurate readings. And don’t forget to keep logs to monitor trends and adjust ventilation or insulation as needed.
These steps will help you manage your cold room environment effectively.
Using Natural Insulation Materials
When you use natural insulation materials like straw, hay, or shredded leaves, you create an effective barrier that slows heat transfer and keeps your cold room cooler. Straw bales work great as a natural insulation option—they’re affordable, renewable, and biodegradable.
You can use them to build or line the walls, helping maintain a stable temperature inside. Plus, damp straw or hay naturally regulates humidity, which is essential for food storage.
Incorporating materials like wood chips or moss also promotes humidity control by creating a breathable environment that reduces mold risk. Covering your cold room’s roof and walls with these natural layers not only boosts insulation but also improves air circulation.
This approach minimizes temperature fluctuations and keeps your stored food fresh longer. It’s a simple, eco-friendly way to maintain the right conditions inside your cold room!
Sealing and Backfilling for Stability
After building your cellar walls, you’ll need to seal and backfill carefully to guarantee your cold room stays stable and dry. Proper backfilling ensures stability and prevents water damage by promoting effective drainage. Follow these steps:
Seal and backfill carefully to keep your cold room stable, dry, and protected from water damage.
- Backfill around the foundation with gravel up to the footer level to enhance drainage and reduce wall pressure.
- Fill the remaining space with soil in layers, tamping each firmly to prevent settling and maintain stability.
- Slope the backfilled earth away from the structure, using a level to avoid water pooling near your cold room.
Also, make sure to incorporate drainage pipes and gravel at the base. This helps facilitate water runoff, keeping the environment inside dry and stable.
Taking these steps with care protects your cold room for long-term use. It’s all about keeping things solid and dry!
Monitoring and Maintaining Your Cold Room Environment
Sealing and backfilling set a solid foundation for your cold room, but keeping the environment stable requires ongoing attention. Regularly check and record temperature and humidity using a thermometer and hygrometer.
Maintain consistent temperature and humidity by adjusting insulation, ventilation, or supplemental heating and cooling to prevent food spoilage. Inspect seals, insulation, and ventilation systems often to avoid drafts, leaks, or blockages.
Use water pans, damp burlap, or gravel floors to sustain humidity, especially in dry climates or seasons. Keep an eye on stored produce for spoilage or mold, addressing any issues quickly.
Proper monitoring and maintenance of temperature, humidity, and ventilation will ensure your cold room remains an ideal environment for preserving your food effectively.
Frequently Asked Questions
What Should You Not Store in a Cold Room?
You shouldn’t store bananas, avocados, dairy without control, fresh herbs, leafy greens, bread, or baked goods in a cold room.
Ethylene-producing fruits like apples and pears can also spoil nearby vegetables quickly, so keep them separate. It’s all about keeping your produce fresh and tasty!
What Are Some Ideas for Cold Storage Rooms?
You can convert a basement, build an insulated room, or use underground cellars.
Try repurposing old freezers, burying containers, or using well-insulated outdoor sheds.
Adding shelves and vents helps keep your food fresh and organized.
These little touches really make a difference when it comes to maintaining the right temperature and airflow.
Does a Cold Room Need to Be Vented?
Imagine your cold room filled with fresh apples—yes, you need to vent it. Proper venting keeps air fresh, controls humidity, and prevents spoilage.
Without it, your fruits might rot faster due to trapped gases and moisture. So, venting really makes a difference in keeping your apples fresh longer.
How to Construct a Cold Storage?
You construct cold storage by insulating walls, ceiling, and floor. Installing ventilation for airflow is also important.
Next, set up shelves for organization. Don’t forget to monitor temperature and humidity closely. This helps maintain ideal conditions for preserving your food effectively.
Conclusion
By following these 10 steps, you’re not just building a cold room—you’re creating a fortress for your food’s freshness. Like a silent guardian, your cold room will protect and preserve, keeping spoilage at bay.
Remember, attention to detail in location, insulation, and ventilation will pay off every time you open that door. These elements are key to maintaining the perfect environment for your food storage.
So, roll up your sleeves and start building—your future self (and your food) will thank you! Creating a cold room for food storage is an investment in quality and longevity. With proper planning and execution, your cold room will become an essential part of preserving your food’s taste and nutrition.