How to Build a Food Storage Cellar in 5 Easy Steps
To build a food storage cellar, start by picking a well-drained, shaded spot with stable ground. Choosing the right location is crucial because it helps keep your food fresh longer by avoiding excess moisture and heat.
Next, mark out the layout with stakes and string, ensuring enough space for ventilation.
Then, construct sturdy walls sealed with waterproof caulk to block drafts and moisture. This step is key to maintaining a consistent temperature inside your cellar.
Add moisture-resistant insulation and install two vents for airflow. Proper ventilation prevents mold and keeps your stored food safe.
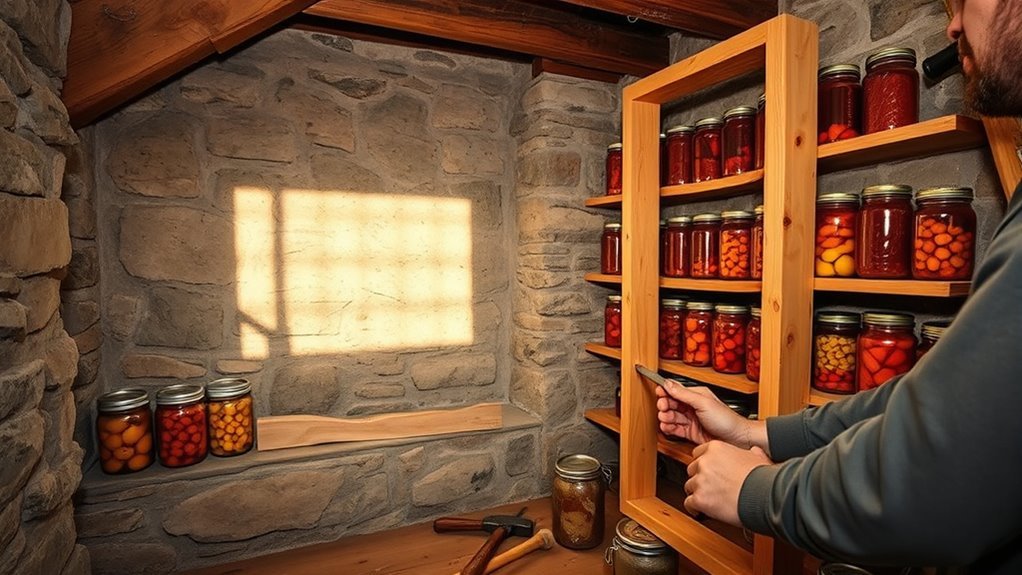
Finally, set up breathable shelves to organize your produce. These shelves help air circulate around your food, extending its shelf life.
Follow these steps, and you’ll uncover tips to make your cellar even more efficient and long-lasting.
Key Takeaways
– Choose a well-drained, shaded location with stable ground and natural insulation for optimal cellar conditions.
This will help keep your food fresh and safe over time.
– Mark the cellar layout precisely, measuring dimensions and outlining walls, doors, and vents on the ground.
Getting these measurements right from the start makes building way easier.
– Build walls using weather-resistant materials, sealing all gaps and applying waterproof coatings for durability.
You want your cellar to stand strong against moisture and weather changes.
– Install moisture-resistant insulation and vapor barriers, plus intake and exhaust vents for proper airflow.
Good airflow prevents mold and keeps your food fresh longer.
– Add breathable shelving with spacing for ventilation and organize storage by type and rotation system.
This way, you can easily find what you need and keep everything in good condition.
Selecting the Ideal Location
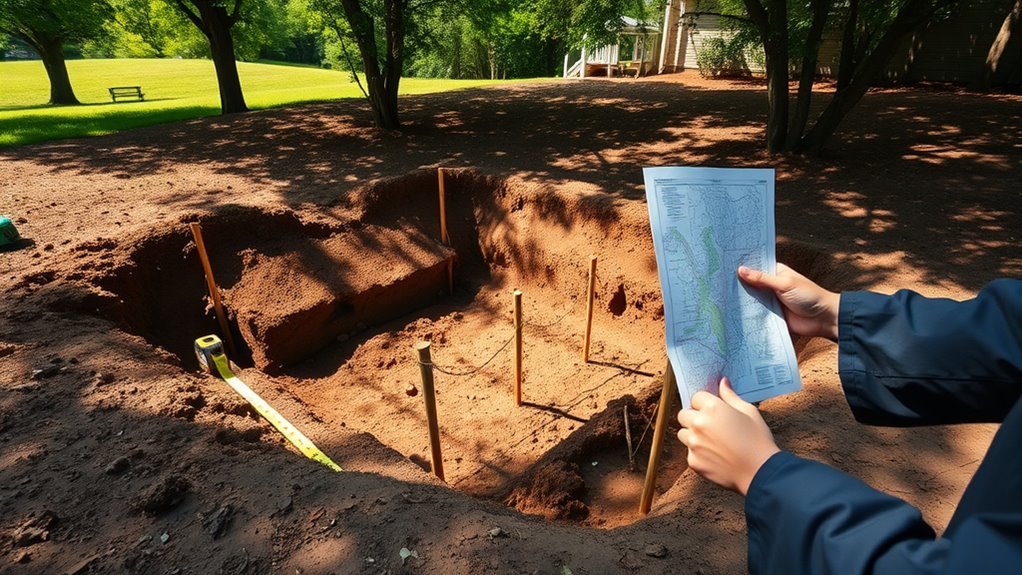
When selecting the ideal location for your food storage cellar, you’ll want to prioritize well-drained soil and natural insulation, like a north-facing slope or shaded area, to keep temperatures stable.
Choose a site with stable ground that avoids high water table and water table issues, which can cause flooding or water infiltration. Make sure there’s enough excavation space and room for a proper ventilation setup to maintain airflow.
Avoid spots near large trees or water sources to prevent root intrusion and moisture problems. If possible, select a location near existing structures, such as a basement corner or hillside, to reduce excavation costs and improve insulation.
Planning and Marking the Layout
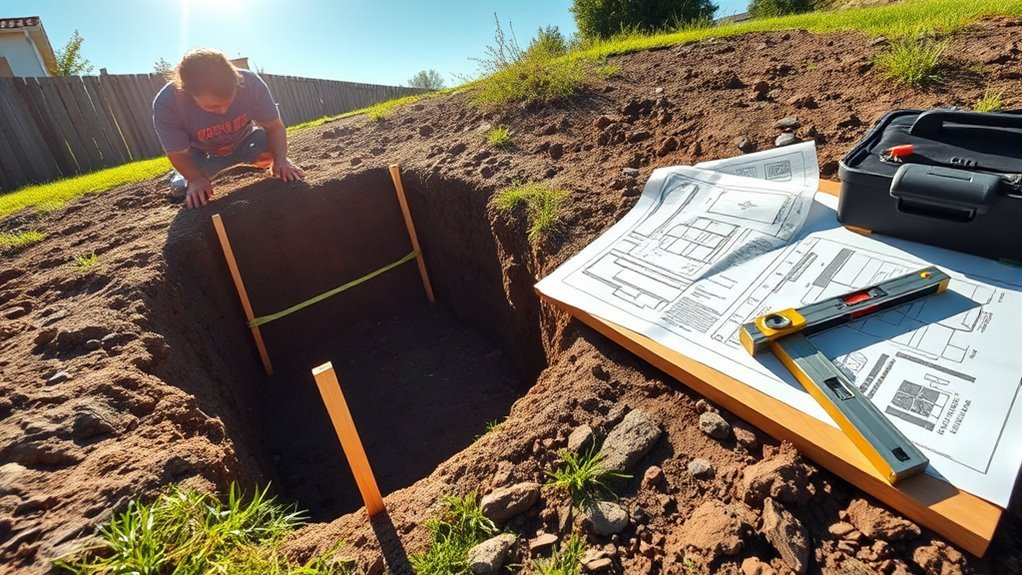
Before you start digging, carefully plan and mark your cellar’s layout to guarantee accuracy and efficiency throughout construction. Begin by selecting a spot with good drainage, ventilation, and easy access.
Next, take precise measurements of your desired dimensions and transfer these onto the ground. Use stakes and string to outline the perimeter clearly, ensuring straight lines that reflect your design.
Mark important structural elements like walls, doorways, and ventilation points directly on the ground to visualize their placement. Double-check your measurements and markings to confirm they match your storage needs and construction specifications.
This detailed layout planning helps avoid costly mistakes and ensures every part of your cellar, including ventilation, fits perfectly into the overall design before you proceed to excavation or building.
Constructing the Walls and Sealing Gaps
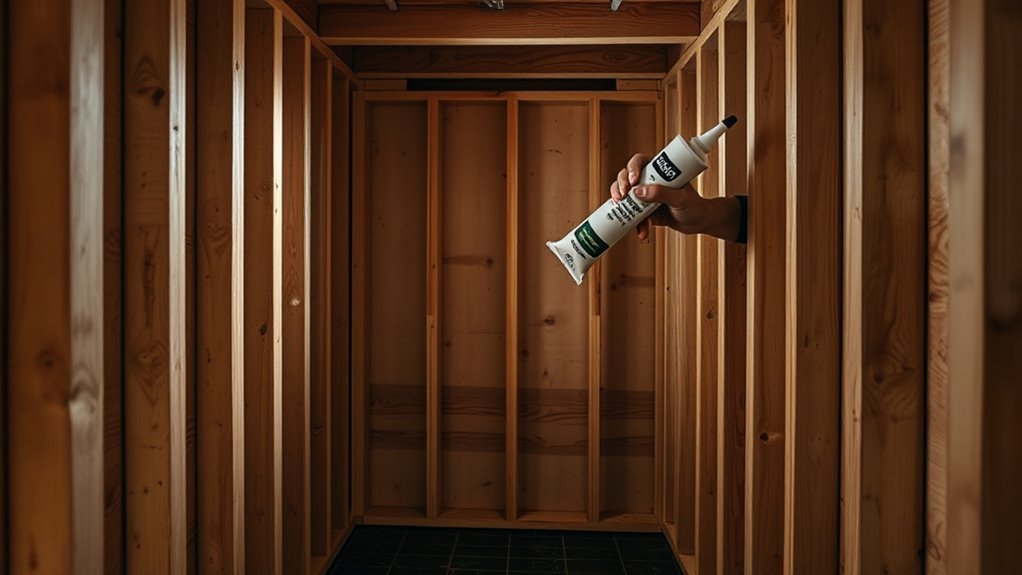
Although building sturdy walls takes careful attention, you can guarantee your food storage cellar remains secure and dry by using a level and straight edge to keep the walls within a one-inch tolerance. Start by installing weather-resistant sheathing like exterior-grade plywood to cover the framing.
Next, seal gaps around joints, door openings, and vent openings with waterproof caulk or foam sealant to block moisture and drafts. Use flashing around openings to direct water away.
Finally, apply a waterproof coating on the exterior walls to enhance durability.
- Use a level and straight edge for precise wall alignment
- Seal gaps thoroughly with waterproof caulk and foam sealant
- Protect openings with flashing and apply a durable waterproof coating
Installing Insulation and Ventilation
To keep your food storage cellar efficient and comfortable, you’ll need to install proper insulation and ventilation that control temperature and humidity. Cover walls and ceilings with moisture-resistant insulation, like extruded polystyrene foam, and add a vapor barrier behind it to prevent moisture buildup.
Seal gaps tightly using weatherproof caulking to stop drafts and pests. Install two vent pipes—one intake and one exhaust—placed far apart to promote good airflow and temperature regulation. Surround vent openings with insulated panels to minimize heat transfer.
This setup ensures ideal air circulation and humidity control, preserving your stored food.
| Task | Recommendation |
|---|---|
| Insulation type | Moisture-resistant foam |
| Vapor barrier | Install behind insulation |
| Seal gaps | Use weatherproof caulking |
| Vent pipes placement | Intake and exhaust, far apart |
| Vent insulation | Insulated panels around openings |
Adding Shelving and Organizing Storage
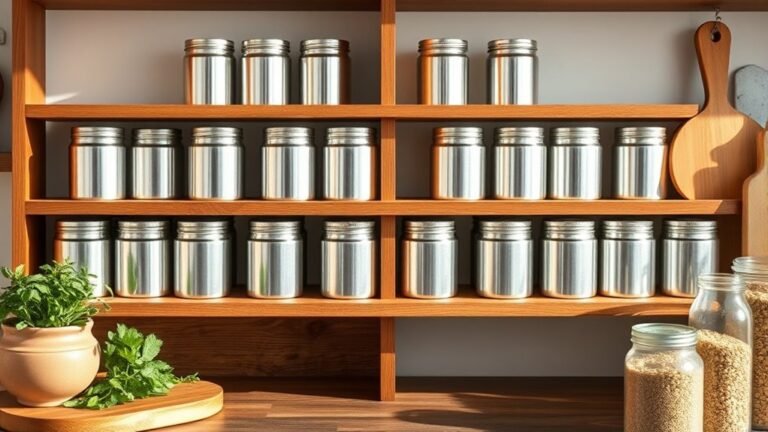
With insulation and ventilation in place to maintain the right environment, you can focus on adding shelving that supports proper airflow and organization. Choose shelving materials like slatted wood or wire racks to enhance air circulation and moisture control, preventing mold buildup.
Arrange storage shelves at varying heights to fit different produce types—lower for root vegetables, higher for less sensitive items. Make sure there are gaps between shelves and walls to promote humidity management and maximize storage capacity.
Secure shelves firmly so they can withstand cellar conditions without any trouble. For efficient produce organization, implement a rotation system and organize items by type and storage duration.
Use breathable shelving materials to improve air circulation and moisture control. Vary shelf heights based on produce types for ideal storage organization, and remember to regularly rotate stored items to maintain freshness and maximize storage capacity.
Frequently Asked Questions
How to Make a Food Storage Cellar?
You start by picking a dry, well-drained spot, then dig a deep hole lined with plastic.
Build insulated, sturdy walls, add a sealed roof, and install vents and shelves to keep your food cool and fresh.
It’s pretty straightforward once you get the hang of it! Just make sure everything is tight and secure to keep moisture out.
What Is the Cheapest Way to Make a Root Cellar?
You might think building a root cellar is expensive, but it isn’t.
You can dig a simple hole, line it with plastic, and insulate with straw—DIY and natural materials keep costs super low and storage effective.
What Are Common Root Cellar Mistakes?
You’ll often make mistakes sealing the cellar, neglecting ventilation, using wrong materials, ignoring insulation or drainage, and picking poor locations.
These errors cause moisture, mold, temperature shifts, and spoilage, ruining your stored food and cellar’s effectiveness. It’s easy to overlook these details, but they really matter.
What Is the Best Material to Use for a Root Cellar?
You’ll want to use concrete blocks or poured concrete for durability and moisture resistance. Pair that with insulation like foam panels to keep temperatures stable.
Treated wood works if you prefer above-ground, but avoid materials that trap water.
Choosing the right materials really helps your root cellar last longer and keep your produce fresh. It’s all about balancing strength and moisture control!
Conclusion
Now that you’ve built your food storage cellar, you’re ready to keep your provisions fresh as a daisy all year round. With the right location, sturdy walls, proper insulation, and organized shelving, you’ve created a fortress for your food.
Remember, a well-maintained cellar is like a trusted friend—always there when you need it. Keep it tidy, check ventilation regularly, and enjoy the peace of mind that comes with smart, secure storage.
By following these simple steps, your food storage cellar will reliably preserve your supplies, giving you confidence in your emergency preparedness. This easy-to-build cellar not only safeguards your food but also adds value by ensuring long-term freshness. So, take pride in your creation and reap the benefits of having a dependable food storage solution right at home.