
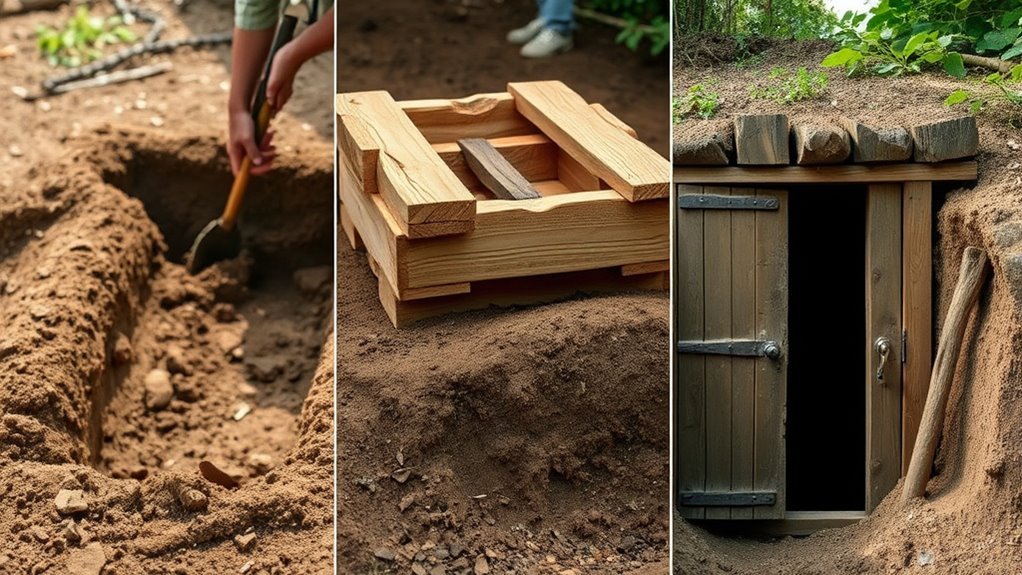
How to Build a Root Cellar for Food Storage in 3 Simple Steps
Start by picking a well-drained, sloped spot near your home to keep your root cellar dry and accessible. Choosing the right location is key for effective food storage because it helps manage moisture and temperature naturally.
Next, dig a 6-8 foot hole, pour a concrete footer, and build strong insulated walls with concrete blocks or earthbags. These materials will help maintain a consistent cool temperature inside your root cellar.
Finally, put on a sturdy, arched concrete roof with vents for airflow, and seal everything tightly to safeguard your food. Proper ventilation is essential to prevent mold and keep your stored produce fresh.
Keep going, and you’ll discover more essential tips to ensure your root cellar stays safe and effective year-round.
Key Takeaways
- Choose a well-draining, elevated location near your home to prevent flooding and allow easy access.
- Excavate a 6-8 foot deep hole and build reinforced concrete block or earthbag walls for structural stability.
- Construct a sturdy, insulated arch roof with ventilation vents for airflow and temperature control.
- Seal the structure with weatherproof materials and install screens on vents to keep pests out.
- Install a French drain outside the entrance and ensure airtight doors for moisture and temperature regulation.
Selecting the Ideal Location and Planning
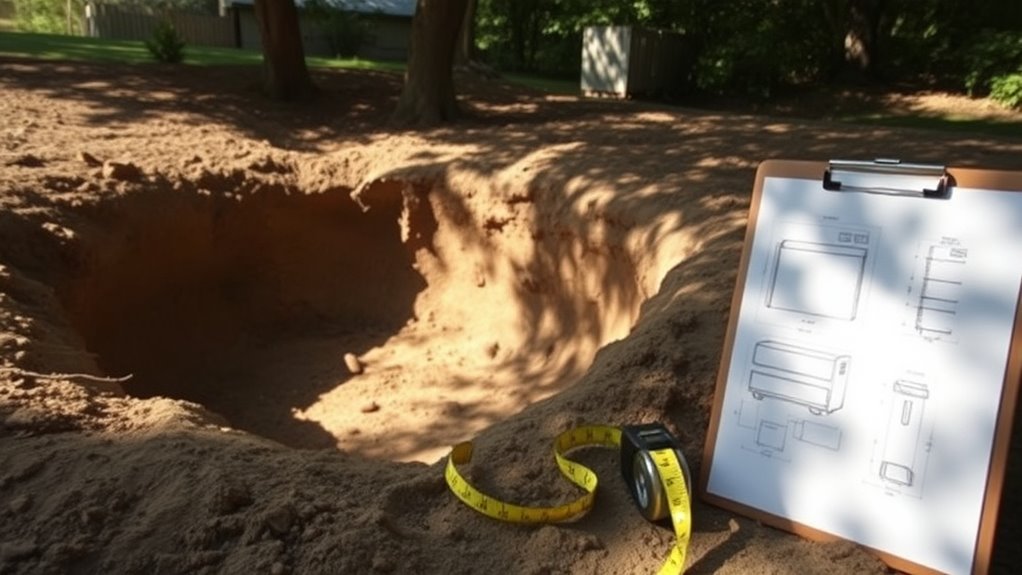
When selecting the ideal location for your root cellar, prioritize well-draining soil on a hillside or slope to guarantee proper drainage and easy access. Site selection is vital; choose soil type that prevents water accumulation to reduce flood risk.
Avoid low-lying areas with high water tables as they threaten dryness and stability. Make sure your root cellar is close enough to your home for convenient access during harvest and maintenance.
Also, steer clear of large trees whose roots can disrupt underground construction and cause shifting. Plan for ventilation by picking a spot where you can install vents above ground, safely protected from pests and harsh weather.
Constructing the Foundation and Walls
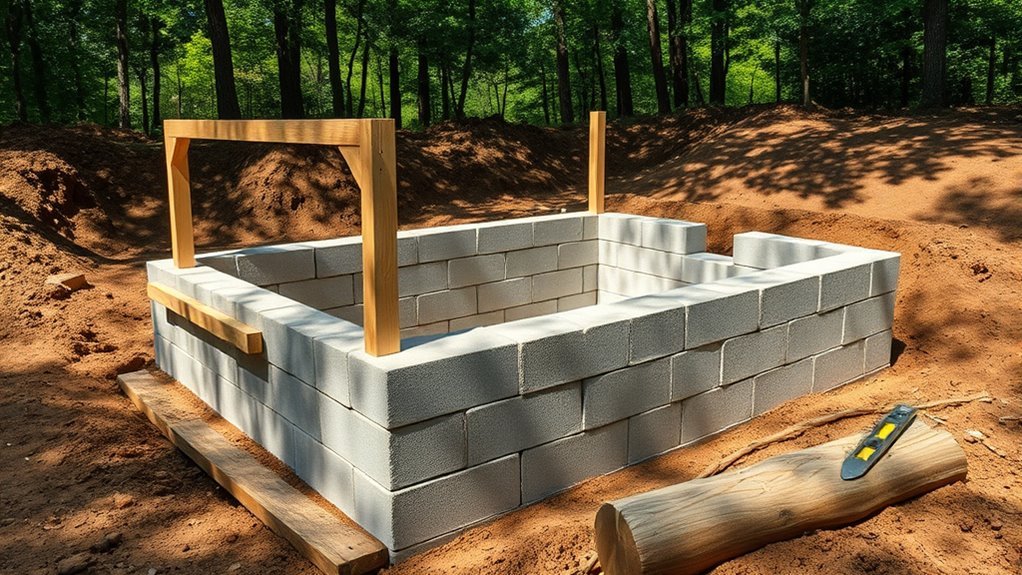
After choosing the perfect location and planning your root cellar, it’s time to focus on constructing a sturdy foundation and walls. Start by digging a level hole with good drainage, about 6 to 8 feet deep, to ensure proper insulation and temperature stability.
Pour a solid concrete footer, roughly 12 inches wide and high, to serve as a reliable foundation. Build the walls using concrete blocks or earthbags, making sure they’re square and aligned for structural integrity.
Reinforce walls with rebar or barbed wire between layers to prevent shifting. Don’t forget to install an airtight door with insulation to maintain consistent conditions inside.
- Excavate a level hole with proper drainage
- Pour a concrete footer as a strong foundation
- Construct reinforced walls with concrete blocks or earthbags for durability
Installing the Roof, Ventilation, and Sealing
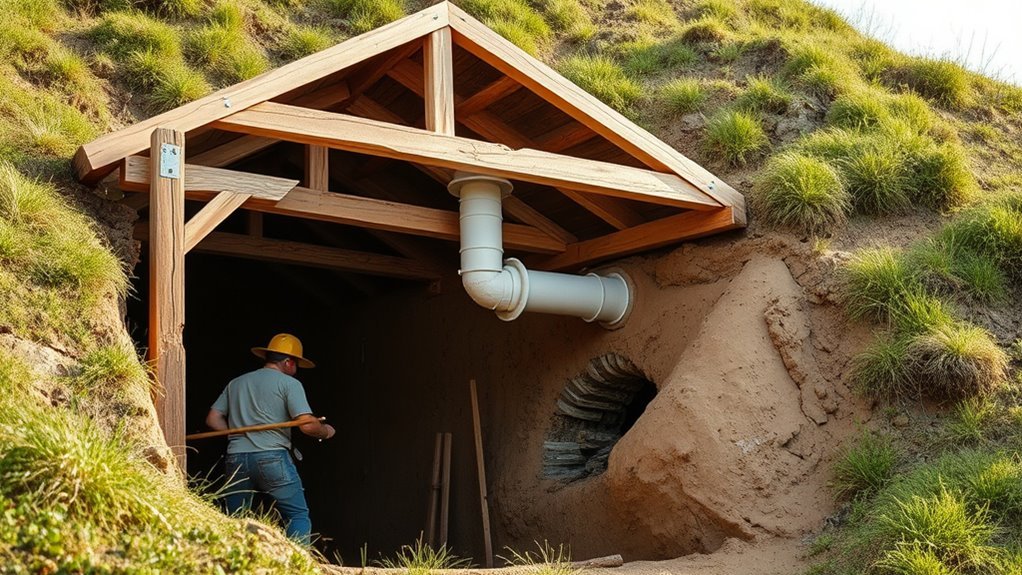
Although constructing a solid foundation and walls is essential, you’ll need to focus next on installing a sturdy roof, proper ventilation, and effective sealing to protect your root cellar from moisture and pests.
Begin roof installation by building a plywood arch form supported by vertical 2x4s and reinforced with rebar. Then, complete a concrete pour of about 4,000 pounds for strength.
Install two 4-inch ventilation vents in opposite corners to ensure airflow control. You can cap or adjust them seasonally for ideal ventilation.
For sealing the cellar, apply weatherproofing materials like stucco or roofing membrane. Also, use waterproof sealant to prevent leaks.
Add screens to vent openings for pest prevention. Finally, install a French drain outside the entrance to divert water.
This will complete your basement construction and ensure a dry, secure root cellar.
Frequently Asked Questions
What Is the Cheapest Way to Build a Root Cellar?
The cheapest way to build a root cellar is by digging a hole, lining it with plastic, and using earthbags filled with dirt for walls.
You can also repurpose a basement or porch with simple insulation. It’s pretty straightforward and doesn’t require fancy materials.
How to Make a Quick Root Cellar?
Want a quick root cellar? Just dig a hole, toss in your veggies, cover with some plastic or tarp, and call it a day.
Who needs perfect airflow when you’re in a hurry, right?
What Are Common Root Cellar Mistakes?
You often make mistakes by not sealing vents or doors properly, using unsuitable materials, neglecting temperature and humidity control, overloading shelves, and storing incompatible crops together—
all leading to spoilage, pests, and poor food preservation.
It’s easy to overlook these details, but they can really affect how well your root cellar works.
Making sure everything is sealed tight and conditions are just right helps keep your food fresh longer.
How Deep Underground Should a Root Cellar Be?
You should bury your root cellar about 4 to 6 feet underground, like a treasure chest beneath the earth, to keep temperatures steady and cool.
This depth protects your food without risking water damage or structural issues. It’s like giving your veggies a cozy, safe spot to hang out all year round.
Conclusion
Building your root cellar is like planting the seed of self-reliance. By choosing the perfect spot, crafting sturdy walls, and sealing it tight with proper ventilation, you’re creating a cool, dark sanctuary where your food will thrive through the seasons.
This simple shelter isn’t just storage—it’s your underground treasure chest, preserving nature’s bounty and giving you peace of mind, no matter what storms life may bring.
Your harvest’s safe haven starts now! With your root cellar in place, you ensure long-lasting food storage that keeps fruits and vegetables fresh and nutritious. This cool, controlled environment slows spoilage and reduces waste, making it an essential part of sustainable living. So go ahead, build your root cellar, and enjoy the benefits of reliable food storage for years to come.