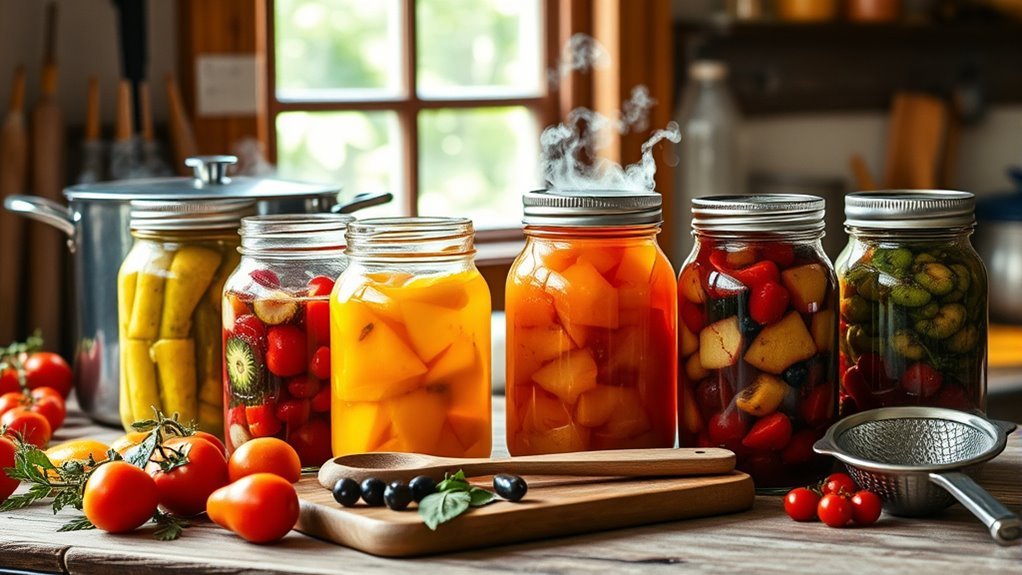
How to Can Food for Long Term Storage in 7 Easy Steps
To can food for long-term storage, start by selecting fresh, firm produce free of blemishes. Thoroughly wash and prepare your food, then sterilize jars and equipment. These first steps are crucial to ensure your preserves stay safe and tasty over time.
Next, pack food into jars using a funnel, leaving proper headspace, and wipe rims clean. This helps prevent contamination and ensures a good seal.
Choosing the right canning method is key—use water bath canning for acidic foods like tomatoes and fruits, or pressure canning for low-acid foods such as vegetables and meats.
Process jars for the recommended time based on your recipe and altitude. After cooling, check that jars seal tightly by pressing the lids.
Store sealed jars in a cool, dark place to maintain quality. Following these simple steps sets you up for safe, lasting preserves, and there’s always more to learn to perfect your canning technique!
Key Takeaways
- Select fresh, ripe, and blemish-free produce. Wash thoroughly, and prepare promptly by peeling or blanching as needed.
- Sterilize jars and lids by boiling or using a dishwasher cycle. Then pre-warm jars to prevent cracking.
- Fill jars with prepared food using a funnel, leaving the recommended headspace. Remove air bubbles with non-metallic utensils.
- Choose the correct canning method: water bath for acidic foods, pressure canner for low-acid foods. Be sure to follow the recommended processing times.
- Ensure proper sealing by tightening lids finger-tight. Check seals after cooling, then store jars in a cool, dark, and dry place.
Selecting Fresh Produce for Canning
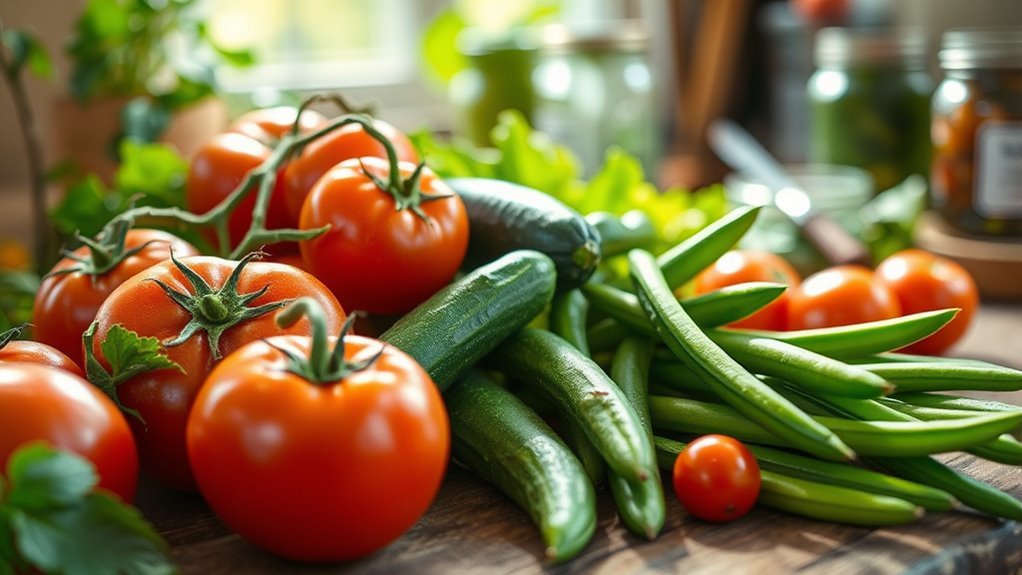
When selecting fresh produce for canning, choose ripe, blemish-free items at their peak season to guarantee the best flavor and safety. You want firm produce free from bruises, soft spots, or any signs of decay.
Using fresh ingredients is essential because overripe produce may not hold up well during processing, affecting quality and shelf life. Always wash produce thoroughly to remove dirt, pesticides, and bacteria before you start canning.
Ideally, prepare your produce promptly after harvesting or purchasing to preserve its flavor and nutrients. By focusing on ripe produce picked at the peak season and ensuring it’s blemish-free and firm, you set a solid foundation for successful canning that keeps your food safe and delicious for long-term storage.
Preparing Jars and Equipment
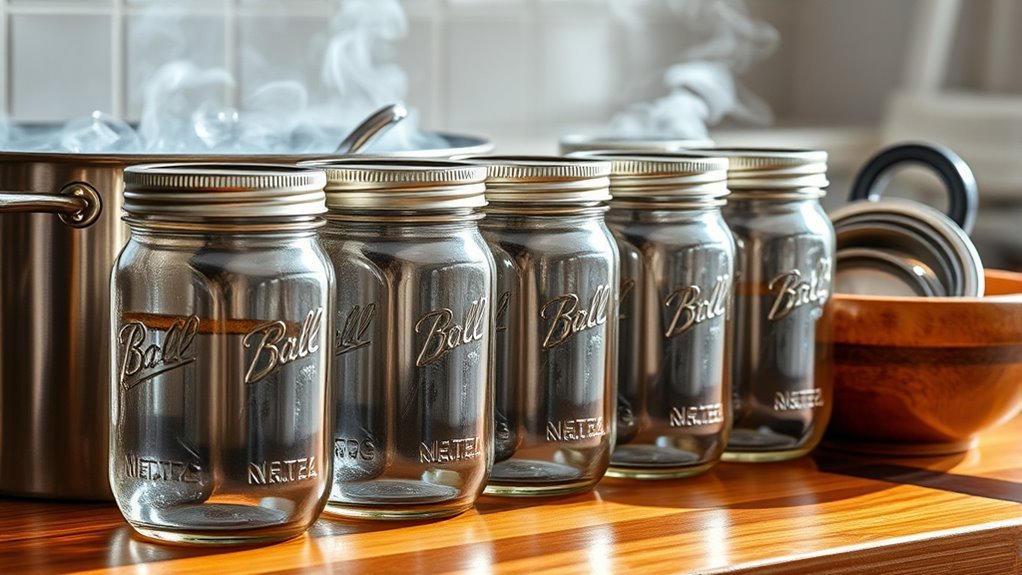
Before you start filling your jars, make sure to thoroughly wash and sterilize all jars, lids, and bands to prevent contamination. You’ll want to:
- Wash jars, lids, and bands in warm, soapy water, then rinse well.
- Sterilize jars by submerging them in boiling water for at least 10 minutes or run them through a dishwasher cycle.
- Pre-warm jars with hot water right before you fill them to avoid cracking.
After filling, wipe the jar rims with a clean, damp cloth to ensure a good seal. Place the lids on and screw the bands on finger-tight—secure but not too tight.
Proper preparation of your jars and equipment is essential for safe, long-lasting food storage. It might sound like a lot, but it really helps keep everything fresh and tasty!
Preparing Food for Canning
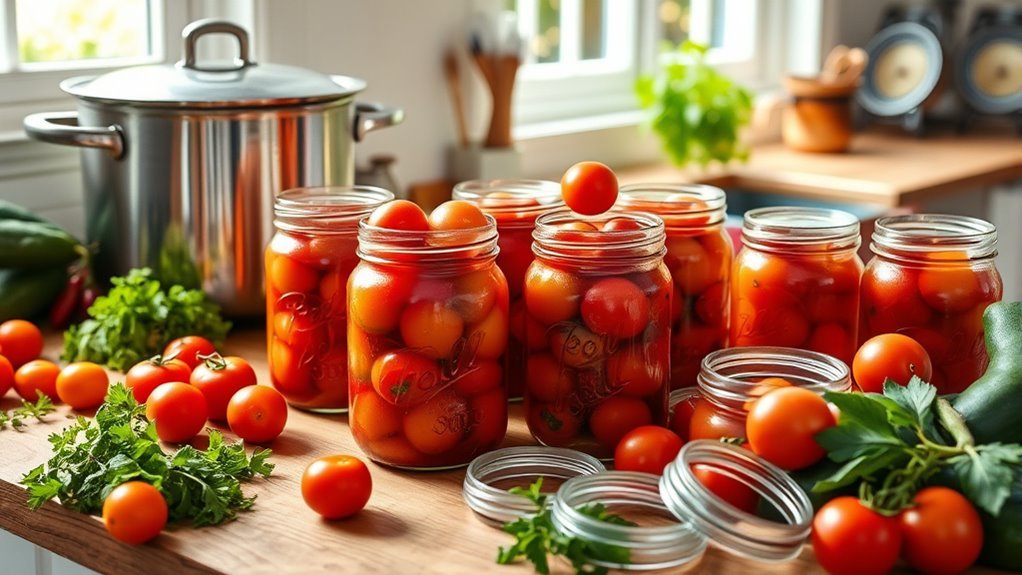
You’ll want to start by choosing fresh, high-quality ingredients to guarantee the best flavor and safety.
Next, prepare your produce carefully—wash, peel, cut, or blanch as your recipe directs. Taking these steps helps your food cook evenly and preserves its texture during canning.
Selecting Quality Ingredients
Although selecting quality ingredients may seem straightforward, it plays a crucial role in ensuring your canned food stays safe and flavorful for the long term.
Start with ripe produce, choosing blemish-free fruits and vegetables at their peak season for the best taste and preservation safety. Always wash your ingredients thoroughly in clean water to remove dirt and bacteria before canning.
Use fresh jars, lids, and bands, ensuring they’re disinfected and properly stored to prevent contamination. Follow these three steps:
- Pick and wash ripe produce carefully using clean water.
- Use fresh jars and sterilize them before filling.
- Prepare ingredients in consistent sizes to guarantee uniform processing.
Prepping Produce Properly
Once you’ve selected and cleaned your ingredients, it’s important to prep them correctly for canning. To prepare produce, wash everything thoroughly under running water. This removes dirt, bacteria, and pesticides to guarantee food safety.
Peel, core, or seed fruits and vegetables as needed. This helps with proper handling and avoids spoilage. Blanching is essential—briefly boil or steam produce to deactivate enzymes. This step preserves color, texture, and flavor for long-term food preservation.
When packing jars, fill them tightly but leave the recommended headspace. Then, add syrup, juice, or brine according to your recipe. Before applying lids and bands, wipe jar rims with a clean, damp cloth. This removes residue and ensures an effective jar seal.
Following these steps guarantees safe, high-quality canned food that’s ready for storage. It’s really worth taking the time to do it right!
Filling Jars and Leaving Headspace
When filling jars, leaving the correct headspace is essential to guarantee a proper seal and prevent spoilage. This space, usually between 1/4 to 1/2 inch, allows for expansion during processing and ensures proper sealing.
To fill jars effectively and maintain food preservation, use a funnel to fill jars. This helps avoid spills and keeps the jar rims clean.
Adjust the food level according to the type—less headspace for jams, more for whole fruits or vegetables.
Run a non-metallic utensil around the inside of the jar to remove air bubbles. Then, wipe clean rims with a damp cloth before sealing.
Following these steps helps you achieve a tight seal and safely store your canned goods long term. It’s really all about the little details!
Choosing the Right Canning Method
Since the safety and quality of your canned food depend heavily on the method you choose, it’s essential to match the canning process to the acidity of the food.
Acidic foods like fruits and pickles are suited for water bath canning, which uses boiling water to preserve them safely. Low-acid foods, such as meats and vegetables, need pressure canning to eliminate harmful spores and ensure food safety.
Using the proper equipment for each preservation method is key to successful long-term storage.
| Food Type | Recommended Method |
|---|---|
| Acidic Foods | Water Bath Canning |
| Low-Acid Foods | Pressure Canning |
| Equipment | Water Bath Canner or Pressure Cooker |
| Goal | Food Safety & Long-Term Storage |
Processing Jars for Safety
Properly preparing your jars is essential to guarantee the safety and longevity of your canned food. To meet safety standards and ensure effective food preservation, follow these key steps:
First, sterilize jars by boiling them in water for 10-15 minutes. This is especially important for low-acid foods or short processing times. Doing this kills bacteria and prevents spoilage.
After filling, wipe jar rims clean of any food residue to promote proper sealing. Then, place canning lids on top and tighten rings just until snug.
Finally, process jars in a hot water bath or pressure canner for the recommended processing time based on your recipe. This step assures a vacuum seal and preserves your food safely.
Cooling and Storing Your Canned Goods
After processing, let your jars cool undisturbed at room temperature for 12 hours to guarantee proper sealing.
Once cooled, check each lid by pressing the center—if it’s firm and unmovable, your seal is good.
Store your canned goods in a cool, dark, and dry place to keep them fresh and safe for long-term use.
Proper Cooling Techniques
While your jars cool, let them sit undisturbed at room temperature for 12 to 24 hours to guarantee they seal correctly. Proper cooling is essential for food safety and preserving your canned goods.
Follow these steps to ensure effective cooling and storage:
- Keep jars on a heat-resistant surface, spaced apart, allowing air circulation to maintain an even cooling temperature.
- Avoid stacking or exposing jars to direct sunlight, as heat can weaken jar seals and spoil contents.
- Store sealed jars in a cool (50-70°F), dark, and dry place. Don’t forget to label each jar with the processing date and food type for easy rotation.
Inspecting Jar Seals
How can you tell if your jars have sealed correctly? After cooling, check that each jar’s lid is concave and won’t press down. This indicates a strong vacuum seal formed from proper pressure during processing.
You might hear a “pop” as the jar cools—that’s the vacuum locking the lid in place. After about 12 hours, gently lift each jar by the lid; if it stays firmly attached, the seal is solid.
Inspect the jar rim for any cracks or gaps that could let air in, risking spoilage. Proper seal inspection during cooling helps ensure food safety.
If you notice bulging lids or leaks later, these jars may have failed seals and should be discarded to avoid spoilage. Better safe than sorry!
Ideal Storage Conditions
Once your jars have sealed properly, the next step is to store them under the right conditions to maintain quality and safety. To guarantee storage safety, keep your canned goods in a cool, dark place with consistent temperature control between 50°F and 70°F.
Avoid areas with fluctuating temperatures or high humidity levels, which can compromise proper sealing and cause rust.
Here’s how to organize cans for ideal storage:
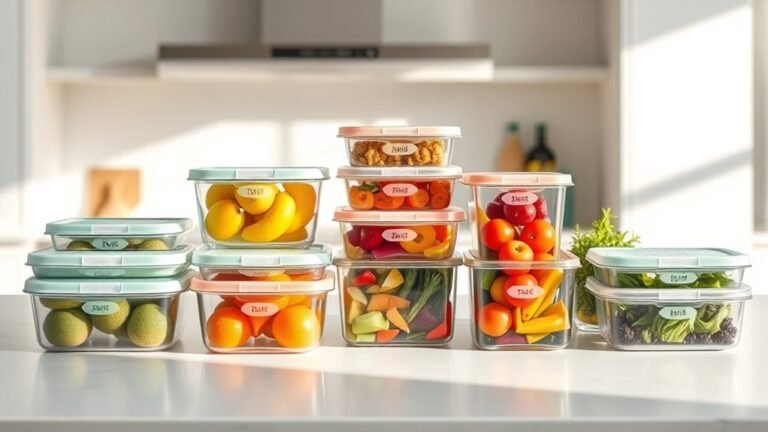
- Arrange jars on shelves with labels facing outward for easy expiration monitoring.
- Keep cans away from direct sunlight to prevent food quality degradation.
- Regularly inspect cans for bulging, rust, or leaks and discard compromised ones immediately.
Following these steps will help you maintain your canned food’s freshness and safety over time. It’s pretty straightforward, and a little attention goes a long way!
Frequently Asked Questions
What Is the Easiest Way to Can Food for Beginners?
The easiest way for you to can food as a beginner is using the water bath method. Start with high-acid foods like jams or pickles.
Make sure you follow tested recipes, sterilize your jars, and process them safely in boiling water. It’s pretty straightforward once you get the hang of it!
How Can I Safely Store Canned Food for Long Periods?
Want your canned food to last? Store it in a cool, dark place between 50-70°F. Keep those seals intact to make sure nothing sneaks in.
Label your jars with dates so you know exactly when they were canned. And don’t forget to check them regularly for any damage or signs of spoilage.
Would you risk eating questionable cans? It’s just not worth it! Always play it safe with your food storage.
How Do the Amish Can Their Food?
The Amish can their food using traditional water bath or pressure canning methods. You’ll use simple, natural ingredients, process large batches carefully, and guarantee proper sealing—often with wax or modern lids—following time-tested recipes and techniques.
It’s all about preserving the harvest the old-fashioned way. They take their time to make sure everything is just right, so the food stays fresh and tasty for months. It’s pretty neat how these methods have stood the test of time!
What Is the Old Fashioned Way of Canning?
You’ll conquer time itself by sealing food in sterilized jars, boiling them to annihilate germs, and creating a vacuum seal.
This old-fashioned canning uses simple jars and water baths to preserve your harvest like a true pioneer.
Conclusion
Canning your own food not only preserves freshness but can also save you money—did you know home-canned goods can last up to 5 years when stored properly?
By following these seven simple steps, you’re ensuring your food stays safe and delicious for the long haul. Plus, you’re reducing waste and gaining confidence in your food prep skills.
So, get started—you’ll be amazed at how rewarding and practical canning can be! With the right techniques, long-term food storage becomes easy and reliable. Canning is a great way to enjoy seasonal produce all year round while keeping your pantry stocked with nutritious homemade meals. Give it a try and experience the satisfaction of preserving your own food for months or even years to come.