5 Easy Steps to Freeze Dry Food for Long-Term Storage
To freeze dry food for long-term storage, start by slicing your food into uniform pieces.
Blanch vegetables to preserve their quality and nutrients. This step is key for maintaining taste and texture after freeze-drying.
Next, freeze your food thoroughly at 0°F for 24-48 hours. This deep freeze prepares your food for the freeze-drying process.
Then, use a freeze-drying machine or a suitable alternative to remove moisture through sublimation. Keep an eye on the drying process to avoid over-drying, which can affect the final product.
Finally, store your freeze-dried food in airtight containers with oxygen absorbers. Keep them in a cool, dry place to maximize shelf life.
Keep going to discover tips that guarantee the best results. Freeze drying food might seem tricky, but with these simple steps, you’ll be set for long-term food storage success!
Key Takeaways
– Slice food into uniform pieces and blanch vegetables to ensure even drying and quality retention.
This step helps maintain the texture and nutrients while making sure everything dries evenly.
– Freeze food thoroughly at 0°F (-18°C) for 24-48 hours before freeze drying.
Freezing solid is key because it prepares the food for the moisture removal process.
– Use a freeze-drying machine or dry ice method to remove moisture via sublimation effectively.
This process turns ice directly into vapor without passing through the liquid phase, which preserves the food’s structure.
– Monitor the drying stages closely and promptly remove food once the cycle completes.
Keeping an eye on the process ensures you don’t over or under dry your food.
– Store freeze-dried food in airtight containers with oxygen absorbers in a cool, dry environment.
This helps keep the food fresh and extends its shelf life for long-term storage.
Prepare Your Food for Freeze Drying

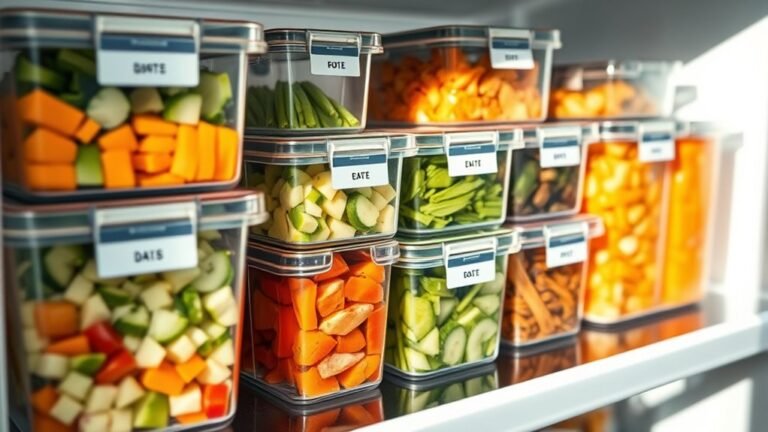
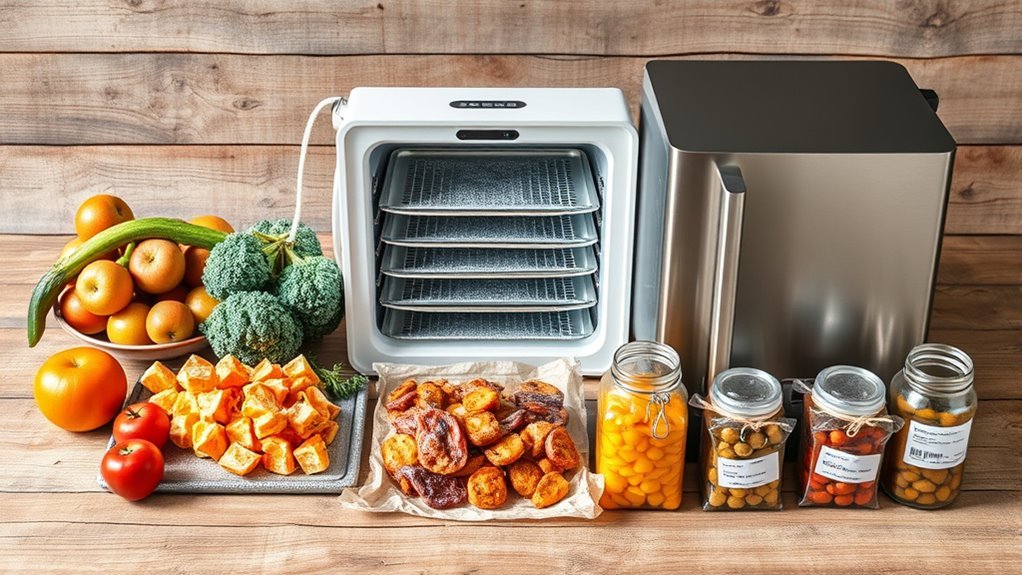
Before you begin freeze drying, prepare your food by slicing fruits and vegetables into small, uniform pieces to guarantee even drying. Use sharp knives or slicers to cut items about 1/4 to 1/2 inch thick. This helps everything dry at the same rate.
Slice fruits and vegetables into uniform 1/4 to 1/2 inch pieces for even freeze drying.
For certain vegetables like carrots and potatoes, blanching is a good idea. It helps preserve their color and prevents oxidation, which means your food stays fresher longer.
Also, if you’re working with soups, stews, or raw meats, make sure to remove excess liquids by draining or patting them dry. This step improves drying efficiency and makes the process smoother.
Taking these steps ensures your food dries evenly and retains quality. Proper preparation really is the key to successful freeze drying and long-term storage of your favorite foods.
Freeze Food Thoroughly Before Drying
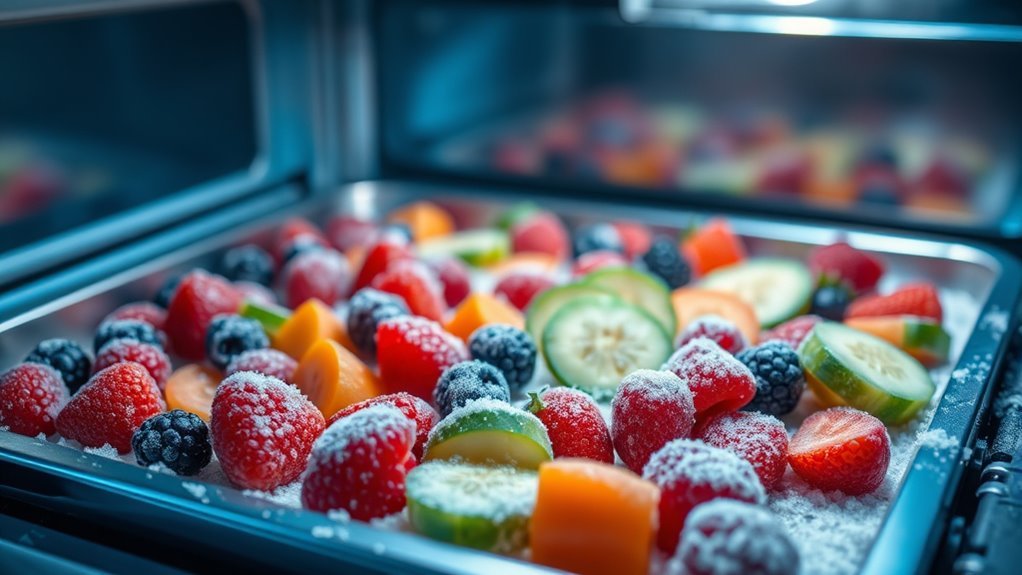
Although it might be tempting to speed up the process, you need to freeze your food thoroughly at 0°F (-18°C) for 24 to 48 hours before freeze drying. Properly pre-freezing your food guarantees it’s thoroughly frozen, which is critical for an effective freeze drying process.
When food is completely frozen, sublimation—the transition of ice directly to vapor—occurs efficiently. This helps preserve texture, flavor, and nutrients.
Avoid partially frozen or thawed food, as inconsistent temperatures can compromise the final product’s quality and safety. For best results, cut food into small, uniform pieces before pre-freezing to promote even freezing and ideal moisture removal during drying.
Taking the time to freeze your food properly sets the foundation for successful long-term storage after freeze drying. It’s worth the wait!
Use a Freeze Drying Machine or Alternative Method
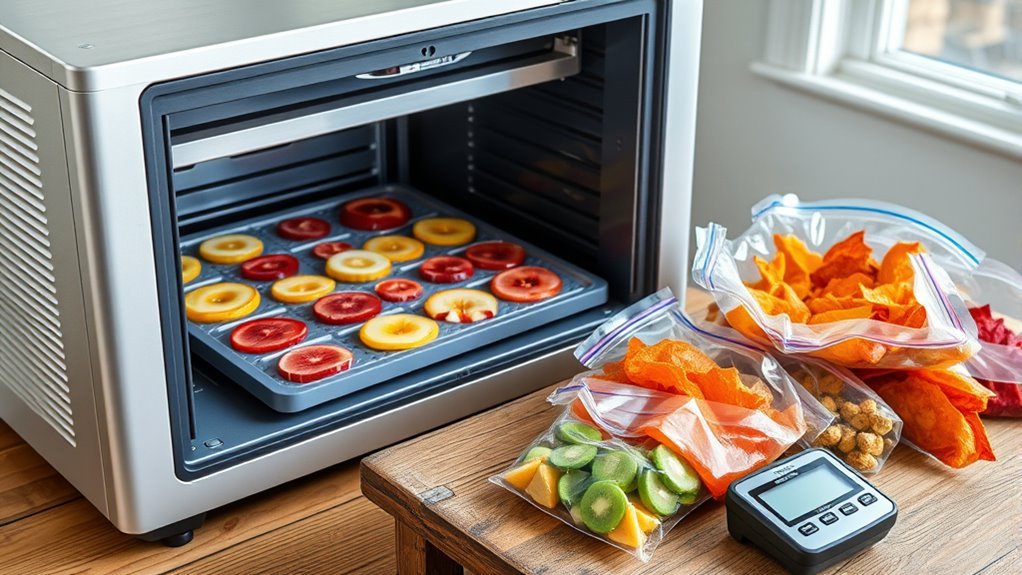
When you use a freeze-drying machine, you start by pre-freezing your food. Then the machine automatically removes moisture through sublimation, which usually takes between 24 and 50 hours depending on the type of food.
Pre-freeze your food, then the freeze-drying machine removes moisture via sublimation within 24 to 50 hours.
This method guarantees efficient freeze drying and excellent food preservation.
If you don’t have a machine, alternative methods like using dry ice can work well. Simply place sliced food in a sealed container with dry ice to freeze it rapidly before drying.
Another option is the home freezer method, where you freeze food at the lowest temperature for 1-3 months. After that, you remove residual moisture in a vacuum chamber or sealed container.
Whichever method you choose, prepping food properly and storing it in airtight containers with oxygen absorbers is key to long-term preservation.
Monitor the Freeze Drying Process
Since freeze drying can take many hours, you’ll want to regularly check the machine’s display or indicator lights to track the progress and guarantee everything runs smoothly. Monitoring helps you spot any issues early and assure your food dries properly.
Most freeze dryers feature clear indicators showing stages like freezing, drying, and completion. It’s pretty handy to keep an eye on those lights as your food goes through each phase.
Here’s a simple way to monitor the progress:
| Time Elapsed | Indicator Status | Action Needed |
|---|---|---|
| 0-2 hours | Freezing Light | Wait, no action |
| 2-6 hours | Drying Light | Monitor closely |
| 6-12 hours | Final Phase Light | Prepare for finish |
| Completion | Cycle Complete | Remove food promptly |
Store Freeze-Dried Food Properly for Longevity
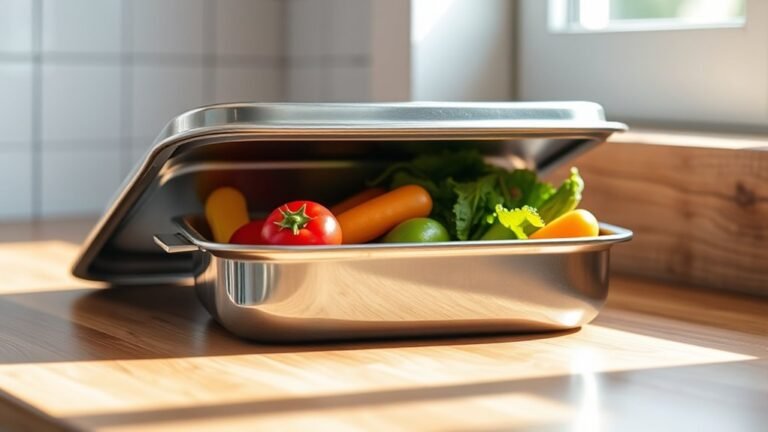
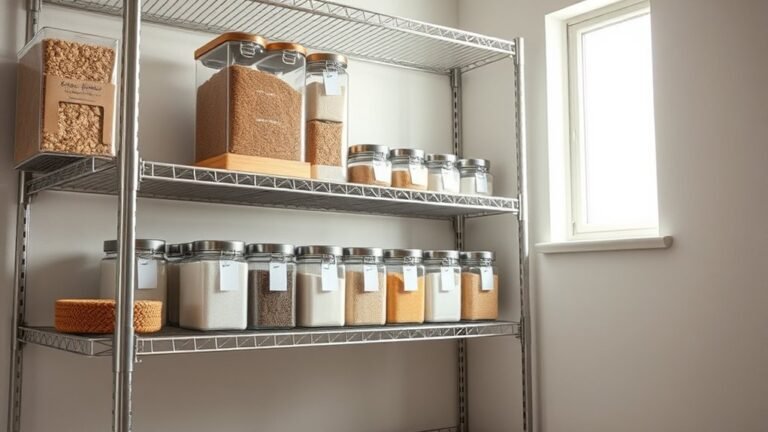
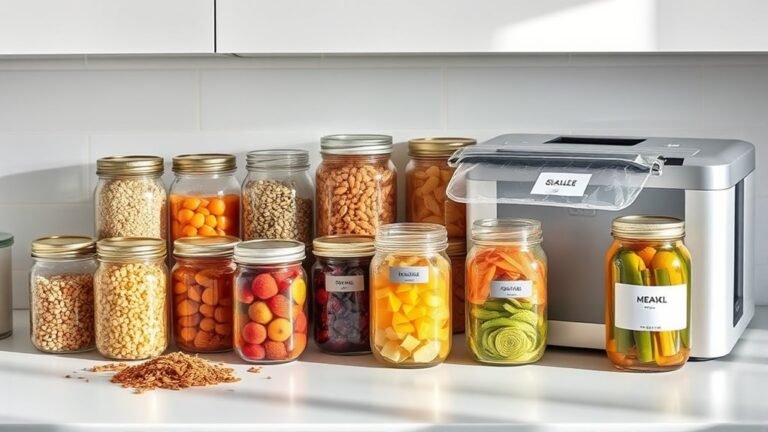
To keep your freeze-dried food fresh and safe for long-term storage, you’ll want to use airtight containers like Mylar bags with oxygen absorbers or vacuum-sealed bags. These containers protect your food from moisture and oxygen, which can degrade quality over time.
Adding oxygen absorbers inside the packaging further prevents oxidation and microbial growth. Store your sealed packages in a cool, dark, and dry storage environment with temperatures between 50-70°F (10-21°C) to maximize shelf life.
Also, regularly check your containers for any tears or compromised seals to ensure airtight protection remains intact. Don’t forget to label each package with the storage date and contents, so you can easily rotate your inventory and keep track of freshness.
Proper storage guarantees your freeze-dried food stays safe and tasty for years. It’s definitely worth the little extra effort!
Frequently Asked Questions
What Are the Best Foods to Freeze-Dry for Long-Term Storage?
You should freeze-dry fruits like strawberries and bananas, vegetables such as peas and carrots, cooked meats like chicken, dairy products including milk powder, and prepared meals like soups.
They keep well and rehydrate nicely for long-term storage.
It’s a great way to have a variety of foods ready whenever you need them without worrying about spoilage.
Can Bacteria Grow in Freeze-Dried Food?
Bacteria can’t grow in freeze-dried food if you keep it completely dry and sealed.
But if moisture sneaks in or you rehydrate it without proper hygiene, bacteria and mold might develop.
What Foods Cannot Be Freeze-Dried?
You can’t freeze dry high-fat foods, sugary jams, or liquids like soups without special gear.
Also, avoid breads and raw meats unless properly prepped, as they spoil or turn tough after freeze drying.
It’s kind of tricky with these types of foods because they don’t hold up well in the freeze-drying process.
How Many Years Does Freeze-Dried Food Last?
Freeze-dried food lasts up to 25 years or more, like a time capsule preserving your meals.
If you store it right—airtight, cool, and dark—you’ll enjoy its flavor and nutrition for decades without worry.
Pretty amazing, right? It’s a great way to keep your meals ready whenever you need them.
Conclusion
By following these five easy steps, you’ll turn your fresh food into a time capsule, preserving flavors and nutrients for the future. Just like a gardener tending to seeds for a bountiful harvest, you’re nurturing your food’s longevity.
With proper preparation, freezing, drying, monitoring, and storage, you’ll have a reliable supply ready whenever you need it. So, get started today and enjoy the peace of mind that comes with long-term food security.
Freezing and freeze drying food for long-term storage is a smart way to keep your meals fresh and nutritious. It’s easier than you might think, and the results are well worth the effort. Whether you’re prepping for emergencies or just want to reduce food waste, these steps will help you make the most of your fresh food. Start freeze drying today, and you’ll always have healthy, tasty options on hand whenever life calls for it!