How to Do and Organize Food Storage Containers With 3 Simple Tips
Start by decluttering your food storage containers—empty your cabinets, toss damaged pieces, and sort them by size. This simple step makes organizing much easier and helps you see exactly what you have.
Next, separate the lids from the containers and nest the bases together to save space. Keep the lids in a separate bin so you can easily match them when needed.
Finally, choose practical storage solutions like stackable containers and drawer dividers. These tools keep everything neat and accessible, making your kitchen more efficient.
If you want to streamline your kitchen even further, there are simple strategies that can make organizing a breeze.
Trust me, once you find a system that works, it’ll save you time and reduce frustration.
Key Takeaways
- Empty and sort containers by size, discarding damaged or missing pieces for a clear inventory.
- Separate lids from bases and nest containers by size and shape to save space and prevent toppling.
- Use labeled bins or baskets to group containers and lids for easy visibility and quick retrieval.
- Choose stackable, uniform containers and store lids vertically in dedicated organizers for practical storage.
- Regularly declutter, maintain labels, and review storage setups to keep the system efficient and adaptable.
It really helps to keep things neat and easy to find, don’t you think? Plus, taking a little time now saves you a lot of hassle later!
Declutter and Sort Your Containers
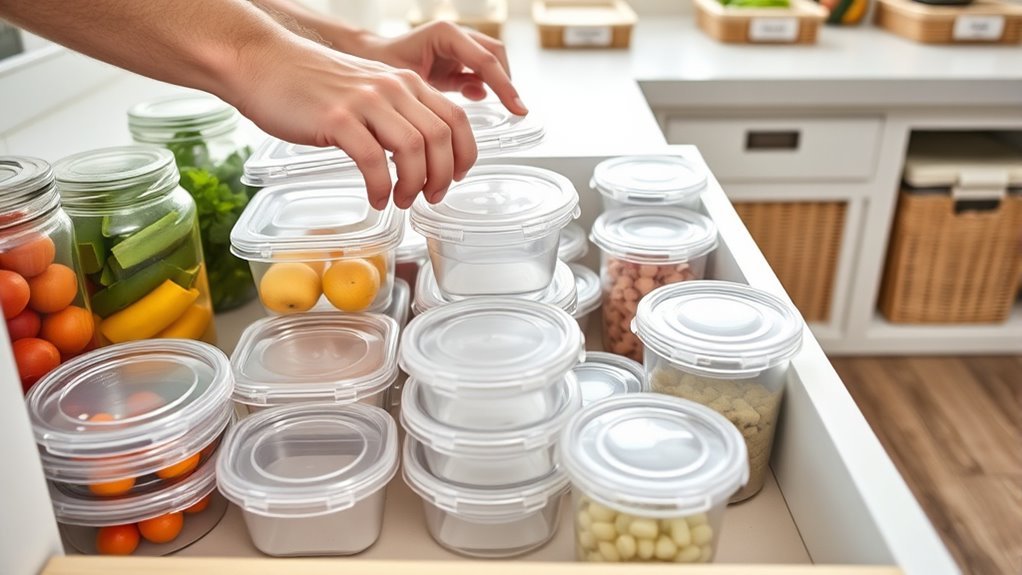
Before organizing your food storage containers, empty your cabinets to see exactly what you have and spot any damaged or missing pieces. This step helps you declutter by identifying containers that need to be discarded or recycled, like broken or lidless ones.
Once you clear out unusable items, start sorting your containers by size—small, medium, and large—for better grouping and storage efficiency. Organize the containers you keep into labeled bins or baskets based on these size groups.
Using labels not only reduces clutter but also speeds up finding the right container later. By recycling or donating excess containers and focusing on clear sorting and labeling, you’ll create a streamlined, efficient storage system that keeps your kitchen tidy and functional.
Use the Nesting and Separation Method
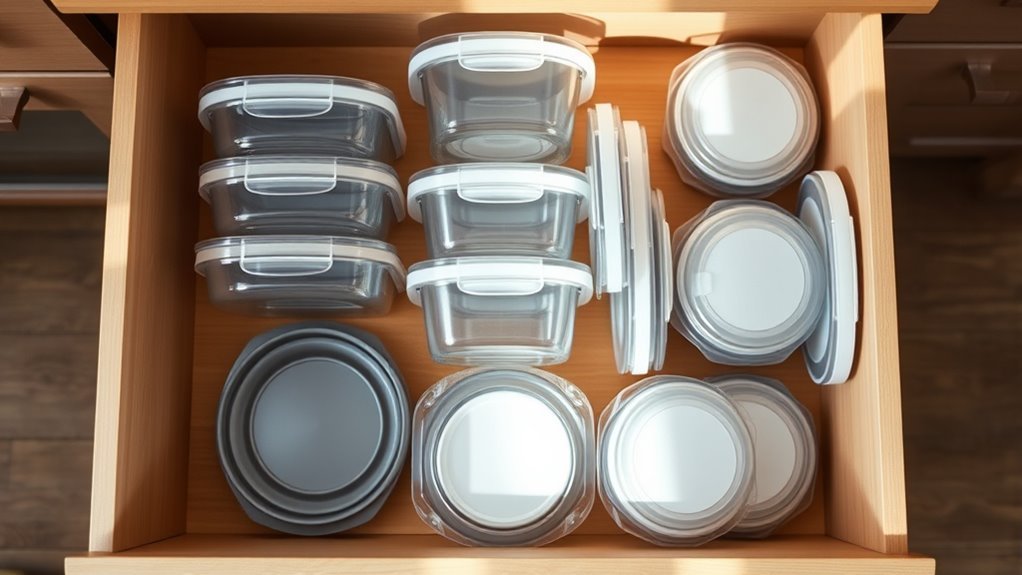
When you separate containers from their lids, you can nest the bases more compactly, saving space and cutting down on clutter. Start by grouping your food storage containers by shape and size to create a stable stacking system.
Separate lids from containers to nest bases efficiently and save valuable kitchen space.
Nesting similar containers maximizes your space-saving efforts and makes it easier to spot what you have. Keep lids in a separate pile or container to prevent them from toppling over and to simplify matching later.
This separation method not only keeps your kitchen organized but also reduces the risk of avalanches when you reach for a container. Regularly sorting and reorganizing your containers and lids helps maintain an efficient system.
Using these storage tips will streamline your kitchen organization and make finding containers a breeze. Give it a try, and you’ll see how much easier it is to keep things neat!
Choose Practical Storage Solutions
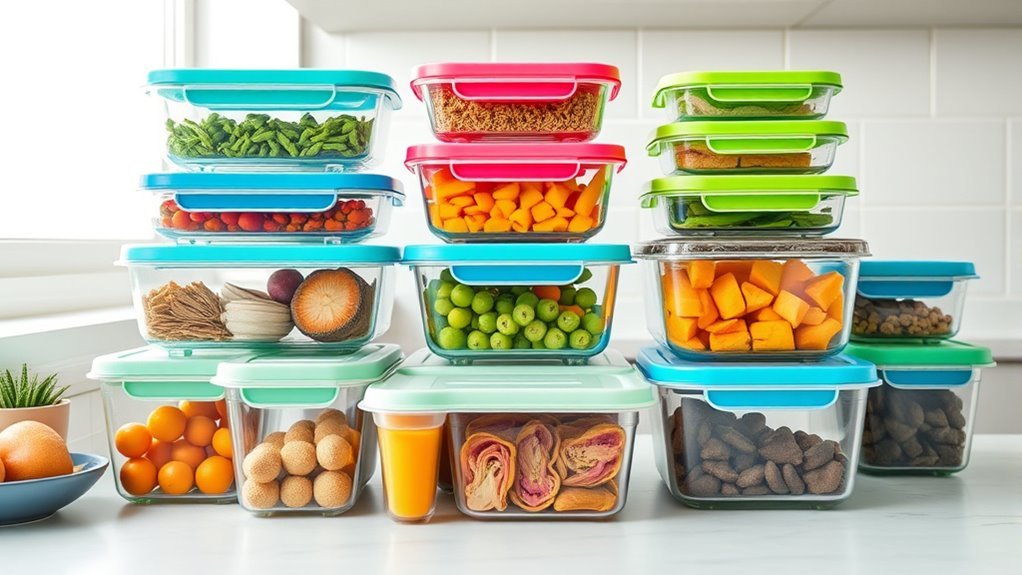
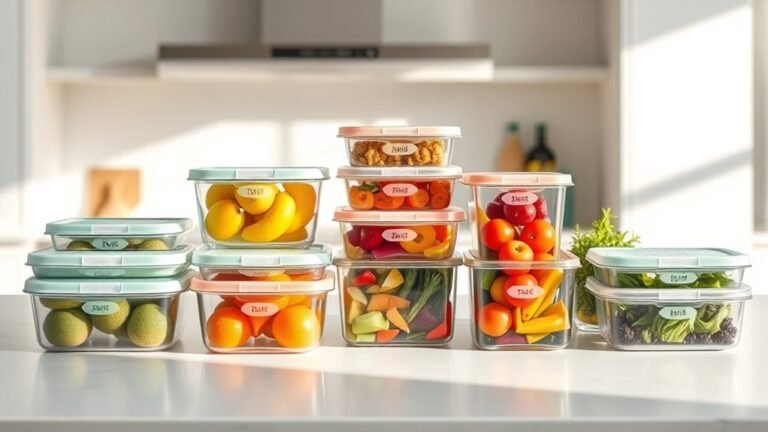
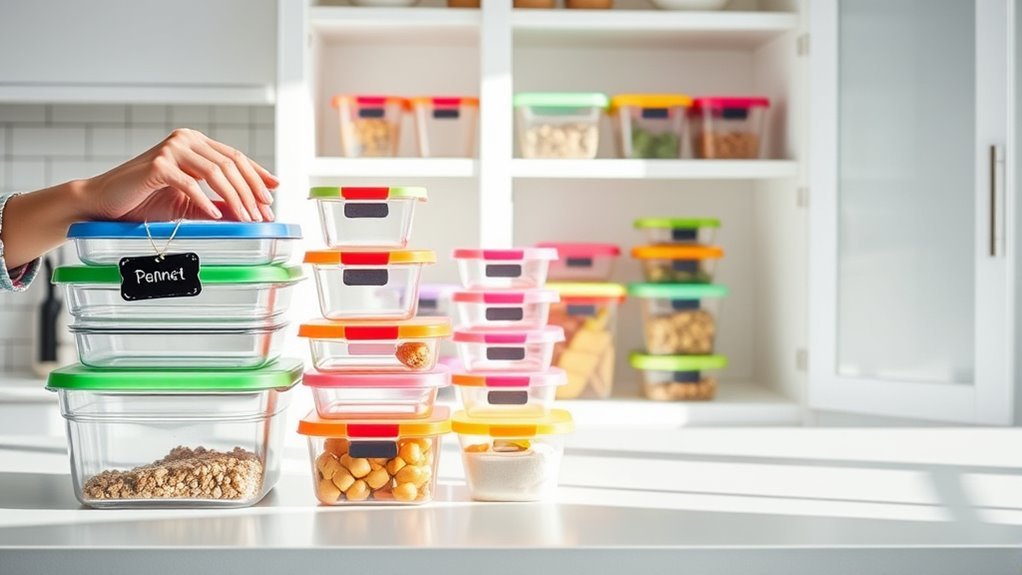
Although organizing containers can feel overwhelming, choosing practical storage solutions simplifies the process and keeps your kitchen tidy. Start by selecting stackable containers with matching lids to maximize vertical space and keep sets together.
It’s a good idea to opt for uniform container types, like all glass or plastic with snap-on lids. This helps streamline stacking and makes retrieval easier.
Use adjustable drawer dividers to separate containers and lids, preventing slipping and mixing. You can also store lids vertically in a dedicated lid organizer or rack for easy access.
Incorporate baskets or bins inside cabinets to hold different sizes and shapes of containers. These flexible storage options help you keep everything organized.
These smart storage solutions make it easier to organize your food storage, save space, and maintain a neat kitchen environment. You’ll love how much simpler it gets!
Frequently Asked Questions
What Are Some Easiest Ways to Organize Food Storage Containers?
You can nest containers by size, separate lids into a basket, and use clear, uniform containers with snap-on lids.
Regularly toss damaged or mismatched pieces to keep your collection neat and easy to access.
It really makes finding what you need a breeze, and your kitchen stays clutter-free!
What Are 5 Important Food Storage Tips?
Don’t let chaos swallow your kitchen! You should purge unused containers, keep versatile sizes, and store lids separately.
Nest containers and label everything clearly. These five tips will keep your food storage organized and stress-free.
What Are Some Effective Ways to Organize Food Storage Containers?
You can separate containers from lids, group them by size, and store lids in a designated spot. Use clear, labeled containers and vertical storage solutions like drawer dividers.
Regularly declutter to keep everything organized and accessible. It really helps to stay on top of it so you don’t end up with a messy pile.
What Are Some Creative Storage Organizer Ideas?
Think of your cabinets as puzzle pieces—use adjustable dividers, clear stackable bins, and tiered risers to fit everything perfectly. You’ll love pull-out baskets for easy access and repurposed magazine holders to keep lids upright and tidy.
It’s all about making the most of your space. When things have a place, it’s easier to stay organized and find what you need quickly. Plus, these small changes can make a big difference in how your kitchen feels!
Conclusion
By decluttering and sorting your containers, you’ll know exactly what you have and what you need. It makes shopping for new ones easier, too.
Using the nesting and separation method saves space and keeps things tidy. This way, you won’t have bulky containers taking over your cabinets.
Choosing practical storage solutions guarantees everything stays in place. No more containers sliding around or lids getting lost.
With these simple tips, you’ll have your food storage containers organized in no time—no more hunting around like a needle in a haystack. Imagine enjoying a clutter-free kitchen that works for you every day! Organizing food storage containers not only saves space but also makes meal prep smoother and reduces stress. Give these easy steps a try, and you’ll love how neat and efficient your kitchen feels.