How to Choose the Right Size Desiccant for Food Storage
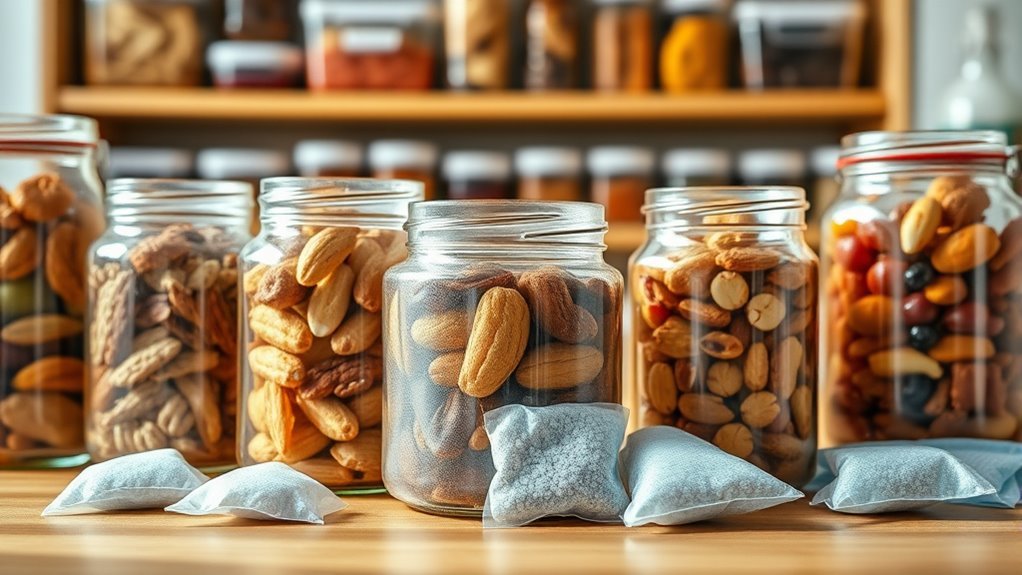
To choose the right size desiccant for your food storage, start by thinking about the type of container you’re using. For hard containers, a good rule of thumb is to use about 1.2 units of desiccant per cubic foot of space. This helps keep moisture levels just right and protects your food effectively.
If you’re dealing with soft packaging, then it’s better to base your desiccant amount on the surface area. Multiply the surface area in square feet by 1.6 to get an estimate of how much desiccant you’ll need. This approach helps prevent moisture from building up inside the package.
Don’t forget to consider the humidity in your environment too. If it’s too humid, you might need more desiccant, but too much can overdry your food.
Using sealed containers and keeping an eye on moisture indicators will help keep your stored food fresh for longer. Keep reading for more tips on optimizing moisture control for your stored food!
Key Takeaways
- Calculate desiccant based on container volume: use about 1.2 units per cubic foot for hard containers like jars or boxes.
- For soft packaging, measure surface area in square feet and multiply by 1.6 to estimate desiccant needs.
- Consider environmental humidity and moisture absorption rates to adjust desiccant quantity appropriately.
- Use sealed containers to prevent moisture infiltration and ensure desiccant effectiveness.
- Replace desiccants when saturated or clumped, and monitor moisture with color-changing indicators if available.
It’s pretty straightforward, but these little tips can make a big difference in keeping your food fresh!
Food Desiccant Sizing Principles
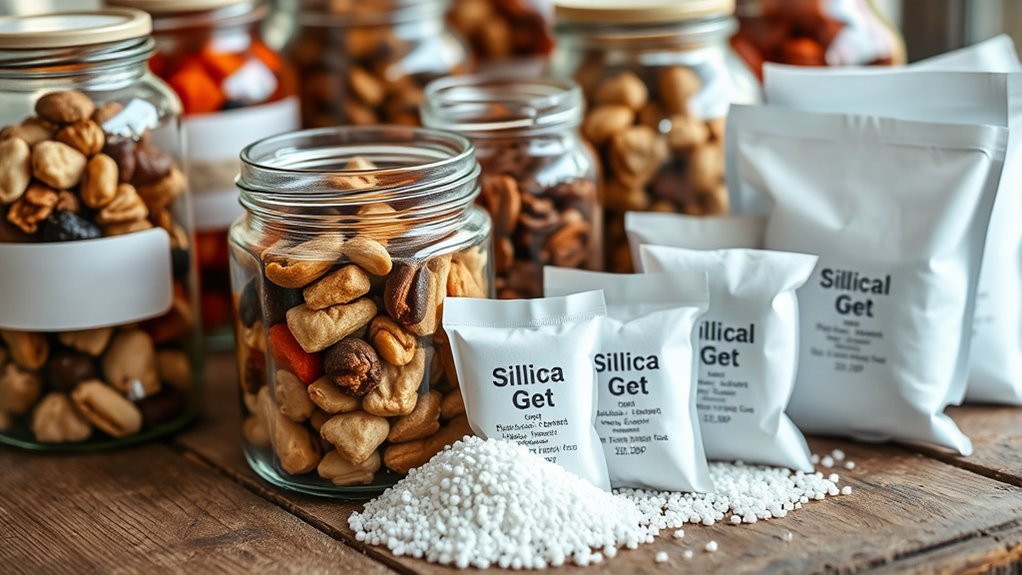
When you need to control moisture in food storage, using the right amount of desiccant is essential. Proper desiccant sizing depends on your storage container’s cubic foot volume and surface area.
Controlling moisture in food storage starts with using the right amount of desiccant sized to your container.
For hard containers, base your desiccant calculation on volume, relative humidity, and moisture absorption rates. Typically, this means about 1.2 units of desiccant per cubic foot or around 50cc per pint jar.
If you use soft packaging, multiply the surface area in square feet by 1.6 to estimate the desiccant required. This way, you make sure water vapor inside the storage container is effectively absorbed without overdrying.
Adjust the unit size and quantity based on environmental conditions and container type to maintain ideal moisture control. Getting the sizing right protects your food by balancing moisture absorption and preserving quality.
Practical Tips for Effective Desiccant Use
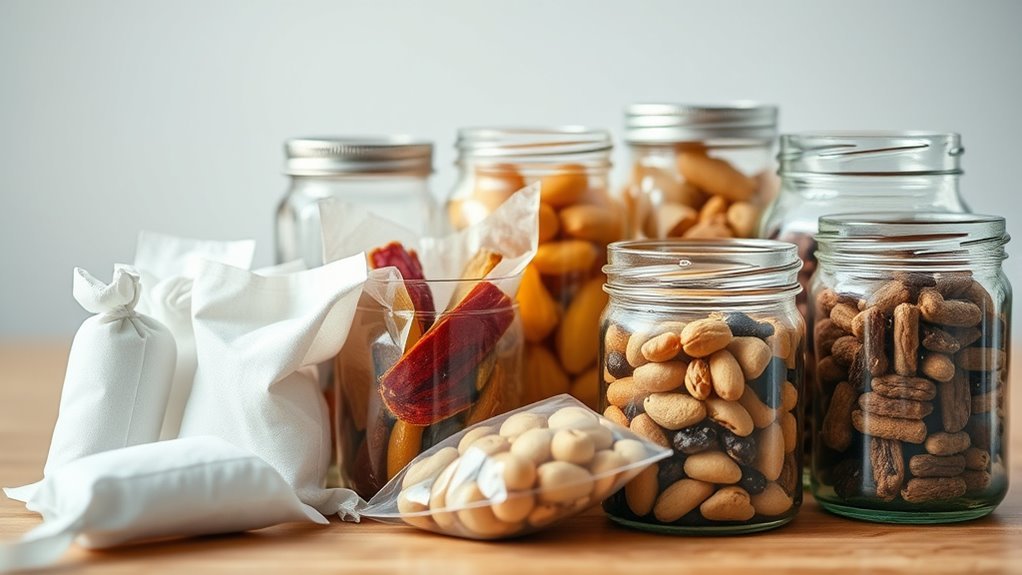
Although selecting the right desiccant size is crucial, you’ll also need to follow practical steps to guarantee it works effectively. Proper humidity control and maintaining ideal moisture level depend on careful handling.
- Always use sealed containers to prevent moisture vapor infiltration, ensuring your gel desiccant stays effective.
- Monitor water activity with color-changing indicators in your desiccant units; replace packs once they show moisture saturation or clumping.
- Adjust desiccant amounts based on your container size and storage environment. For soft containers like Mylar bags, calculate desiccant needs by multiplying surface area by 1.6 units; for rigid containers, use 1.2 units per cubic foot.
Frequently Asked Questions
What Size Desiccant for Food Storage?
You’ll need about 1.2 units of desiccant per cubic foot for hard containers and roughly 1.6 units per square foot for soft bags.
Adjust based on container size, humidity, and storage duration to keep food fresh. It really depends on how much moisture you expect and how long you plan to store your food.
How to Know What Size Desiccant to Use?
You determine the right desiccant size by calculating your storage volume or surface area, then apply recommended units per cubic foot or square foot.
When unsure, choose a slightly larger amount to guarantee effective moisture control. This way, you won’t have to worry about moisture damage.
What Is the Best Desiccant for Food?
Like choosing Excalibur, you want the best—food-grade silica gel’s your champion, with safe, non-toxic power and moisture indicators.
For tougher battles, molecular sieves excel but cost more.
Clay’s budget-friendly but less mighty.
Which Desiccant Is Better, Orange or Blue?
You’ll want orange silica gel for food storage because it clearly shows dryness and is safer, avoiding harmful dyes like cobalt chloride found in some blue gels.
It helps you keep your food fresh and safe effectively. Plus, with orange silica gel, you can easily tell when it’s time to replace it since it changes color as it absorbs moisture.
Conclusion
Choosing the right size desiccant for your food storage isn’t just a smart move—it’s essential to keep your food fresh and safe. You want to avoid moisture damage that can ruin your hard work and investment, right?
By understanding the principles and applying practical tips, you’ll confidently protect your food from spoilage. Don’t let humidity win; take control with the perfect desiccant size and enjoy fresher food longer.
Remember, selecting the correct desiccant size depends on the amount of food and storage container volume. Too small, and moisture seeps in; too large, and you waste resources. Always consider the environment’s humidity level and how long you plan to store your food. With the right desiccant, you’ll maintain optimal dryness, extend shelf life, and keep your food safe from mold and bacteria. So, when it comes to food storage, choosing the right desiccant size isn’t just helpful—it’s necessary for preserving quality and freshness over time.