7 Tips to Organize Your Food Storage Efficiently
To organize your food storage efficiently, start by creating dedicated zones for each food type and use containers that fit those categories. This way, everything has its own place, making it easier to find what you need quickly.
Measuring your cabinets helps you maximize space with stackable containers and shelving.
Try placing containers on their sides so you can easily see the labels. It’s a small trick that makes a big difference!
Incorporate baskets and trays to keep small items together, preventing clutter from building up.
Consider using drawers as well—they offer better access to your food items, especially those stored at the back.
Mapping out your kitchen layout is another smart move; it helps maintain order and allows you to adapt your system as needed over time.
Keep going to uncover more smart storage strategies tailored to your space. You’ll be surprised how these simple tweaks can transform your kitchen!
Key Takeaways
– Measure your kitchen cabinets accurately and create a layout sketch before organizing to optimize space and storage capacity.
It really helps to know exactly what space you’re working with before you start moving things around.
– Categorize food items into groups like grains, snacks, and canned goods, assigning each a specific shelf or zone for easy access.
This way, you won’t have to dig around when you’re in a hurry.
– Use uniform, labeled airtight containers that fit well within your cabinet space to maintain consistency and quick identification.
Labels make life so much easier — no more guessing what’s inside!
– Maximize vertical space with stackable containers, adjustable shelves, and door-mounted racks to improve storage efficiency and accessibility.
Think up and out, not just sideways.
– Incorporate baskets, trays, and dividers to compartmentalize small items and maintain clear zones, preventing clutter and scattering.
These little helpers keep everything neat and easy to find.
Create A Dedicated Space For Each Food Type
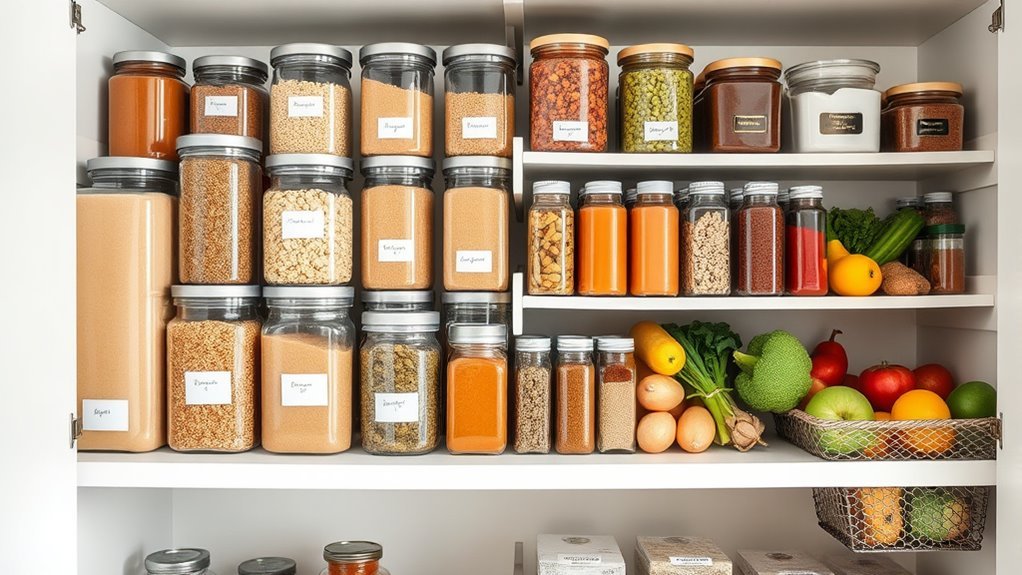
When you create a dedicated space for each food type, you’ll find it easier to locate items quickly and keep your storage neat. Start by assigning specific shelves or containers in your pantry for categories like grains, snacks, and canned goods, preventing items from mixing.
Use labeled bins or baskets to group similar foods by type and function, making it simple to grab what you need. Place frequently used items within easy reach, and store less-used foods higher or lower to maximize convenience.
Regularly review and adjust your pantry organization as your food inventory changes, maintaining a consistent system. This approach streamlines access, reduces clutter, and keeps your food storage efficient and orderly.
Vary the Storage Container Based On The Food Category
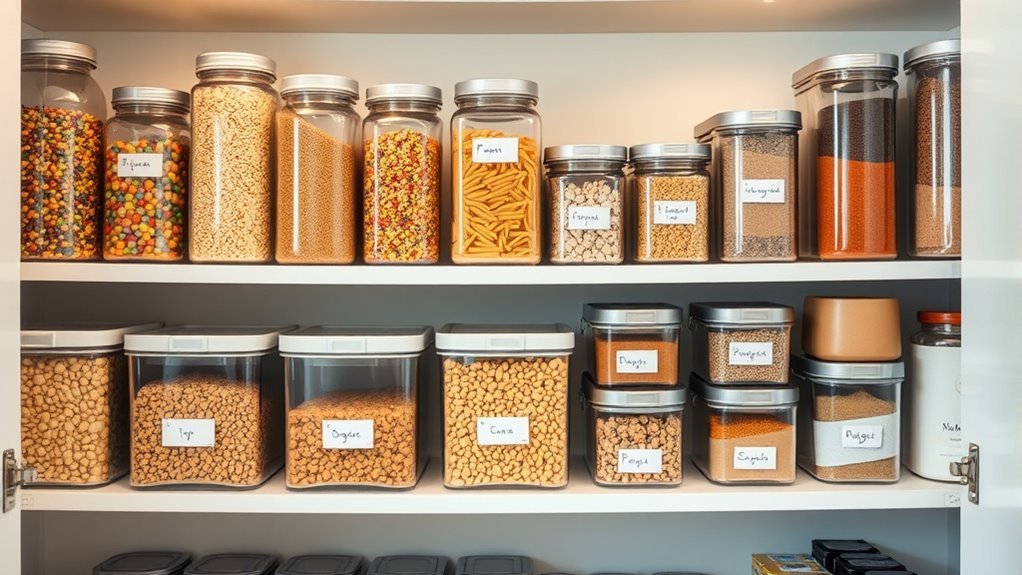
Assigning a dedicated space for each food type sets the stage for choosing the right containers to store them properly. To boost your pantry organization, vary storage containers based on the food category.
Use large, airtight containers with twist lids for cereals and snacks to keep them fresh and easy to access. For dried goods like spices, nuts, and herbs, pick smaller, stackable containers to optimize space.
Store cereals in large airtight containers and keep spices in small, stackable ones for freshness and space-saving.
Bulk items such as flour and sugar do well in affordable, hand-washable containers that simplify cleaning. Match container shapes to food types too—wide-mouthed jars suit pasta, while shallow trays work for baking ingredients.
This strategic variation enhances visibility, accessibility, and space efficiency, making your pantry both functional and tidy. It’s all about making your life easier and your kitchen neater!
Place Containers On Their Side and Stack
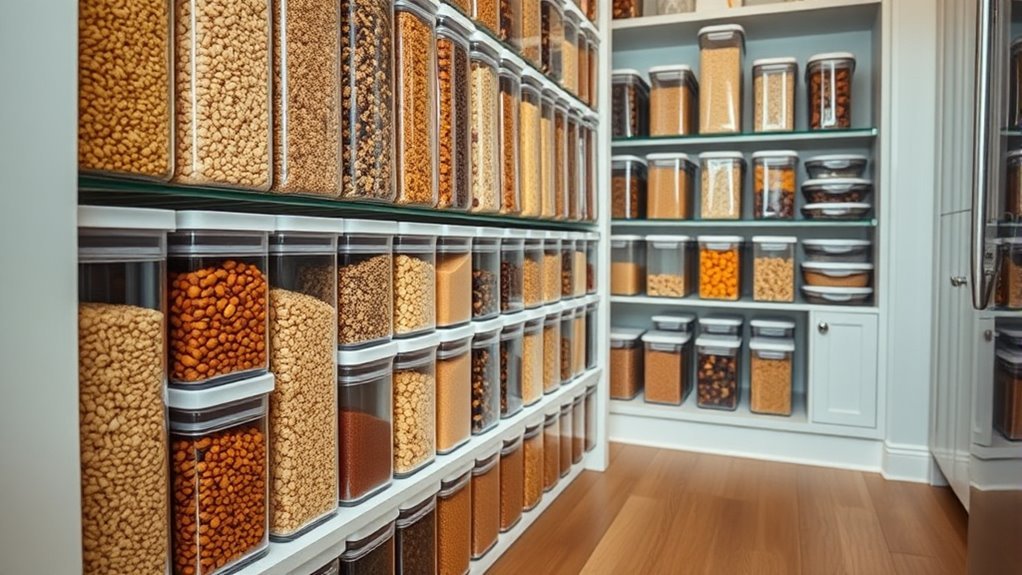
Try placing your containers on their side to make the most of your shelf depth and fit more items in tight spaces. This also lets you see labels clearly, so you can find what you need quickly.
Stacking them horizontally keeps everything stable and reduces the chance of spills. It’s a simple trick that can really maximize your storage space. Give it a shot and see how much more you can fit!
Maximizing Shelf Space
Although shelf space might seem limited, placing containers on their side and stacking them lets you use every inch efficiently. By turning containers sideways, you tap into the full depth of your shelves and make labels easier to read.
This approach prevents toppling and lets you grab what you need without moving others. Stacking containers vertically is a smart way to maximize vertical organization, keeping similar items grouped for quick access and reducing clutter.
Nesting containers on their sides creates a uniform look and streamlines your storage area. This method not only optimizes shelf space but also helps maintain order, making your food storage both functional and visually neat.
Go ahead and embrace stacking containers and side placement to transform your shelves into well-organized, space-saving zones. It really makes a difference!
Enhancing Container Visibility
A simple way to enhance container visibility is by placing them on their sides so you can easily read the labels on the lids. This method makes identifying contents at a glance quick and hassle-free.
When you stack containers with their bases on their sides, you not only maximize shelf space but also prevent them from toppling, especially in shallow cabinets. Nesting containers this way reduces the overall height needed for storage, freeing up vertical space.
Plus, side placement keeps frequently accessed items within easy reach without shifting others. Arranging containers on their sides creates a uniform look, which simplifies inventory checks and maintains organization.
Ditch The Deep Pantry
When you choose shallow pantry cabinets between 7.5 to 11 inches deep, you’ll find it much easier to see and reach everything inside. A shallow pantry eliminates the frustration of digging through deep shelves where items get hidden at the back.
By designing your pantry to fit standard-sized storage containers, like 7.3-quart bins, you keep everything neatly arranged and accessible. This setup encourages you to avoid overstuffing, which often happens with deep cabinets, helping maintain better kitchen organization.
Plus, floor-to-ceiling shallow pantries maximize your storage space without sacrificing convenience. Ditching deep pantries not only streamlines your food storage but also saves you time and reduces clutter, making your kitchen a more functional and enjoyable space.
Use Baskets and Trays To Divide And Store
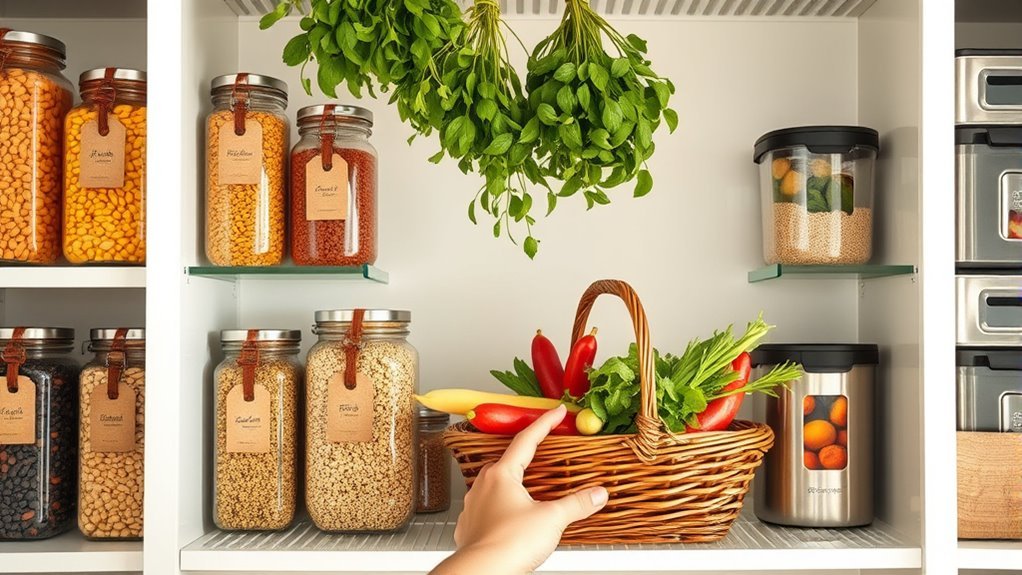
You can compartmentalize your pantry by using baskets and trays to keep small or loose items neatly contained. This makes it easier to grab what you need without creating a mess.
Plus, stacking or rolling baskets helps you use vertical space efficiently and find things quickly. It’s a simple trick that can make a big difference in staying organized!
Compartmentalize With Baskets
Although cabinets can quickly become cluttered, using baskets and trays lets you create clear zones for different items, making it easier to find what you need. By compartmentalizing with baskets, you prevent loose snacks, spices, or baking supplies from scattering, keeping your pantry space neat and orderly.
Clear, labeled baskets enhance kitchen organization by allowing you to spot contents instantly, saving time during meal prep. You can stack or roll baskets to maximize vertical pantry space and pull them out effortlessly when needed.
This method not only keeps everything contained but also streamlines your kitchen workflow, reducing clutter and frustration. Incorporating baskets into your food storage system is a simple yet effective way to maintain order and accessibility in your kitchen.
Trays for Easy Access
Pairing baskets with trays sharpens your pantry’s organization by creating clear, accessible zones for different items. Trays help you divide pantry storage efficiently, keeping sticky or loose foods contained and preventing spills.
You can store tea bags, spice packets, or snack bars in trays for neat grouping and easy access. This setup boosts kitchen organization by making it simple to locate what you need quickly.
Plus, trays are easy to remove for cleaning or restocking, which keeps your storage hygienic and convenient. Incorporating trays with baskets maximizes your space, allowing you to designate specific zones on shelves or inside cabinets.
Store Foods In Drawers
How can you make the most of your kitchen drawers for food storage? Start by using shallow drawers with dividers to organize small items like spices, snacks, or baking ingredients.
Clear, labeled food storage containers help you monitor inventory levels quickly and keep everything visible. For deeper cabinets, consider pull-out drawers to avoid digging for items at the back.
When organizing food storage, group containers by category and size within each drawer to streamline retrieval and maintain order. It really makes finding what you need a breeze.
Make sure to regularly clean and reorganize your drawers to prevent clutter buildup and ensure maximum efficiency. These Kitchen Organization Tips will help you keep your food storage neat, accessible, and easy to manage.
In the long run, this saves you time and reduces waste in your daily cooking routine. Pretty handy, right?
Map Out Your Kitchen and Cabinet Organization
Before you start organizing, measure your kitchen space thoroughly to understand the dimensions of your cabinets, including their height, width, and depth. This helps you plan smart storage solutions and maximize every inch.
Measure your kitchen cabinets carefully to optimize storage and make the most of your space.
Next, create a detailed map or sketch of your kitchen cabinets to visualize where each food category will go. Focus on food organization by grouping similar items and placing frequently used goods in easy-to-reach spots.
Standardize your storage containers and label them clearly to keep things tidy and accessible.
- Measure cabinet height, width, and depth accurately
- Sketch cabinet layouts for clear food organization
- Allocate eye-level shelves for frequently used items
- Group baking supplies, canned goods, and snacks together
- Use uniform storage containers with labels for consistency
Frequently Asked Questions
What Is the 2-2-2 Rule for Food Storage?
The 2-2-2 rule means you keep non-perishables at room temp for 2 days max. Then, eat leftovers within 2 days.
Also, store perishables in the fridge for up to 2 weeks to stay fresh and safe. It’s a simple way to avoid food spoilage and waste.
What Are 5 Important Food Storage Tips?
You’d think organizing food storage is rocket science, but it’s simple! Label everything clearly, use uniform containers, and store bulk items in smaller bins.
Choosing shallow cabinets helps, too. And don’t forget to declutter regularly to keep your pantry a well-oiled machine.
What Are the 7 Pantry Zones?
The 7 pantry zones are baking, cereals, snacks, canned goods, spices, grains, and breakfast items.
You’ll find it easier to organize and access your food when you keep these categories separated and clearly labeled.
Trust me, having everything in its own spot saves you time and frustration when you’re cooking or grabbing a quick snack. It’s all about making your pantry work for you!
What Items Should You Remove From Your Pantry Immediately?
You should remove expired foods, damaged containers, duplicates, mismatched lids, and items unused for over a year. Toss snacks and packaging that no longer serve a purpose to keep your pantry tidy and efficient.
Keeping your pantry organized makes cooking easier and faster. Plus, it helps prevent food waste, so you save money in the long run.
Conclusion
By organizing your food storage like a well-rehearsed orchestra, each item plays its part seamlessly, making your kitchen a symphony of efficiency. When you create dedicated spaces, use varied containers, and cleverly stack or drawer-store your goods, you’ll transform chaos into harmony.
Just like a master chef’s mise en place, your thoughtful arrangement sets the stage for effortless cooking and stress-free meal prep every day. Your kitchen will sing with order and ease.
Efficient food storage isn’t just about tidiness—it’s about creating a space where everything is easy to find and use. With these simple tips, you can maximize your storage space and keep your food fresh longer. Organizing your pantry and fridge smartly means less waste and more time enjoying your meals. So, start today and watch how a well-organized food storage system can make your kitchen a joy to work in!