7 Steps to Dehydrate Food for Long Term Storage
To dehydrate food for long-term storage, start by selecting fresh, quality ingredients. Make sure to thoroughly sanitize your work area and tools to keep everything clean and safe.
Next, pretreat foods to preserve their color and nutrients. Slice them uniformly so they dry evenly—this step is really important for getting the best results.
Set the right temperatures and drying times based on the type of food you’re working with. Keep an eye on the process, and rotate trays regularly to make sure moisture is removed consistently.
Once the food is fully dried, let it cool completely before packaging it airtight. Store your dehydrated food in a cool, dark place to keep it fresh for longer.
By following these steps carefully, you’ll be able to preserve food safely and effectively. If you want to perfect the process, you can explore detailed tips and tricks along the way.
Key Takeaways
- Select fresh, high-quality ingredients and wash thoroughly to ensure safety and optimal drying results.
- Slice foods uniformly (¼–½ inch) to promote even dehydration and prevent spoilage.
- Pretreat produce with blanching or antioxidant dips to preserve color, nutrients, and flavor.
- Dehydrate at recommended temperatures (e.g., 135°F for fruits) while rotating trays every 1–2 hours for uniform drying.
- Cool completely, then store in airtight containers in a cool, dark place below 60°F, labeling with date and type.
Select and Prepare Quality Ingredients
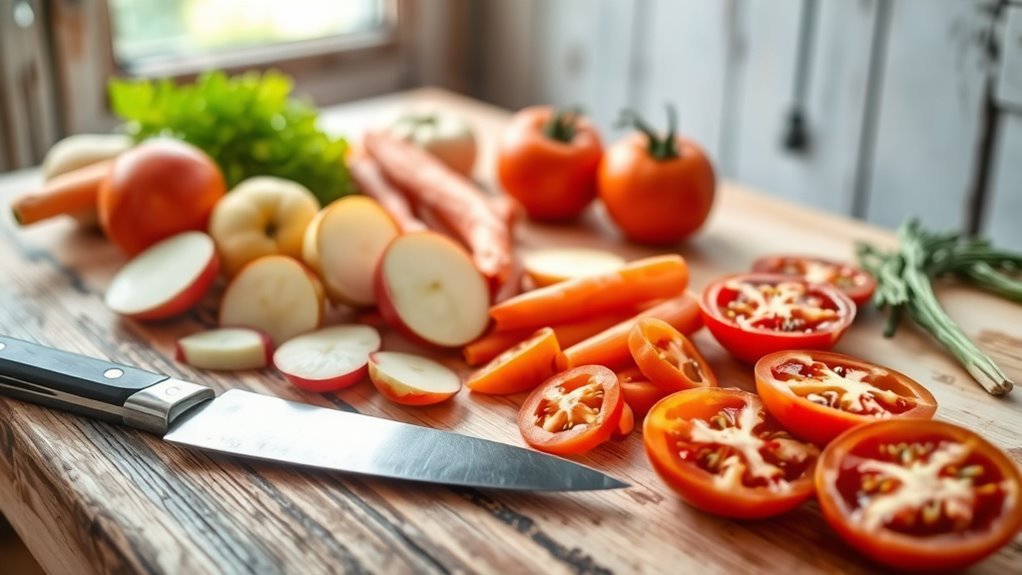
Before you start dehydrating, make sure to select fresh, ripe ingredients without bruises or blemishes. This helps guarantee the best quality and longer storage life.
Use quality ingredients by choosing fresh produce that shows optimal ripeness. That way, you can prevent spoilage and boost flavor.
Begin your preparation by thoroughly washing all produce under clean water. This removes dirt, pesticides, and contaminants, which is super important for food safety.
Peel or remove skins and seeds when necessary to improve drying efficiency and appearance. When slicing, try to keep the thickness uniform—between ¼ to ½ inch is ideal.
This ensures even dehydration and helps prevent mold growth. Proper preparation really sets the foundation for successful dehydration and long-term storage, preserving both taste and nutritional value.
Sanitize Your Work Area and Equipment
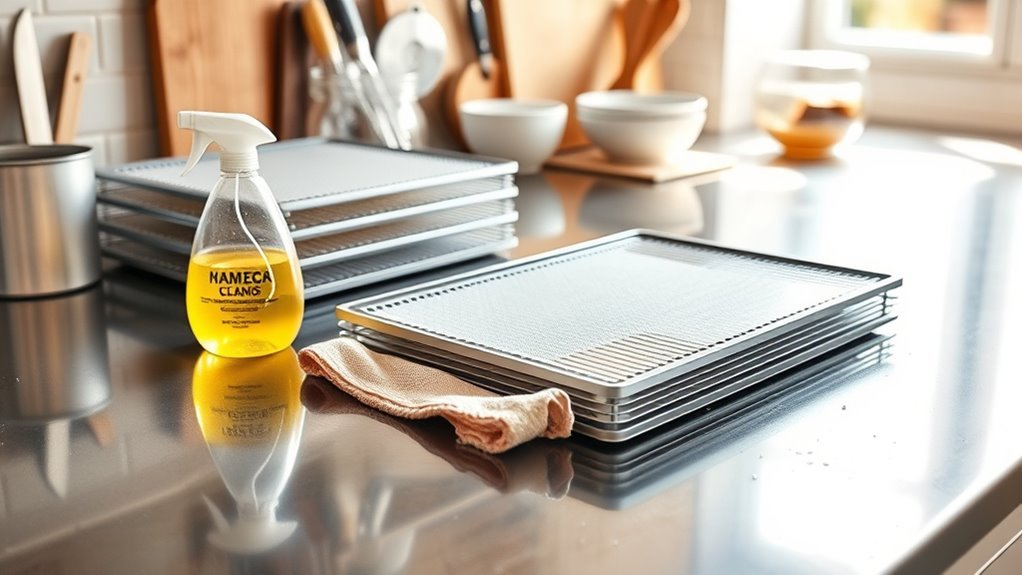
Once your ingredients are prepped, focus on sanitizing your work area and equipment to keep your food safe. Maintaining cleanliness and hygiene is vital to prevent bacterial contamination.
Start by washing your hands with soap and hot water for at least 20 seconds. Then, thoroughly clean and disinfect all surfaces, utensils, and equipment using a food-safe sanitizer or a diluted bleach solution (1 tablespoon per gallon of water).
Be sure to rinse equipment with hot water after sanitizing and let everything air dry completely before use. Keep your work area organized and free of clutter to minimize the risk of cross-contamination.
Pretreat Foods to Preserve Color and Nutrients
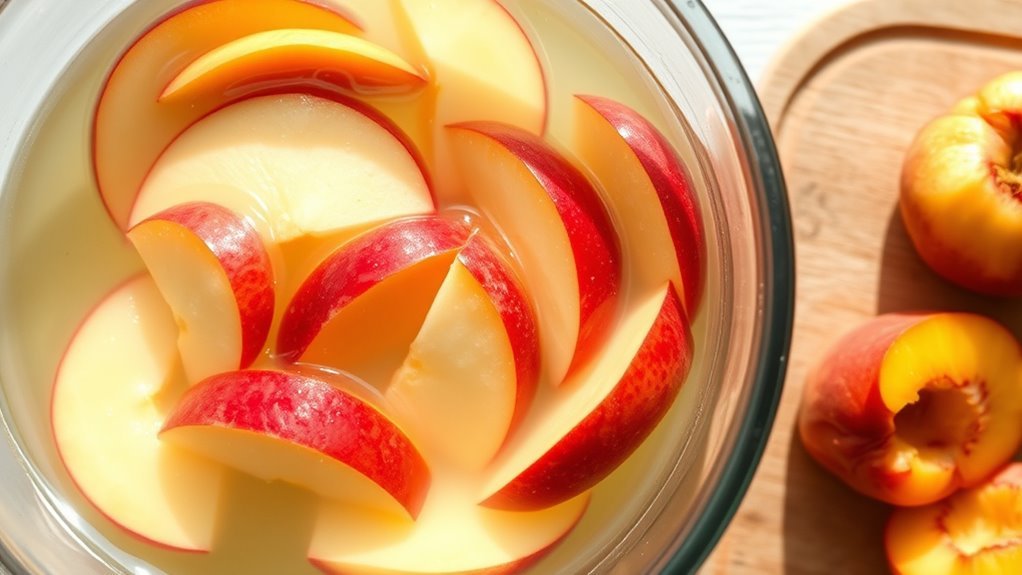
Although dehydration removes moisture, you can preserve your food’s color and nutrients by pretreating it properly. Pretreatments like blanching vegetables in boiling water for 2-5 minutes boost nutritional retention and color preservation.
For fruits, dipping them in ascorbic acid solutions (1 tablespoon per quart of water) or citrus solutions helps prevent browning. These solutions provide antioxidants that inhibit enzymatic oxidation, keeping your fruit looking fresh.
These methods effectively prevent oxidation, maintaining vibrant hues and essential vitamins. While sulfite dips like sodium bisulfite also prevent browning, use them cautiously because of allergen risks.
Incorporating these pretreatments into your food preservation routine ensures your dried foods look appealing and retain their nutritional value. It makes your long-term storage both safe and visually satisfying.
Slice Foods Into Uniform Pieces for Even Drying
To guarantee your food dries evenly, slice it into uniform pieces about ¼ to ½ inch thick. Using tools like mandolines or egg slicers helps you achieve consistent cuts every time.
This not only speeds up drying but also keeps the quality and texture just right. It makes the whole process a lot smoother and more reliable.
Importance of Uniform Slicing
When you slice your food into uniform pieces, each piece dries evenly, preventing some from over-drying while others stay moist. Uniform slicing is essential in the dehydration process because it balances moisture content and guarantees consistent drying time.
If slices vary in thickness, outer layers may harden too fast, trapping moisture inside—a problem known as case hardening that compromises food safety and shelf life. During food prep, making even cuts helps optimize energy use and improves overall food preservation.
Consistent sizing also enhances rehydration, as all pieces absorb water evenly when cooked later. Paying attention to uniform slicing not only speeds up drying but also protects your dehydrated food’s quality, safety, and longevity.
Tools for Consistent Cuts
How can you guarantee every slice dries evenly? Start by using sharp knives or a mandoline to create uniform slices, usually between ¼ to ½ inch thick.
Proper peeling helps, so remove skins with blanching or boiling water dips when needed to make slicing easier and more consistent. Measuring slices beforehand keeps slice thickness steady across your batch, ensuring consistent cuts.
For shredded vegetables or minced herbs, rely on a food processor or grater to maintain uniform pieces. Once you’ve prepared your slices, arrange them in a single layer on dehydrator trays, avoiding overlaps.
This tray arrangement promotes steady airflow and prevents uneven drying. Using these tools and techniques will help you achieve perfectly dehydrated food every time.
Impact on Drying Time
Why does slicing food into uniform pieces matter for drying time? When you cut foods into uniform slices, you guarantee even heat and airflow exposure throughout the dehydration process. This consistency in slice thickness directly improves drying efficiency and speeds up moisture removal.
Thinner slices, typically ¼ to ½ inch thick, dry faster and more thoroughly, reducing overall drying time and enhancing the dehydration rate. Uneven slice sizes can cause some pieces to remain moist or develop case hardening, disrupting dehydration consistency.
Set Proper Dehydration Temperatures and Times
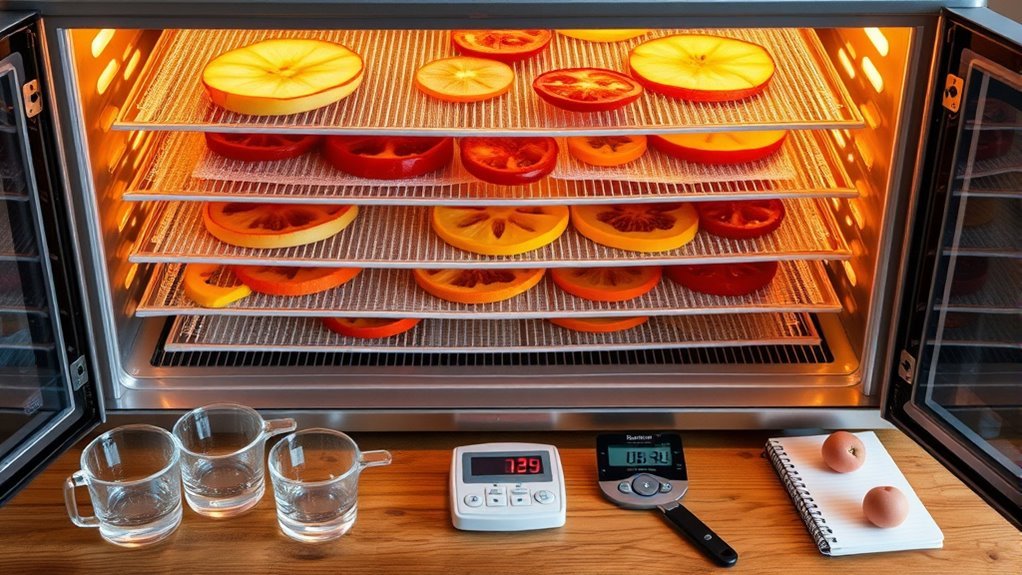
You’ll want to set your dehydrator to the right temperature—about 135°F for fruits and 145°F for meats—to guarantee thorough drying and safety.
Drying times vary, typically between 6-16 hours for fruits and 4-12 hours for meats, depending on thickness and your dehydrator’s efficiency. Adjusting settings based on the food type helps preserve nutrients and prevents issues like case hardening.
Ideal Temperature Ranges
Although dehydration times vary, setting the right temperature is essential for preserving your food’s quality and safety. Your dehydrator’s temperature controls how effectively moisture leaves the food, preventing spoilage and ensuring ideal drying.
Fruits dry best around 135°F, while vegetables require slightly lower heat near 125°F. Meats and seafood need higher temperatures, about 145°F, to meet food safety standards.
Herbs demand gentler heat between 95 and 105°F to keep their aroma intact. Whether you use a dehydrator or oven, monitor temperature carefully, considering your local climate and humidity levels, as these affect drying efficiency.
Proper temperature helps avoid case hardening, promotes even drying, and maximizes nutrient retention, making your dehydrated food ideal for long-term storage.
Drying Time Guidelines
When setting dehydration times, consider the type and thickness of your food to achieve ideal dryness without overdrying. Proper drying times vary widely, so adjusting based on moisture content and thickness is key for successful food dehydration and long-term storage.
Use your food dehydrator efficiently by following these general guidelines:
- Fruits like apples need 8 to 16 hours at 135°F, drying until leathery but not brittle.
- Vegetables such as carrots take 6 to 8 hours at 125°F, depending on slice thickness.
- Meat requires 4 to 6 hours at 145°F, drying until fully brittle for safe storage.
Make sure to monitor your food regularly to prevent overdrying. Proper drying times ensure your dehydrating food efforts preserve flavor and nutrition effectively.
Food-Specific Settings
Setting proper dehydration temperatures and times is essential for preserving the quality and safety of different foods. When dehydrating, you must adjust temperature settings based on food-specific needs.
For example, fruits like apples dry well at 135°F for 8-16 hours until leathery. Vegetables such as carrots require 125°F for 4-10 hours, depending on thickness and moisture content. Remember to blanch vegetables before drying to improve texture and color.
Meats and poultry need higher temperatures—poultry at a minimum of 165°F for food safety. Herbs call for lower temps between 95°F and 105°F for 2-4 hours to maintain flavor.
Proper preparation, consistent air circulation, and monitoring drying time guarantee your foods dehydrate evenly and safely for long-term storage.
Monitor and Rotate Trays During the Drying Process
To guarantee your food dries evenly, you should monitor and rotate the trays every 1-2 hours throughout the dehydration process. Regular tray rotation prevents uneven drying and case hardening by ensuring uniform dehydration across all dehydrator trays.
Rotate trays every 1-2 hours to ensure even drying and prevent case hardening.
Swap the top and bottom trays midway to balance heat exposure and moisture removal.
During rotation, keep these tips in mind: flip or separate larger or sticky items to promote even drying and maintain consistent food firmness.
Also, track drying times and tray positioning to refine your process for future batches.
And don’t forget to use visual checks for food moisture alongside tray swapping to confirm even drying before storage.
Cool, Package, and Store Dehydrated Foods Correctly
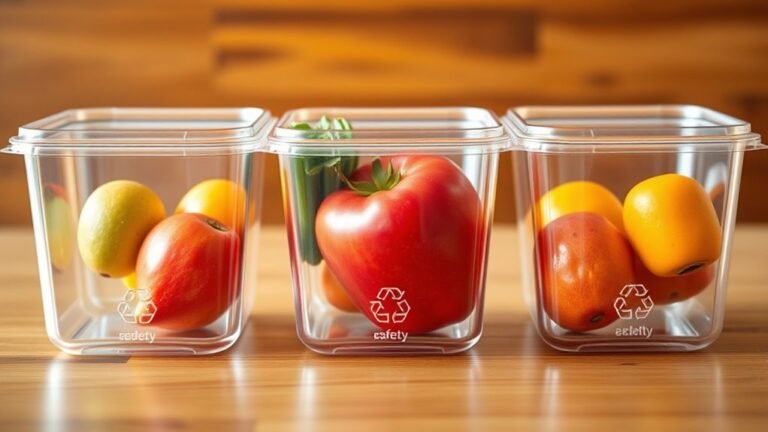
Although drying removes most moisture, you should let your dehydrated foods cool completely to room temperature before packaging. This prevents condensation, which can cause mold and spoilage.
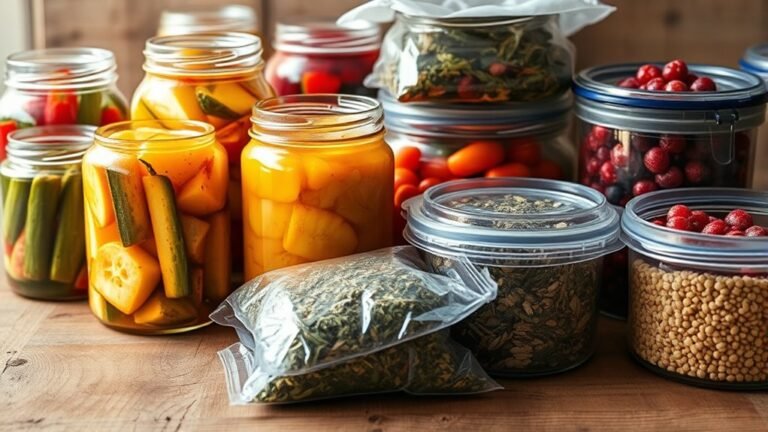
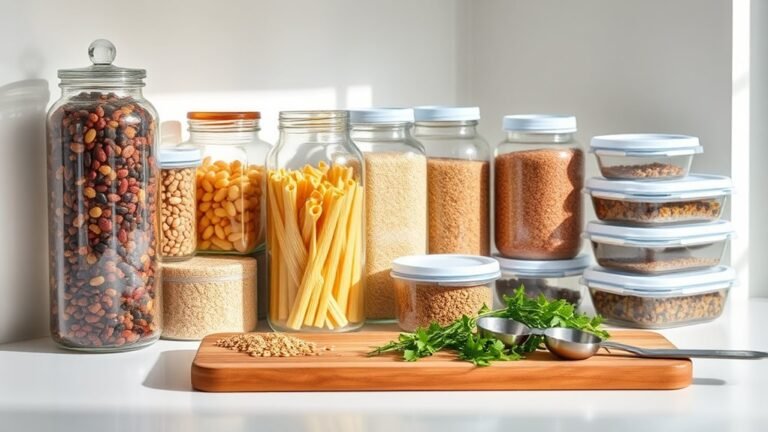
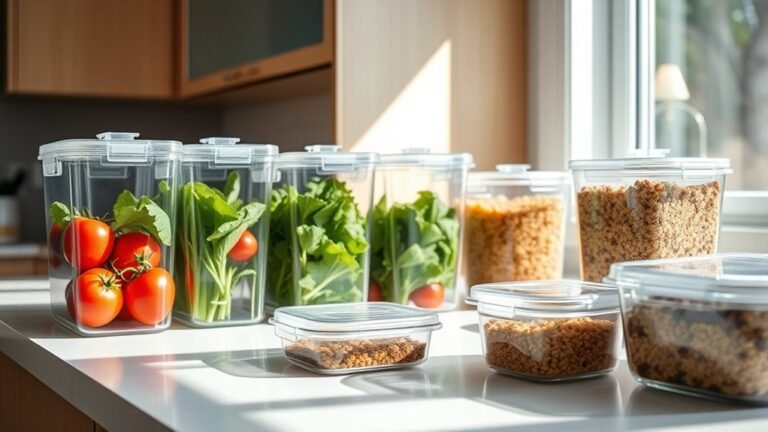
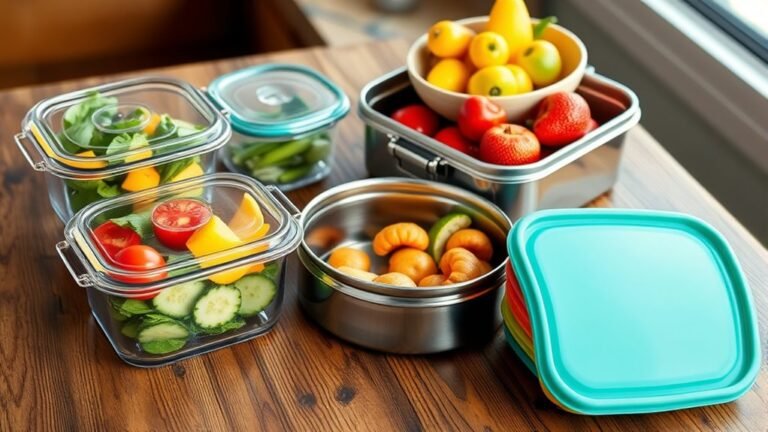
Once cooled, package your foods in airtight containers like vacuum-sealed bags, glass jars with tight lids, or Mylar bags with oxygen absorbers to keep moisture out.
Before sealing, condition your dried foods by loosely storing them for a week. Check for any residual moisture or mold, and reseal if needed.
Then, store your packages in a cool, dark place with temperatures below 60°F to maximize shelf life. Don’t forget to label each container with the dehydration date and food type to track freshness and rotate your supplies properly.
Proper cooling, packaging, and storage ensure your dehydrated foods stay safe and last longer. It’s really worth taking these extra steps!
Frequently Asked Questions
Can I Dehydrate Foods for Long-Term Storage?
Yes, you can dehydrate foods for long-term storage. Just make sure you dry them thoroughly.
Use proper packaging like vacuum sealing, and store them in a cool, dark place. This will help keep them safe and fresh longer.
What Food Cannot Be Dehydrated?
You can’t dehydrate dairy, raw eggs, or high-fat meats—they spoil faster than a lightning bolt strikes.
Avoid oily foods like avocados and processed items, as they won’t dry properly and risk turning rancid or moldy.
How Long Will Dehydrated Food Last in a Ziploc Bag?
Dehydrated food in a Ziploc bag lasts about 6 months to 1 year if stored in a cool, dark, dry place.
For longer storage, vacuum-sealing or oxygen absorbers can extend its shelf life up to 2 years.
What Are the Cons of Dehydrating Food?
Dehydrating food can be like a fading photograph; you’ll lose some nutrients and risk spoilage if moisture sneaks back in.
Plus, fatty foods might go rancid, and uneven drying can ruin your carefully prepped meals. It’s a bit of a balancing act, really. You have to keep an eye on things to get it just right.
Conclusion
By following these seven steps, you’ll turn fresh ingredients into long-lasting treasures, ready to fuel you whenever hunger strikes. Just like a gardener tends to their plants, you’ll need patience and care throughout the process.
Keep your workspace clean, slice evenly, and watch your food transform under the right temperature. With proper cooling and storage, your dehydrated foods will stay fresh and tasty.
This method of food dehydration is perfect for long term storage, ensuring your pantry becomes a well-stocked oasis. Whether for camping, emergencies, or everyday use, dehydrated foods provide convenience and nutrition. So take your time, follow each step carefully, and enjoy the benefits of homemade dehydrated food that lasts.