7 Steps to Use Mylar Bags for Food Storage
To use Mylar bags for food storage, start by choosing the right bag size based on the type and quantity of food you want to store. Make sure you gather all the necessary materials, including oxygen absorbers and a reliable sealer, before you begin.
When filling the bags, avoid overpacking—leave enough space at the top to seal them properly. Add the correct oxygen absorber quickly to help keep your food fresh and prevent spoilage.
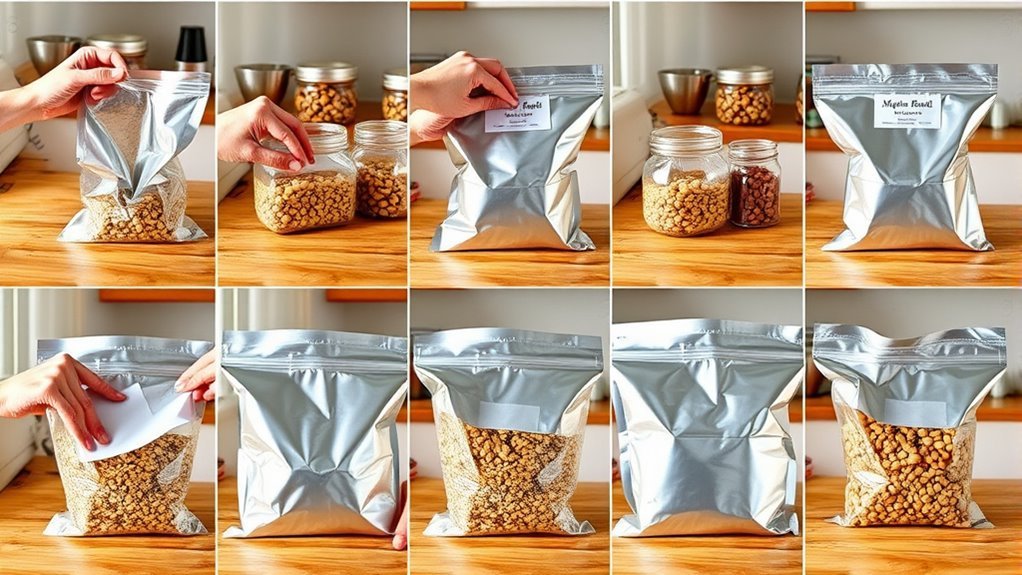
Next, seal the bags tightly using an iron or a heat sealing tool. After sealing, check carefully for any leaks to ensure airtight protection.
Don’t forget to label each bag with the contents and date.
Finally, store the sealed bags in a cool, dark place to maximize shelf life. Keep reading for helpful tips that will ensure long-term food safety and preserve your stored items effectively!
Key Takeaways
- Choose the right Mylar bag size and oxygen absorber capacity based on the food quantity for effective preservation. This step is key to keeping your food fresh for longer.
- Fill bags with food, leaving 2-3 inches at the top. Then, add oxygen absorbers promptly before sealing to ensure the best results.
- Seal bags airtight using a heat sealer or iron. Make sure your seal is smooth and unbroken, without any wrinkles or gaps.
- After the bags cool, inspect the seals for leaks. Don’t forget to label each bag with the contents and date before putting them away.
- Store sealed bags in cool, dark, dry, and pest-proof containers. This helps maintain the food’s quality and keeps it safe for the long haul.
How to Pick the Right Mylar Bag Size for Your Food
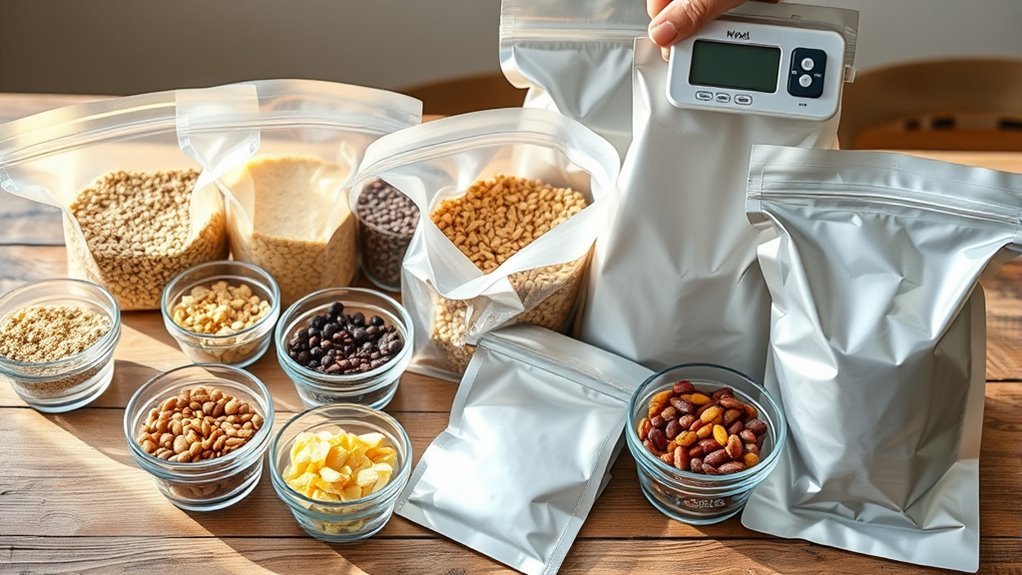
When selecting Mylar bags for your food storage, you’ll want to match the bag size to the amount of food you plan to store. Smaller Mylar bags, like 1-quart or 1-gallon sizes, work great for portioning meals or ingredients. This makes it easier to access and rotate your supplies.
For bulk storage, larger bags—such as 5-gallon—are perfect for staples like rice, beans, or grains. They help reduce the total number of bags you need.
Make certain the bag size you choose allows enough space at the top, about 3-4 inches, to properly seal the bag and insert oxygen absorbers. The storage capacity of your oxygen absorbers should correspond with your bag size; for example, a 300cc absorber fits well with a 1-gallon bag.
Proper bag sealing ensures a secure, airtight environment that keeps your food fresh for the long term. Matching Mylar bags and oxygen absorbers optimizes your food storage’s effectiveness and longevity.
Get Your Materials Ready for Food Storage
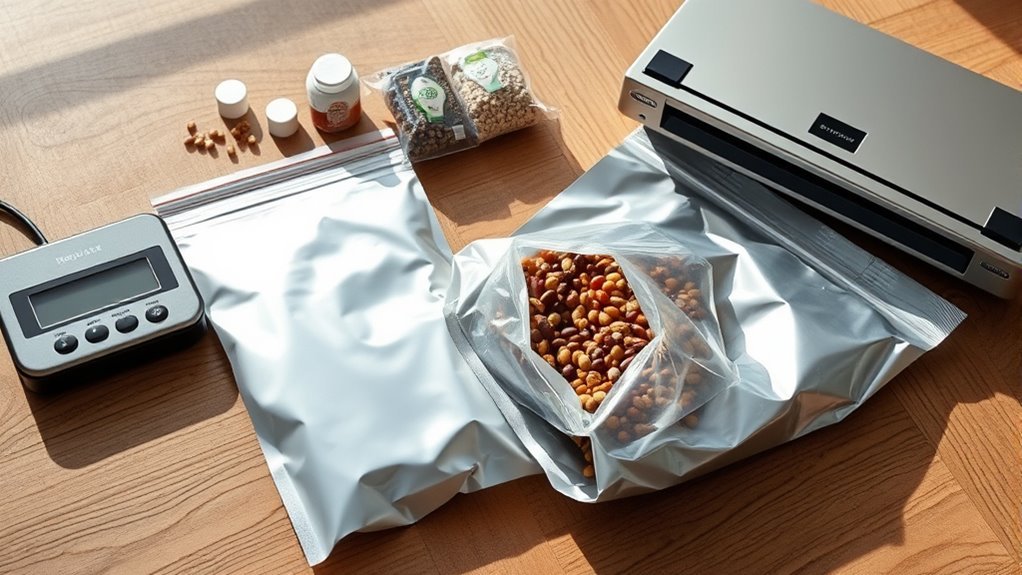
Before you start, gather all essential materials like Mylar bags, oxygen absorbers, a sealer, and measuring tools. Make sure to prepare your oxygen absorbers by keeping unused ones sealed tight to maintain their effectiveness.
It’s a good idea to organize your workspace too. Keeping everything clean and ready helps make filling and sealing way more efficient.
Essential Storage Materials
How do you guarantee your food stays fresh and safe for long-term storage? Start by gathering essential storage materials. You’ll need Mylar bags sized for your dry goods, along with oxygen absorbers to extend freshness.
Use a reliable heat sealer—an impact heat sealer works best, but a hair straightener or household iron can suffice for sealing the bags tightly. Have a large measuring cup or scoop ready to transfer food without spills, and keep a firm straight edge or yardstick nearby to fold and seal bags neatly.
Set up a clean, dry workspace with buckets or plastic bins to hold filled bags. Organizing these materials assures efficient sealing and ideal food storage, preserving your supplies for months or even years.
Preparing Oxygen Absorbers
Although oxygen absorbers are small, they play a crucial role in preserving your stored food by removing oxygen that causes spoilage. To prepare them effectively, you need to organize your materials and handle the absorbers carefully during the packaging process.
Here’s how to get ready:
- Select the right size oxygen absorber based on your bag’s volume (e.g., 300cc for 1-gallon bags).
- Open oxygen absorbers only when ready to use, and place them inside the bag immediately after filling.
- Reseal any unused absorbers in airtight containers like mylar bags or glass jars to maintain their effectiveness.
- Prepare multiple absorbers in advance and organize them in a dedicated container for quick access.
Following these steps guarantees your food stays fresh longer by keeping oxygen out.
It’s really all about being organized and quick when handling these little guys!
Fill Mylar Bags Properly Without Overpacking
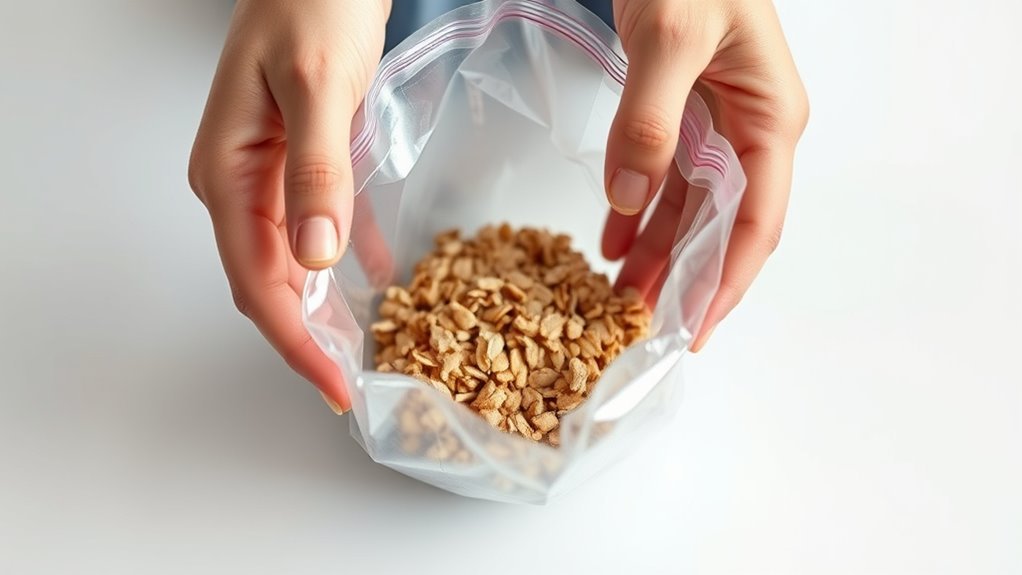
When filling your Mylar bags, make certain you leave at least 2 to 3 inches of space at the top to guarantee a proper seal. Proper filling prevents overpacking, which can cause leaks or tears and compromise the airtight seal.
As you fill, gently shake or tap the bag to help the food settle and eliminate air pockets. This also ensures even food distribution, maximizing space inside the bag.
Here’s a quick guide to fill your Mylar bags properly:
| Step | Tip |
|---|---|
| Leave 2-3 inches of space | Allows secure airtight seal |
| Shake to settle food | Removes air pockets |
| Avoid overpacking | Prevents seal failure |
Add Oxygen Absorbers to Mylar Bags for Maximum Shelf Life
Once you’ve filled your Mylar bags properly, the next step is to add oxygen absorbers to extend the shelf life of your stored food. Oxygen absorbers remove oxygen from the Mylar bag, preventing spoilage and preserving freshness.
To maximize shelf life, follow these steps carefully:
- Place the correct size oxygen absorber inside the bag immediately after filling it to make sure it starts absorbing oxygen right away.
- Press the absorber toward the center of the bag for even oxygen removal inside the bag.
- Seal Mylar bags within 10-20 minutes after adding absorbers to prevent them from losing effectiveness.
- Mark the bag with the number of absorbers used and the date to track freshness and guarantee proper oxygen removal over time.
Seal Mylar Bags Using an Iron, Vacuum Sealer, or Heat Tool
To seal your Mylar bags effectively, make sure you leave 3-4 inches of space at the top after filling and adding an oxygen absorber.
You can use an iron, vacuum sealer, or heat tool to create an airtight seal that protects your food during storage.
If you choose an iron, set it to medium heat and run it steadily along the top edge of the bag several times until the seal is complete.
When using a vacuum sealer, place the open Mylar bag inside, remove the air, and activate the sealer to secure the top.
Heat tools designed for sealing work similarly by applying consistent heat to bond the bag’s edges.
Each method guarantees the bag is airtight, preventing air and moisture from spoiling your food.
After sealing, allow the bag to cool and set before labeling and placing it in a cool, dark storage area for maximum preservation.
Check and Confirm Your Seal to Prevent Air Leaks
How can you be sure your Mylar bag is truly sealed? After sealing, it’s crucial to check and confirm your seal to prevent air leaks that can spoil your food. Proper inspection ensures the seal integrity and keeps your storage airtight.
Follow these steps to check your Mylar bag seal properly:
Follow these steps to ensure your Mylar bag seal is airtight and secure.
- Gently press along the seal to feel for air bubbles or gaps indicating poor sealing.
- Wait at least 24 hours for the seal to cool and set before testing for leaks.
- Apply gentle pressure or use a hairdryer on low heat along the seal to detect any escaping air.
- Carefully inspect the sealed seam for visible punctures, wrinkles, or incomplete adhesion.
Make sure the entire seal runs smoothly from end to end without breaks. By following these steps, you’ll confidently maintain airtight storage and prevent air leaks effectively.
Label Your Bags and Store Them in a Cool, Dark Place
Label each Mylar bag clearly with the contents, date, and any cooking notes using waterproof markers or printed labels to keep your storage organized.
Store the bags in a cool, dark place like a pantry or closet to protect your food from heat and light damage.
Keeping them off the floor and neatly arranged will help maintain their quality over time.
Effective Labeling Techniques
When you seal your Mylar bags, make certain you immediately mark them with the contents, storage date, and any special instructions using a permanent marker or waterproof label. This guarantees clear labeling and label durability, preventing smudging or fading over time.
For effective labeling techniques, keep these tips in mind:
- Use detailed labels that provide all necessary information for easy identification.
- Place labels in visible spots on each bag to streamline label placement and quick access.
- Consider waterproof labels or laminated options for long-lasting clarity.
- Include matching labels inside storage containers for organized inventory management.
These little steps really make a difference. Trust me, it’ll save you time and hassle down the road!
Optimal Storage Conditions
Where you store your Mylar bags plays a crucial role in preserving your food’s quality and longevity. Always keep your sealed bags in a cool environment, ideally between 40-60°F, to slow degradation and extend shelf life.
Choose a dark place like a pantry or closet to protect your food from light exposure. Light can cause nutrient loss and spoilage, so keeping your bags in the dark really helps.
To safeguard against pests, place the bags inside sturdy, pest-proof containers such as plastic buckets or bins. This extra step keeps unwanted critters away from your food.
Avoid areas with high humidity or temperature fluctuations. Moisture and heat can damage the bags’ integrity and compromise your storage conditions.
Frequently Asked Questions
How Long Will Food Last in a Mylar Bag?
Food can last 10 to 30 years in Mylar bags if you store grains or beans properly. You’ll want to keep them in a cool, dark place and use oxygen absorbers to maximize their shelf life.
It’s pretty simple, really. Just make sure the storage conditions are right, and your food will stay fresh for a long time.
How to Properly Use Mylar Bags?
You’ll fill the Mylar bag nearly full, add an oxygen absorber, then seal it tightly using heat. Make sure the seal’s airtight.
Label the bag, and store it in a cool, dark, dry place for best results. It really helps keep your stuff fresh for a long time!
What Foods Cannot Be Stored in Mylar Bags?
You shouldn’t store fresh fruits, vegetables, oily nuts, brown rice, or any high-moisture or perishable foods in Mylar bags. These promote mold, spoilage, or rancidity, ruining both the food and the bag over time.
Basically, if it’s got a lot of moisture or oils, Mylar bags aren’t the best choice for keeping it fresh. It’s better to find other storage methods for those kinds of foods.
Do I Need Food Grade Buckets if I Use Mylar Bags?
Do you really want to risk damage or pests? You don’t need food-grade buckets with Mylar bags, but they add extra protection, support, and organization.
This is especially true in humid or pest-prone areas. They’re definitely worth considering for long-term storage.
Conclusion
By following these seven simple steps, you’ll turn your food storage into a fortress that can withstand the test of time. Mylar bags, paired with oxygen absorbers and proper sealing, keep your food fresher than a spring morning for years.
Don’t forget to label and store them in a cool, dark place to lock in that freshness. It’s all about creating the perfect environment for your food to last.
With this method, you’re not just storing food—you’re creating a survival legend! Using Mylar bags for food storage is one of the best ways to ensure long-term freshness and protection. So go ahead, start your food storage journey today with Mylar bags, oxygen absorbers, and airtight sealing. You’ll thank yourself later!