10 Tips to Organize Food Storage Containers Efficiently
Start by decluttering your food storage containers, removing any damaged or unused ones to free up valuable space. It’s amazing how much room you can save just by getting rid of things you don’t need.
Next, separate the lids from the containers and store all the lids together. This way, you can find them easily without rummaging through every container.
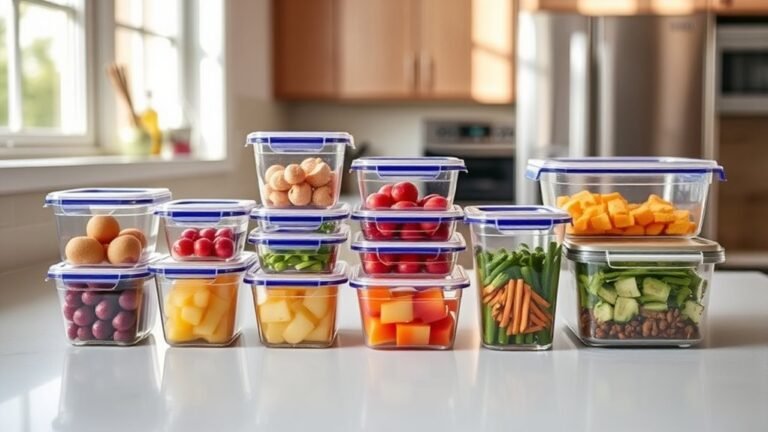
Nest containers by size and shape to make the most of your storage space. Using drawer dividers or baskets for small pieces helps keep everything neat and accessible.
Choose storage spots that are easy to reach, like drawers or shelves, so you’re not digging around when you need something. And don’t forget to label everything clearly — it makes a huge difference when you’re in a hurry.
Keep your collection functional by regularly reassessing it to avoid clutter building up again.
Also, try flexible storage solutions that can adapt as your needs change over time.
There’s plenty more to explore to achieve a perfectly organized kitchen!
Key Takeaways
- Regularly declutter containers by discarding damaged or unused pieces to maintain a manageable and functional collection. This keeps your storage space neat and easy to navigate.
- Separate lids from containers, nesting containers by size and storing lids together for quick access and space efficiency. It really saves you time when you’re in a hurry.
- Use shelf inserts, baskets, and drawer dividers to maximize vertical space and organize small containers effectively. These tools help keep everything in its place without clutter.
- Choose durable, uniform containers and customize modular storage to adapt to changing needs and prevent clutter. Having a consistent set makes stacking and storing so much simpler.
- Label containers and storage areas clearly, and perform regular maintenance to sustain long-term organization and inventory control. This way, you’ll always know what you have and where it goes.
Clear Out Clutter: Declutter Your Containers
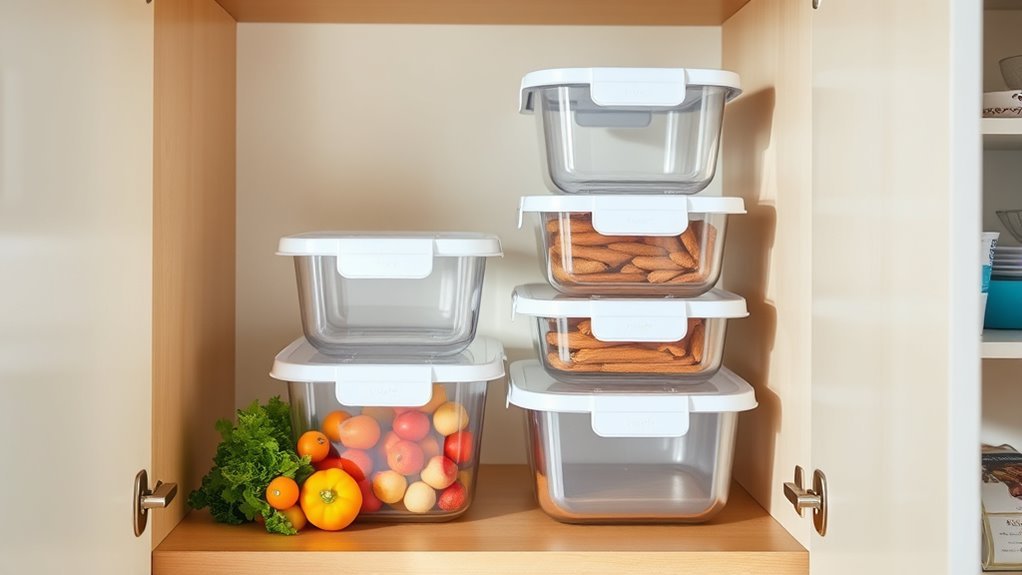
Before you reorganize your food storage containers, take everything out of your cabinets to start fresh. This step helps you clearly see what you have and makes it easier to declutter.
Go through each container and discard any that are damaged, mismatched, or missing lids. Keeping these only adds unnecessary clutter and can make your kitchen unsafe.
Next, organize your containers by size to spot duplicates or excess pieces you don’t need. By categorizing them, you’ll know exactly what to keep and what to recycle or repurpose.
Don’t hesitate to free up space by letting go of containers that no longer serve you. Make it a habit to regularly reevaluate your collection to prevent buildup of unwanted items.
Taking these steps will help you declutter effectively and maintain a neat, organized cabinet that makes finding the right container quick and easy.
Separate Containers and Lids to Save Space
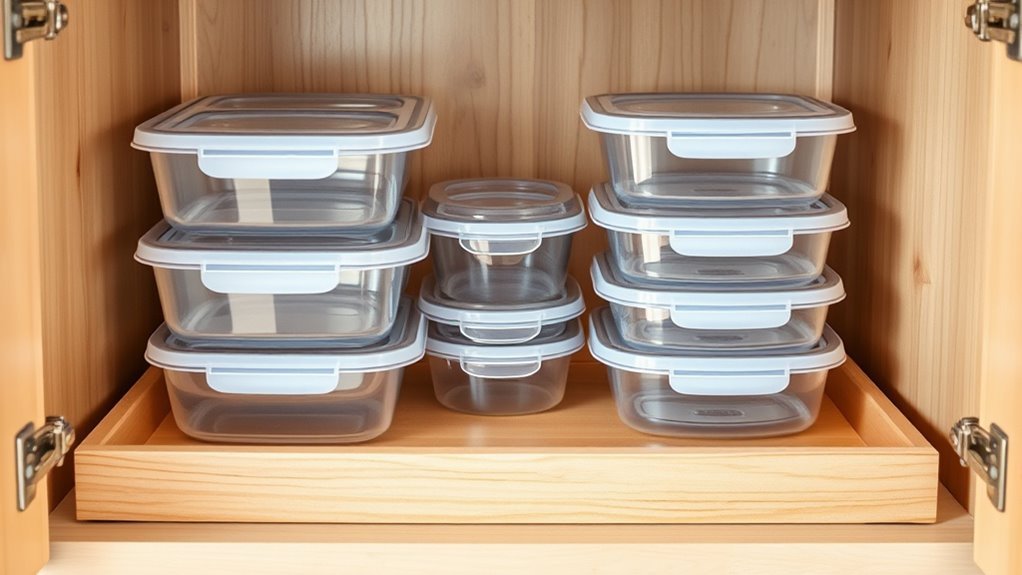
When you separate containers from their lids, you can nest and stack them more efficiently. This saves valuable space in your cabinets or drawers.
This simple shift in organization also prevents mismatched pairs and clutter. It makes your kitchen tidier and easier to navigate.
Keep all lids in one larger container so you won’t lose them. That way, you can quickly find the right size when you need it.
Here’s how this organization method benefits you:
| Benefit | Explanation |
|---|---|
| Space-saving | Nest containers without lids |
| Easy access | Group lids together for quick use |
| Clutter reduction | Prevents mismatched pairs |
Nest Containers by Size and Shape
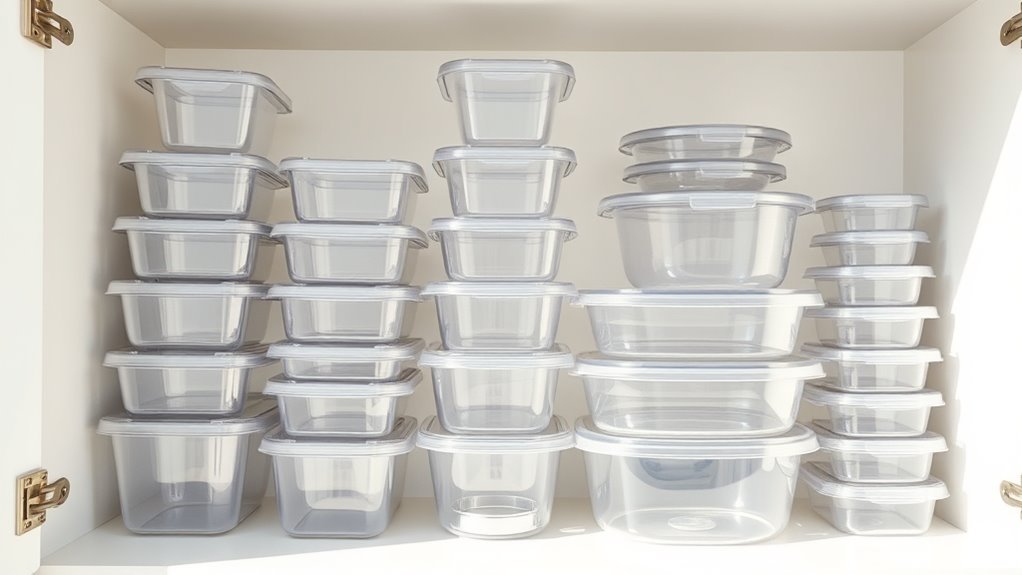
Separating containers from their lids sets the stage for nesting containers by size and shape, which further maximizes your storage space. When you nest containers, you create a neat and efficient system that saves room and keeps things organized.
Here’s how to do it effectively:
- Group containers by similar shapes to ensure they nest properly without wasting space.
- Sort containers by size, placing smaller ones inside larger ones to maximize vertical space.
- Check for any damaged or mismatched containers as you sort, so your collection stays streamlined.
- Stack nested containers carefully to prevent toppling and maintain easy access to each size and shape.
Store Lids Together in Baskets or Drawers
Although lids often get overlooked, storing them together in baskets or drawers keeps your kitchen organized and makes meal prep quicker. When you group all lids in one place, you prevent stacking issues and reduce mismatched pairs.
Using baskets or drawers lets you spot the right lid fast, saving time and effort. Plus, designating a specific spot helps avoid clutter and protects lids from damage or loss.
Here’s a simple way to keep your lids organized:
| Benefit | Explanation |
|---|---|
| Easy Access | Quickly find lids without digging |
| Prevents Clutter | Keeps lids from scattering around |
| Matches Containers | Ensures lids stay with their pairs |
Organize Small Containers With Drawer Dividers
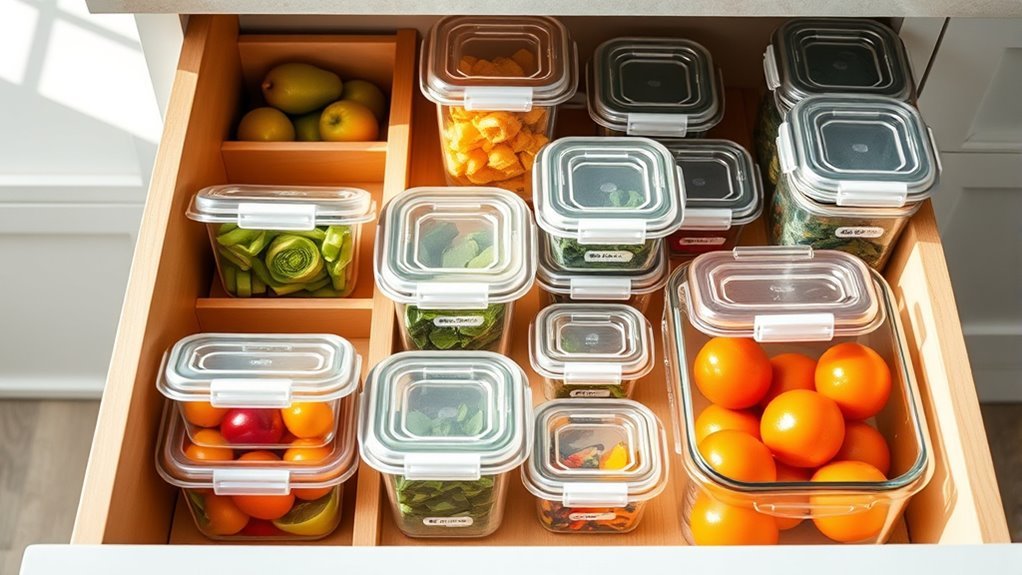
To keep your small containers from sliding and chipping, use drawer dividers to create separate compartments. Drawer dividers help you maintain order and improve kitchen organization by keeping everything in its place.
Here’s how to make the most of them:
- Choose adjustable drawer dividers to fit various sizes of small containers, ensuring each has a snug spot.
- Store containers upright within the compartments to save space and make lids easy to grab.
- Label each section so you can quickly find the container type or contents without digging through the drawer.
- Regularly reassess your setup, removing containers you no longer use to keep the space functional and clutter-free.
Maximize Cabinet Space Using Shelf Inserts and Clip-On Baskets
When you add shelf inserts and clip-on baskets to your cabinets, you can instantly boost your storage capacity and keep everything neatly organized. Shelf inserts like VARIERA create additional tiers, doubling vertical storage space and allowing you to stack containers efficiently.
Adjustable shelf inserts fit different container heights, so you can make the most of unused space and prevent containers from toppling. Clip-on baskets such as PÅLYCKE are perfect for organizing lids and small containers, keeping items accessible and reducing clutter.
Combining shelf inserts with clip-on baskets helps you maximize cabinet space, especially if your kitchen storage is limited. This duo ensures you can see everything at a glance and keeps your food storage containers orderly.
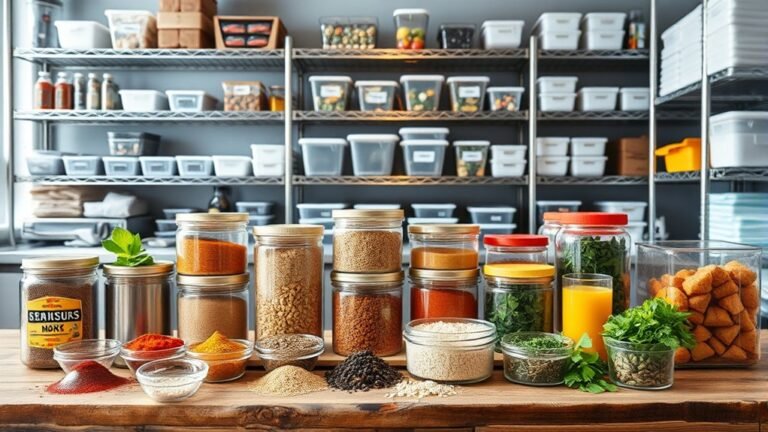
Pick the Best Storage Spots for Your Kitchen
Now that you’ve optimized your cabinet space with shelf inserts and clip-on baskets, it’s time to focus on choosing the best storage spots in your kitchen. Picking the right spots will help you organize kitchen items efficiently and keep your space clutter-free.
Optimizing your cabinet space sets the stage for choosing perfect storage spots to keep your kitchen clutter-free.
Here’s how to select ideal storage spots:
- Use easily accessible spots like nearby drawers or open shelves to speed up daily tasks. It makes grabbing what you need so much quicker.
- Maximize deep cabinets with adjustable shelves or baskets to fully use vertical space and avoid mess. It’s all about making the most of every inch.
- Designate separate areas for lids and containers to boost visibility and cut down on searching. No more digging through piles to find the right lid!
- Incorporate shallow drawers with dividers or baskets specifically for small containers and lids to keep them tidy. Keeping things sorted really saves time in the long run.
Label Containers and Storage Areas for Easy Finding
Although organizing your kitchen storage is essential, labeling containers and storage areas takes efficiency to the next level by helping you quickly find what you need. Use clear, printable labels on both containers and storage areas to identify contents and designate spots instantly.
Label shelves or bins with categories like “Lids,” “Small Containers,” or “Large Containers” to streamline access and maintain order. You can even incorporate color-coded labels to visually separate container types or sizes, making your organization even more intuitive.
Don’t forget to add detailed labels showing expiration dates or specific contents to keep track of freshness and inventory. And remember, regularly update your labels as you change container contents or rearrange storage areas, so your system stays accurate and effective.
Keep Your Container Collection Functional by Regularly Decluttering
Take a moment to check your containers for cracks, stains, or missing lids to keep your collection in good shape. Toss or recycle any containers you no longer use or that are damaged.
Doing this regularly helps you keep things manageable. Plus, it makes sure your collection stays functional and ready to use.
Assess Container Condition
When you regularly inspect your food storage containers for damage, discoloration, or missing lids, you keep your collection functional and easy to manage. Evaluating container condition is key to maintaining order and efficiency.
Follow these steps to keep your containers in top shape:
- Inspect containers for cracks, stains, or warped edges that affect their usability.
- Check for damaged lids that don’t seal properly and replace or discard them.
- Remove mismatched containers to streamline your collection and improve stacking.
- Keep only durable, uniform containers that fit your regular storage needs.
Remove Unused Items
Since clutter can quickly accumulate, regularly removing unused containers is essential to keep your collection functional and manageable. Take time to remove all containers from storage and assess their condition.
Discard damaged or mismatched containers that no longer fit your needs. By focusing on keeping only essential, functional pieces, you streamline your collection and avoid overstocking.
Don’t hesitate to discard containers that sit unused—they just take up valuable space. Recycling or repurposing these orphaned containers helps reduce waste while freeing up room.
Staying consistent with this decluttering habit makes organizing easier and speeds up retrieval during meal prep. Regularly removing unused items keeps your food storage system efficient and stress-free.
Try Flexible Storage Solutions That Grow With You
Although your storage needs may change over time, you can keep your space organized by choosing flexible solutions that adapt as your collection grows. Flexible storage options like modular shelf inserts and adjustable pegboards let you customize your setup without starting over.
Here are four tips to keep your system scalable and efficient:
- Use adjustable pegboards or modular shelf inserts to easily reconfigure shelves as container sizes change.
- Incorporate versatile baskets or pot lid organizers with expandable lengths to fit various container shapes and quantities.
- Choose clip-on baskets and dividers that you can move or rearrange without hassle.
- Pick durable, lightweight materials so you can add or remove components without disturbing other storage elements.
Regularly reassess your setup to keep it working well as your needs evolve. This approach helps you stay organized without clutter or wasted space.
Give it a try and see how easily your storage can grow with you!
Frequently Asked Questions
How Do I Remove Stubborn Food Stains From Containers?
You can remove stubborn food stains by soaking containers in a mix of baking soda and vinegar for 15 minutes. Then, scrub with a sponge or brush.
Rinse well, and repeat if stains persist for best results. It’s pretty simple, and usually does the trick!
Can I Store Food Containers in the Refrigerator or Freezer?
Yes, you can store food containers in the fridge or freezer, but make sure they’re airtight and freezer-safe. Otherwise, your food might spoil or get freezer burn.
Always label and cool food before storing to keep it fresh. That way, you’ll know what’s inside and when you put it there. It really helps to keep things organized and tasty!
What Materials Are Safest for Microwave Use?
You should use glass, ceramic, and microwave-safe plastic containers. Avoid metal and non-microwave-safe plastics, as they can cause sparks or release harmful chemicals.
Always check for a microwave-safe label before heating your food. It’s better to be safe than sorry, right? Just a quick look can save you from a mess or health risk!
How Do I Prevent Containers From Retaining Odors?
You might imagine your container smelling like last week’s curry, but to prevent odors, rinse immediately, soak in baking soda water, or use lemon juice.
Air-dry completely before sealing to keep fresh scents locked in.
Trust me, letting your container dry out fully makes a big difference! It keeps those unwanted smells from sticking around.
Are Bpa-Free Containers Worth the Investment?
Yes, BPA-free containers are worth it. They keep your food safer by avoiding harmful chemicals, last longer, and don’t retain odors as much.
Investing in them protects your health and improves storage quality overall. So, it’s a smart choice for both your well-being and convenience.
Conclusion
If you don’t organize your food storage containers now, you might as well prepare for a kitchen apocalypse—piles of lids ruling your drawers and containers playing hide-and-seek! It’s a mess that drives everyone crazy.
But by following these tips, you’ll conquer the chaos and create a storage system so efficient, it’ll feel like your kitchen runs itself. No more digging through stacks or mismatched lids.
Say goodbye to clutter and hello to effortless meal prep. Organizing your food storage containers not only saves time but also keeps your kitchen looking neat and tidy. Your future self will thank you endlessly for this game-changing organization that makes cooking and cleanup a breeze!