
10 Tips to Declutter Food Storage Containers Efficiently
To declutter your food storage containers efficiently, start by emptying and sorting all containers and lids. Toss out any damaged or mismatched pieces to make room for what really matters. Focus on keeping only the containers you use weekly, especially the essential sizes that fit your needs best.
Next, nest containers by size to save space, and store lids upright in dividers for easy matching. This simple trick makes finding the right lid a breeze!
Over time, try swapping stained or warped plastic containers for glass ones, which resist odors and tend to last longer.
Also, consider storing leftovers as full meals. This not only saves you time but also helps reduce food waste. Keep these tips in mind, and you’ll have an organized, clutter-free kitchen system before you know it!
Key Takeaways
– Empty and sort all containers and lids, pairing them before organizing to avoid mismatches and clutter buildup.
This way, you won’t end up hunting for a lid that doesn’t have a match.
– Discard cracked, warped, stained, or unmatched containers and lids to maintain a reliable, clutter-free collection.
Keeping only what’s in good shape makes your storage system way easier to manage.
– Track weekly container usage to decide how many and which sizes to keep, aligning storage with actual needs.
It helps you avoid holding onto containers you never actually use.
– Nest containers by size and store lids upright using dividers to maximize space and simplify lid matching.
This trick saves a bunch of space and makes it easier to find the right lid when you need it.
– Gradually replace plastic containers with glass ones for better durability, odor resistance, and easier maintenance.
Glass containers are a great long-term investment for your kitchen storage.
Why Decluttering Food Storage Containers Matters
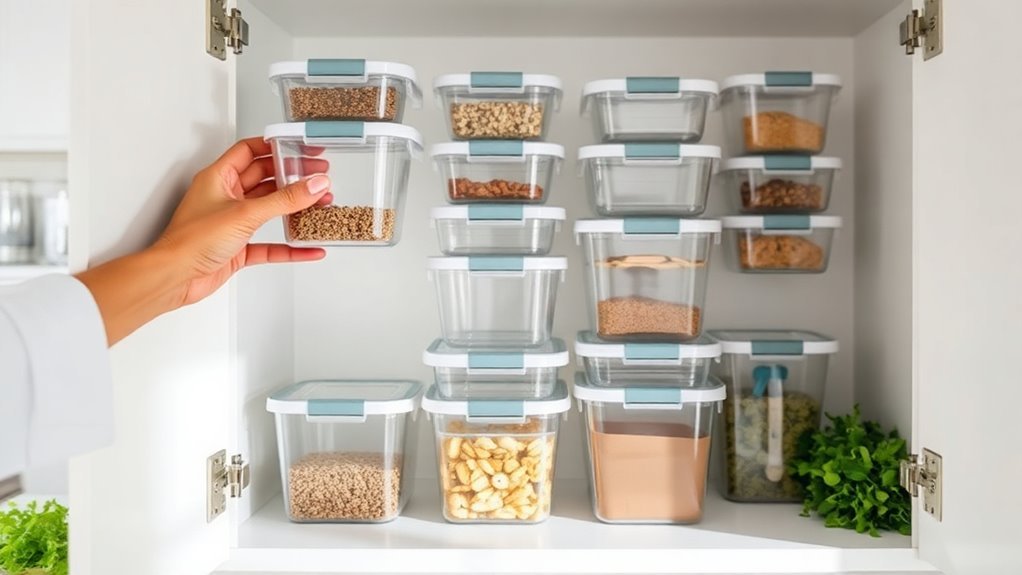
When you let food storage containers pile up, you not only waste valuable drawer and cabinet space but also spend extra time hunting for matching lids. This clutter makes it harder to reuse leftovers, increasing food waste since you might toss uneaten meals simply because you can’t find the right container.
Keeping cracked or stained containers only worsens this by risking improper storage that spoils your food faster. Decluttering helps you avoid buying more single-use plastics, saving money and reducing waste.
Plus, upgrading to non-porous glass containers in a streamlined system keeps odors and stains at bay, so your food stays fresher longer. By organizing and downsizing, you cut down on food waste and save time, space, and effort in the kitchen.
How to Empty and Sort All Containers and Lids
Clearing out your food storage containers starts by pulling everything out at once so you can see exactly what you have. Take every container and lid, then sort them by pairing lids with matching containers.
Toss or recycle unmatched lids or bases to avoid clutter buildup. Be honest about how many containers you actually use weekly and set aside extras for donation or repurposing.
| Step | Action |
|---|---|
| 1. Pull Out All | Remove every container and lid at once |
| 2. Sort & Pair | Match lids with every container |
| 3. Purge | Discard unmatched or damaged pieces |
| 4. Organize | Nest containers and store lids upright |
This clear sorting helps you manage every container efficiently and keeps your storage neat. It really makes a difference when you want to find what you need quickly.
Match Containers and Inspect for Damage
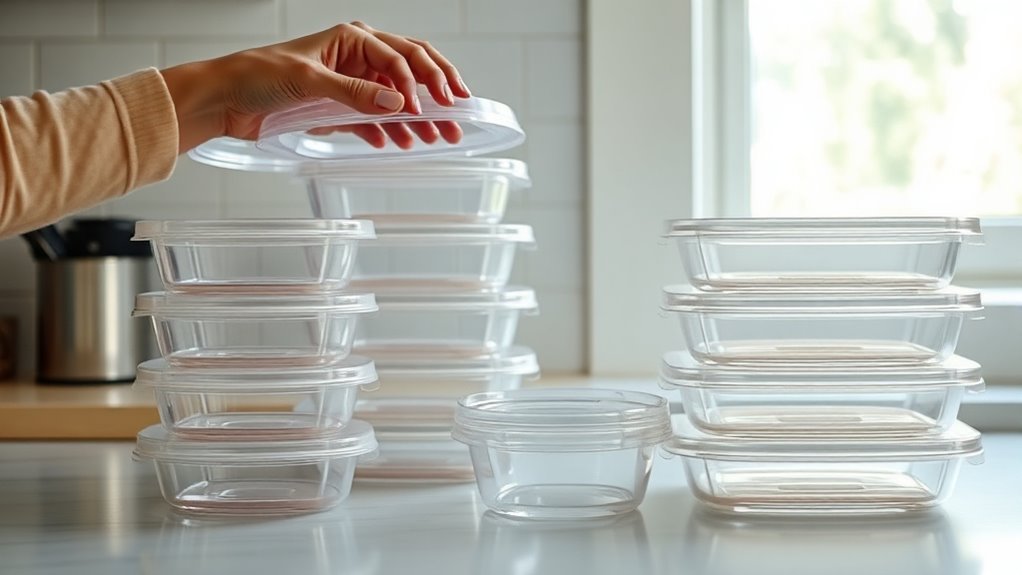
Pull out all your containers and lids, then match each pair to avoid hunting for the right fit later.
Check every piece for cracks, warping, or stains, especially those caused by microwaving.
Toss any damaged or mismatched items so you only keep containers you can use and trust.
Sort Containers And Lids
Before you start organizing, empty your entire food container space so you can clearly see every container, lid, and bin. This step helps you sort containers and lids efficiently without missing mismatched pairs.
Begin by matching containers with their lids, then set aside any pieces without partners for recycling or disposal. As you sort, keep only what you use regularly to avoid clutter.
Focus on these key points: group matched sets together for easy access, and check lids for proper sealing to prevent leaks. It’s also a good idea to discard warped, cracked, or stained containers.
Sorting containers and lids this way streamlines your storage, making it easier to find what you need. Plus, it reduces wasted time and space in your kitchen.
Identify Damaged Pieces
Once you’ve matched containers with their lids, inspect each piece carefully to make sure there’s no damage. Pull every plastic container and lid out together to identify cracks, chips, warping, or discoloration, especially from microwave use.
These issues can compromise storage reliability and speed up replacement needs. Check lids to ensure they fit snugly and aren’t bent or missing seals. Loose lids cause spills and freezer burn, so keep an eye out for that.
Pay close attention to containers stained or holding odors since they’re less effective and may affect your food’s freshness. As you inspect, separate intact, well-fitting plastic containers from damaged or poorly sealing ones.
This way, you avoid rebuilding clutter later and keep your storage system efficient and reliable. It’s a simple step that really helps in the long run!
Remove Unusable Items
To remove unusable food storage items efficiently, start by taking everything out of your cabinets or drawers. This way, you can clearly see every container, lid, and bin.
Next, pair each food storage container with its lid to avoid keeping mismatched pieces that clutter your space. It really helps to keep things organized!
Inspect every item carefully for damage like cracks, stains, or warping. Even if a container seems okay, damaged pieces don’t seal properly and can lead to wasted food.
Focus on these three steps:
- Discard mismatched lids and containers you no longer use.
- Toss warped or cracked containers, even if they “still work.”
- Remove any containers with lids that don’t fit tightly to prevent future hassle.
Decide How Many Food Storage Containers You Really Need
Start by tracking how many containers you actually use each week to get a clear picture of your needs. Focus on keeping the sizes you reach for most, like meal-prep and snack containers.
Let go of extras you rarely touch. Being honest about matching lids and storage space will help you keep only what’s truly essential. It’s all about making your kitchen work smarter, not harder!
Assess Weekly Container Usage
Although it may feel like you need a mountain of containers, you probably use far fewer each week than you think. To streamline your kitchen routine, start by making note of your container usage over seven days.
Note which sizes and types you reach for most often. This helps you align your collection to your real needs and avoid clutter.
Focus on these steps:
- Count containers and lids actually used for leftovers or meal prep during the week.
- Track by type—glass vs. plastic, small vs. large—to see what you really need.
Also, estimate based on how often your household stores leftovers to set a realistic container count.
After purging, recheck in two weeks to ensure your supply fits your kitchen routine perfectly. It’s a simple way to keep things manageable!
Prioritize Essential Container Types
When you focus on the container types you actually use, you’ll find it easier to keep your collection manageable and functional. Start by tracking which sizes you use weekly—small for snacks, medium for leftovers, large for family meals—and set a realistic limit for each.
Keep only containers with locking lids in good condition to avoid mismatched pieces that clutter your space. Prioritize durable, microwave- and dishwasher-safe containers you rely on for reheating and storage.
Typically, keep rectangular containers for meal prep, round ones for general storage, and a stackable set for lunches. Discard cracked, warped, or stained containers, and remember to keep a buffer—one extra per size—for unexpected needs.
This approach helps you decide how many food storage containers you really need without overbuying. It’s all about keeping things simple and useful.
Nest Containers by Size to Save Space
If you want to optimize your cabinet space, ensuring your food storage containers by size is essential. Start by emptying your cabinet and grouping containers from largest to smallest.
Then, nest smaller containers inside larger ones using a “top-down” approach to conserve vertical space. It’s a simple trick that really makes a difference.
Keep these tips in mind to nest containers efficiently:
- Only nest containers with matching lid types or rim shapes to avoid gaps that diminish space. This way, everything fits nice and snug.
- Store lids separately to maintain a compact stack and prevent toppling. It keeps your containers stable and easy to grab.
- Remove any warped or damaged containers during sorting to ensure orderly stacking. No one wants a wobbly pile!
Organize Container Lids Upright With Simple Dividers
To stop wasting time searching for matching lids, organize them upright using simple dividers in a drawer or bin. This way, you can see each lid’s exact size at a glance and avoid “lid hunting” during meal prep.
Use adjustable drawer dividers or a dedicated lid organizer to separate lids by diameter—small, medium, and large—so mismatched pairs don’t pile up. Only store lids that match your current containers to keep the system streamlined and prevent clutter.
If your lids are mixed-material, group them by type, like glass-container lids versus plastic freezer lids. That way, you grab the right one every time.
Place the lid dividers in the same drawer or right next to your containers. This keeps everything together, making meal prep quicker and your storage zone easy to maintain.
Why Switching to Glass Food Storage Containers Helps
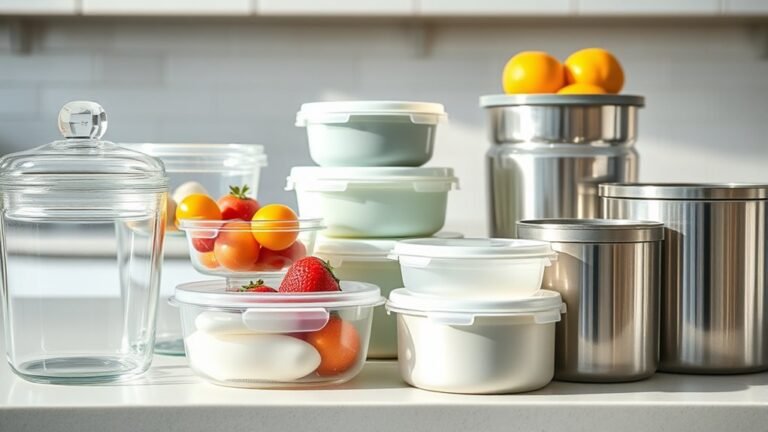
Although switching to glass food storage containers may seem like a small change, it can make a big difference in your kitchen. Glass is non-porous, so it won’t absorb odors or stains like plastic often does. This keeps your containers fresh and clean longer.
You’ll also find glass containers clearer, making it easier to see what’s inside and avoid food waste.
Here’s why glass containers help you declutter efficiently:
- They resist warping and cracking, lasting for years with proper care.
- Reheating in glass is safer since there’s no risk of chemicals leaching.
- Glass meal-prep containers with locking lids stack neatly and seal well.
Making the switch means less clutter, fresher storage, and a more organized kitchen overall. It’s a simple swap that really pays off!
Store Leftovers as Full Plated Meals to Save Time and Waste
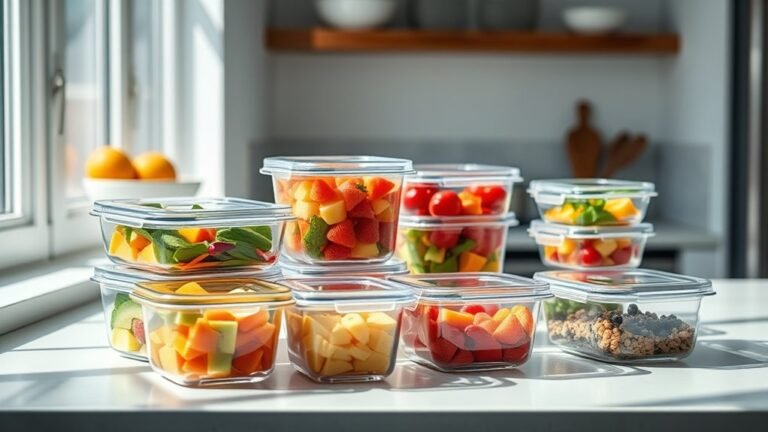
When you store leftovers as full plated meals in individual containers, you make it easier to grab a complete, ready-to-eat dish without sorting through multiple components. This method saves time by simplifying reheating—you won’t waste moments assembling food from separate containers.
Each container holds a full meal, so once ever opened, you can quickly heat and eat without extra prep. It also cuts down on food waste since ingredients aren’t scattered across several containers where they might be forgotten and expire.
Plus, packing lunches becomes a breeze—just seal and go. By portioning one full plate per container, you reduce clutter from lids and mismatched sets, keeping your food storage organized and efficient.
This strategy truly streamlines your kitchen routine while preserving your meals better. It’s a simple change that makes a big difference!
Transition Gradually From Plastic to Glass Containers
Storing full plated meals in individual containers helps keep your kitchen organized, but the type of container you use plays a big role too. Moving over gradually from plastic to glass containers lets you declutter smartly without overwhelming your space or budget.
Start by replacing plastic containers that are stained, warped, or missing lids. That way, you upgrade while decluttering.
Begin with worn or lidless plastic containers to upgrade your storage and declutter simultaneously.
When buying new containers, focus on building a collection of glass meal-prep containers with locking lids. They resist odors and stains better than plastic and are safer for reheating.
To keep your storage neat, store glass efficiently by nesting containers by size, keeping lids upright in a bin or drawer divider, and avoiding accumulating extras.
This stepwise approach helps you enjoy the benefits of glass without cluttering your kitchen. It’s a simple way to make the switch feel manageable and smart.
Tips for Maintaining a Clutter-Free Food Storage System
How often do you check if your food storage containers and lids actually match? Do a quick “lid audit” every few weeks: empty the bin, pair containers with lids, and toss warped or cracked pieces to avoid wasted space and spoiled food.
Keep it simple—if you don’t use a container at least once a week or it’s missing a lid, donate or recycle it. Nest containers by size for efficient storage, and keep lids upright in a drawer organizer to find matches quickly.
Switch to glass when stains or odors persist, since glass doesn’t hold smells like plastic. Portion leftovers in matching containers with locking lids to simplify reheating and packing while reducing clutter over time.
Following these tips keeps your food storage system tidy and functional.
Frequently Asked Questions
How Can I Effectively Organize My Plastic Food Containers?
You can effectively organize your plastic containers by matching lids to containers and tossing damaged ones. Nest them by size to save space, and store lids upright in dividers.
Don’t forget to donate any extras you don’t need. Label leftovers for quick fridge access—it makes things so much easier. Also, try switching to glass containers gradually for a more sustainable option.
Does Dollar Tree Have Organizing Bins?
Yes, Dollar Tree carries organizing bins, often in their storage sections. You’ll find clear, stackable options perfect for lids and containers.
Just measure your space first, since sizes vary and you might need multiple bins. It’s a good idea to plan ahead so everything fits just right.
What Do Minimalists Throw Away Every Week?
Each week, you toss out mismatched lids, cracked containers, and anything stained or smelly. You cut loose those “just in case” extras, keeping only what fits your daily needs.
This way, your storage sings with simplicity. It’s all about making life easier and less cluttered.
What Should Not Be Stored in Kitchen Cabinets?
You shouldn’t store cracked, warped, or stained containers, unmatched lids, non-food-safe plastics, or containers lacking airtight seals in your kitchen cabinets.
Also, avoid keeping excess duplicates you rarely use to save space and reduce clutter.
It just makes your kitchen look messy and harder to find what you actually need. Keeping only what’s in good shape and necessary really helps!
Conclusion
By following these tips, you’ll keep your food storage containers organized and stress-free, making kitchen time a breeze. Remember, Rome wasn’t built in a day, so take it step by step as you switch to glass and declutter.
With a little effort, you’ll save space, reduce waste, and enjoy a clutter-free system that works for you every day. Your kitchen will thank you!
Efficiently decluttering your food storage containers not only maximizes your kitchen space but also helps reduce unnecessary waste. Staying organized makes it easier to find what you need quickly, cutting down on frustration and time spent searching. Plus, switching to glass containers can improve the longevity of your food and keep your kitchen looking neat and tidy.
So, take these tips to heart and create a clutter-free, stress-free kitchen environment that supports your daily routine. You’ll feel the difference every time you open your cabinets!