How Do You Jar Food for Storage in 10 Essential Steps?
To jar food for storage, start by cleaning and sterilizing your jars thoroughly. This step is crucial to prevent any bacteria from spoiling your food.
Next, prepare your fresh ingredients by washing and cutting them as needed.
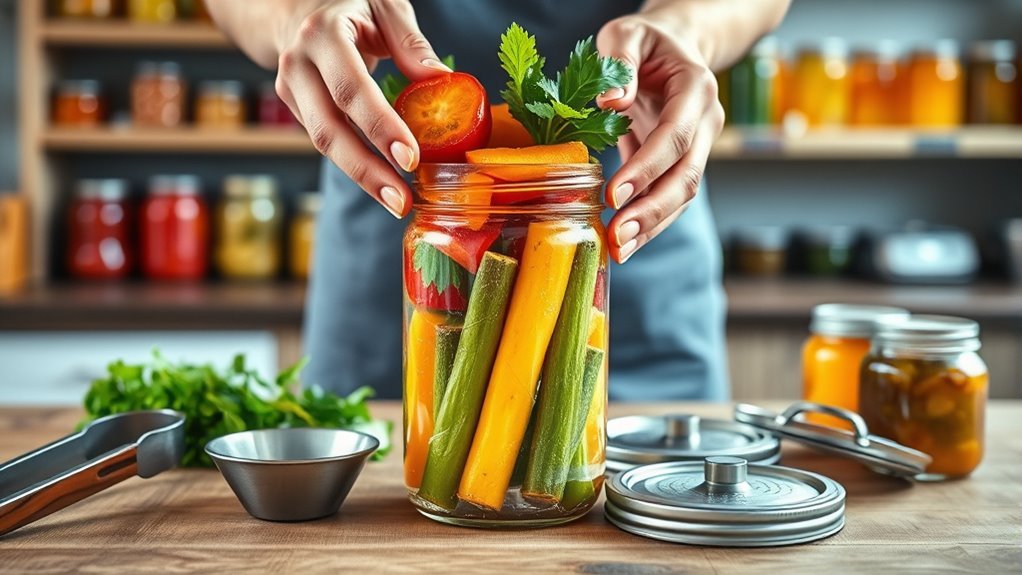
Preheat the jars to prevent cracking when you add hot food. Use a wide-mouth funnel to fill the jars, making sure to leave the proper headspace for expansion.
Always wipe the rims clean before placing the lids on and tightening the rings securely.
Now, process the jars in boiling water for the recommended time to ensure food safety.
After that, let the jars cool undisturbed so the seals can form properly.
Once cooled, check the seals to guarantee they are airtight.
Finally, store your jars in a cool, dark place to maintain the quality of your preserved food.
Follow these basics, and you’ll master safe food preserving techniques in no time!
Key Takeaways
- Sterilize and preheat jars to prevent contamination and thermal shock before filling with prepared food.
- Fill jars with hot food or liquid, maintaining recommended headspace and wiping rims clean for proper sealing.
- Remove air bubbles carefully to ensure even headspace and prevent spoilage inside the jar.
- Secure jars with new lids and process them in a boiling water canner for the specified time and altitude.
- Cool jars undisturbed, check seals, discard unsafe jars, and store sealed jars in a cool, dark, dry place.
Clean and Sterilize Your Jars
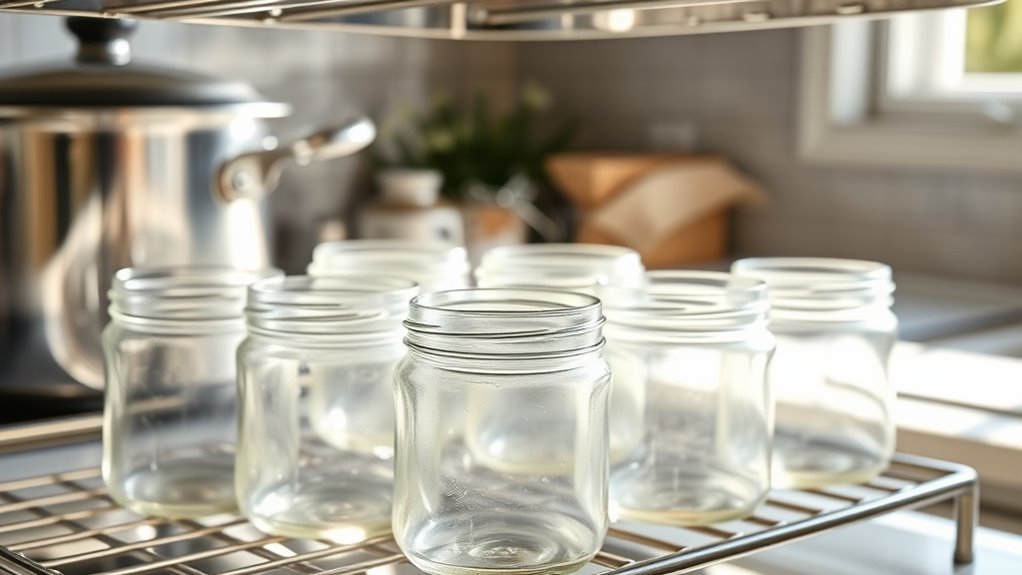
Before you begin jarring your food, make sure you clean and sterilize your jars thoroughly. Start by washing your jars with hot, soapy water, then rinse well to remove any dirt or residue.
Next, sterilize the jars by submerging them in boiling hot water for at least 10 minutes or running them through a hot dishwasher cycle. Check each jar for damage like cracks or chips—discard any that aren’t perfect to avoid breakage during processing.
Keep your jars hot until you’re ready to fill them; this helps prevent thermal shock that can cause cracking. And remember, always use new lids to ensure a proper seal. This is essential for food safety and preserving your canned goods long-term.
Prepare Your Food for Canning
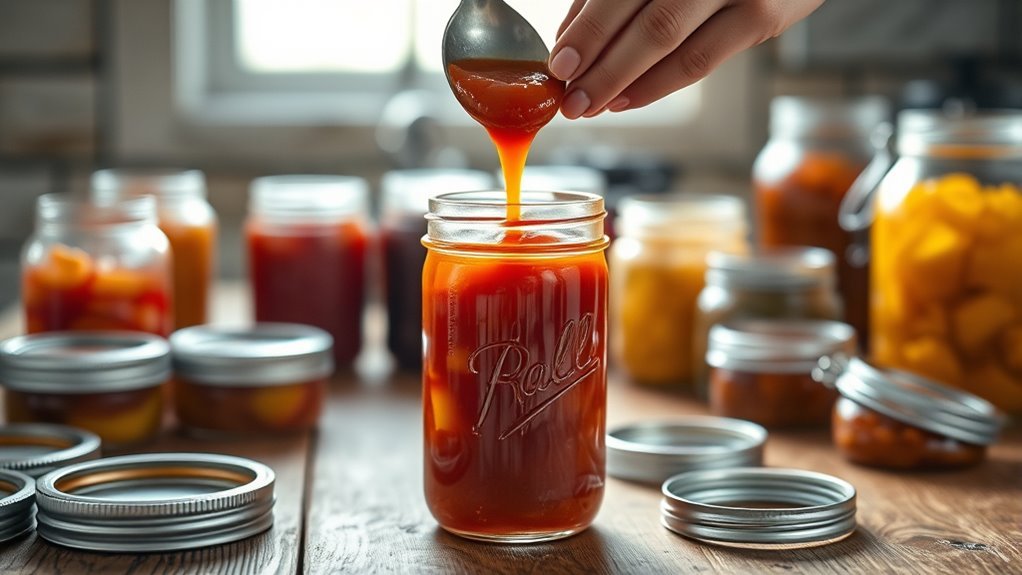
You’ll want to start by choosing fresh, high-quality ingredients to make certain the best flavor and safety.
Next, prep your produce carefully by washing, peeling, and cutting it according to your recipe. Taking these steps helps your canned food stay delicious and safe for storage.
Selecting Quality Ingredients
A successful canning process starts with selecting fresh, ripe produce free from blemishes and bruises to guarantee both flavor and safety. You should always choose quality ingredients that are firm and uniform in size to ensure even cooking and proper sealing.
Wash thoroughly under running water to remove dirt and pesticides. Using produce in its peak season not only enhances taste but also preserves nutrition and saves money. Avoid damaged produce, as they can spoil your canned goods or compromise safety.
| Tip | Reason | Action |
|---|---|---|
| Fresh produce | Best flavor and safety | Inspect carefully, avoid bruises |
| Consistent size | Even cooking and sealing | Select similar-sized items |
| Peak season | Optimal taste and cost | Can when produce is freshest |
Prepping Produce Properly
Since proper preparation guarantees the best results, wash your produce thoroughly under running water to remove dirt, bacteria, and pesticide residues.
Next, prepare your produce by peeling, coring, or trimming as needed, following your recipe’s instructions carefully. Cut the produce into uniform sizes to ensure even cooking during canning.
For vegetables, blanch them in boiling water or steam for the specified time; this step preserves color, texture, and safety.
When packing your jars, place the prepared produce inside, leaving the recommended headspace. Add hot liquid or syrup according to your recipe to fill the jars properly.
Preheat Your Jars
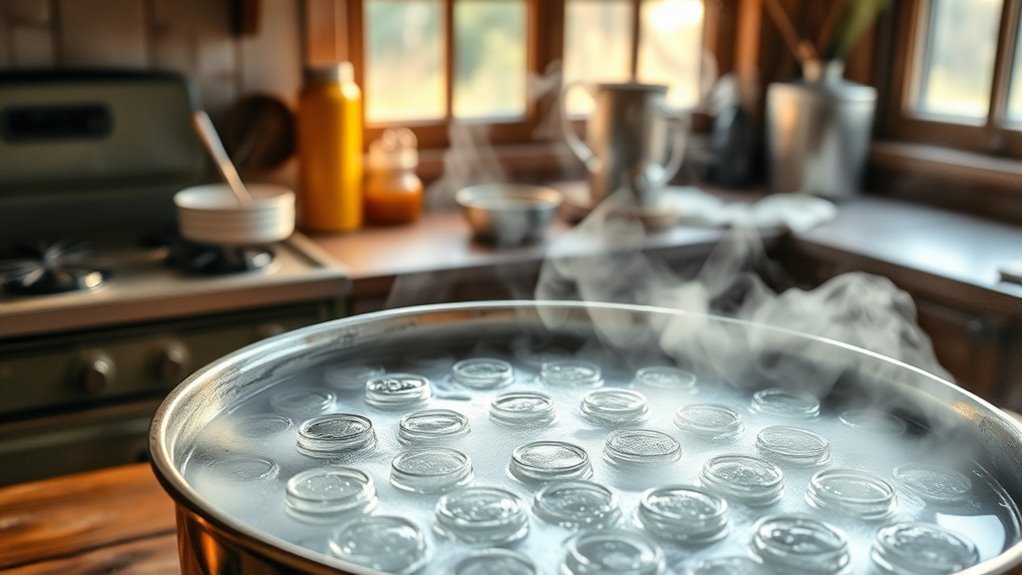
You’ll want to preheat your jars before filling to prevent them from cracking due to sudden temperature changes.
You can do this by warming them in hot water or a low-temperature oven. Matching the jar’s temperature to your hot food helps guarantee a safe, secure seal.
Why Preheat Matters
When you preheat your jars, you reduce the risk of thermal shock that can cause glass to break during canning. Preheating warms the jars, minimizing the temperature difference between the glass and the hot food you’ll be adding.
This step prevents cracking and makes jars easier to handle throughout processing. Plus, preheated jars promote better sealing because the lids and glass are closer in temperature, helping create a proper vacuum seal as the jars cool.
Skipping this step increases the chance of breakage and poor sealing, which can compromise your preserved food’s safety and shelf life. Many canning guidelines emphasize preheating jars by warming them in hot water or in the canner itself.
Doing this helps maintain jar integrity and ensures successful sealing during the entire processing phase. So, it’s definitely worth taking the time to preheat your jars before you start canning.
Methods to Preheat
Although preheating jars may seem like a small step, choosing the right method guarantees your jars warm evenly and reduce the risk of breakage.
To preheat jars, place them in a hot water bath—set at 140°F for raw-packed foods or 180°F for hot-packed foods. This gradual warming matches the jars’ temperature to the food, preventing thermal shock during filling.
You can preheat jars in a canner or a sink filled with hot water, ensuring even heat distribution. Keep the jars in the bath until you’re ready to fill them to maintain the processing temperature.
That’s vital for food safety and proper sealing. Using clean, sanitized jars preheated correctly ensures your preserved foods stay safe and fresh.
Fill Jars Using a Wide-Mouth Funnel
Because transferring hot food can be tricky, using a wide-mouth funnel makes filling jars much easier and safer. Start by heating the funnel briefly in hot water to prevent the food from sticking.
Place the funnel securely at the jar’s opening, holding it steady to avoid spills or splashes outside the rim. Carefully fill the jar through the funnel, keeping an eye on the recommended headspace without overfilling the funnel itself.
Once filled, remove the funnel and wipe the jar rim clean to ensure proper sealing. This method reduces the risk of burns and mess, making your jarring process smoother and more efficient while helping maintain the quality and safety of your preserved food.
Leave Proper Headspace
Ensuring you leave the proper headspace in your jars is essential for a safe and effective seal. Headspace—the gap between the top of the food and the jar’s rim—usually ranges from ¼ to 1 inch.
This space allows food to expand during processing without overflowing, which is vital for reliable sealing. Accurate measurement of headspace helps maintain a consistent vacuum, preventing spoilage and ensuring long-term food preservation.
Using a ruler or a headspace tool makes it easier to fill jars correctly and uniformly. By leaving the recommended headspace, you reduce the risk of food bubbling out during boiling or pressure canning.
Plus, it promotes proper vacuum formation, which is key to safe, effective sealing and successful food storage. So, taking a little extra time to measure that space really pays off!
Remove Air Bubbles From Jars
After you’ve left the proper headspace in your jars, the next step is to remove any air bubbles trapped inside. Use a plastic or wooden spatula to gently slide along the jar’s interior, releasing air bubbles.
Press it softly against the sides to dislodge bubbles stuck near solids or dense ingredients. Work slowly to avoid spills or disturbing the contents.
Once bubbles are gone, check the headspace again and add more product if needed. Removing air bubbles guarantees a proper seal and prevents spoilage.
| Step | Tip |
|---|---|
| Release air bubbles | Use a non-metal spatula or bubble tool |
| Dislodge bubbles | Press gently along jar sides |
| Maintain headspace | Re-measure and adjust if necessary |
Wipe Jar Rims Clean
Make certain you wipe the jar rims clean to remove any food residue or moisture that could stop the lid from sealing properly. Use a clean, damp cloth followed by a dry, lint-free towel to get the rims spotless and dry.
Doing this right after filling the jar helps ensure an airtight seal and keeps your food safe for storage. It’s a small step that makes a big difference!
Importance of Clean Rims
Why should you always wipe the jar rims clean before sealing? Clean rims are essential because any food residue, syrup, or liquid left on the jar’s edge can interfere with the lid’s seal.
If the surface isn’t spotless, the seal may not form properly, increasing the risk of spoilage. When you make sure the jar rim is free of debris, you help create a tight vacuum seal that locks in freshness and keeps your food safe during storage.
Even tiny particles can prevent the lid from sealing completely, compromising preservation. So, taking the time to wipe the rims with a clean, damp cloth before placing the lid guarantees a reliable vacuum seal and protects your canned goods from contamination and spoilage.
Best Cleaning Techniques
Although it might seem like a small step, wiping jar rims thoroughly before sealing guarantees a strong, reliable vacuum. For effective cleaning, use a clean, damp cloth or paper towel to remove any food residue or juice from the jar rims.
This step is vital because leftover debris can prevent proper sealing. After cleaning, follow up with a lint-free cloth to guarantee moisture removal; dampness can interfere with lid sealing.
Avoid harsh cleaners or abrasive scrubbers that might damage the sealing surface. If you encounter sticky residues, warm water mixed with a bit of vinegar helps loosen them before wiping.
Finally, inspect the jar rims for chips or cracks, as any damage compromises the vacuum seal and proper sealing of your stored food.
Apply Lids and Screw on Rings
A clean, properly fitted lid is vital for sealing your jar securely. Place the lid on the filled jar, making sure the sealing compound evenly contacts the rim.
Next, screw on the metal ring fingertip-tight—tight enough to hold the lid in place but not so tight that it prevents gases from escaping during processing. Avoid overtightening, as it can interfere with creating a proper vacuum seal.
Always use new lids to guarantee the best seal. Once you finish processing and the jars cool, check the lids for a concave shape.
Press the center; if it doesn’t flex, the vacuum seal is successful, and your food will store safely. Properly applying lids and rings is a vital step before processing jars.
Process Jars in Boiling Water
Before you start processing, make sure your jars are filled with food and lids are properly placed but not overly tightened. Next, submerge the jars in a boiling water canner, ensuring at least one inch of water covers the jars completely.
Bring the water to a rolling boil, then start timing the process according to your recipe’s specified process time. Don’t forget to adjust for altitude if needed. Keep the jars fully submerged and maintain the boil throughout processing to ensure even heat distribution.
Use a jar lifter to carefully remove the jars from the boiling water canner once the process time ends. Handling the jars carefully during processing is key to preventing breakage and ensuring your food is safely preserved.
Cool and Check Seals Before Storage
Once your jars come out of the boiling water, let them cool undisturbed at room temperature for 12 to 24 hours. This time lets the jars seal properly.
During this cooling process, a vacuum forms, which ensures the jars are sealed tight. After they’ve cooled, check the seal by pressing the center of each lid. It should be concave and not flex when you press it.
This step confirms the lid is sealed well, which is super important for keeping your food fresh. Next, remove the screw bands. This helps prevent rust and makes it easier to spot any jars that didn’t seal properly.
If you find any jars with broken seals or signs of spoilage like mold or leaks, throw them out. Finally, store your sealed jars in a cool, dark, and dry place. Keep them away from sunlight and temperature changes.
Following these simple steps will help keep your preserved food safe and fresh for a long time.
Frequently Asked Questions
How to Jar Food for Storage?
You fill clean, hot jars with hot food, leaving space for expansion. Remove air bubbles, wipe rims clean, secure lids, then process jars in boiling water or pressure canner.
Cool and check seals before storing. It’s pretty straightforward once you get the hang of it! Just make sure everything is nice and hot to keep your food safe.
What Are 10 Ways to Preserve Food?
Ready to give your food a comfy long nap? You can preserve it by canning, freezing, drying, fermenting, pickling, curing, smoking, vacuum sealing, refrigerating, or making preserves like jams and jellies.
Each method has its own charm and purpose. So, whether you want to keep your fruits fresh or store your meats safely, there’s a perfect way to do it.
What Are 10 Foods That Never Expire?
You’ll find honey, white rice, hard cheeses, dried herbs, salt, sugar, and powdered milk never expire.
Also, dried beans, pure maple syrup, and vinegar last indefinitely if you store them properly in airtight containers.
How Do the Amish Preserve Their Food?
Like a craftsman shaping clay, you preserve food Amish-style by canning with care, drying herbs, fermenting veggies, and using time-tested methods.
You’ll focus on sterilization and precise timing to keep everything safe and tasty.
Conclusion
By carefully following these steps, you’re not just preserving food—you’re bottling moments, locking in the warmth of a summer harvest or the comfort of a homemade meal.
Each sealed jar becomes a little treasure chest, holding memories and nourishment for darker days. So, take pride in your jars—they’re more than storage; they’re symbols of care, patience, and the simple joy of homemade goodness.
Jarring food for storage is an art and a science, blending tradition with practicality. When you jar food properly, you extend the life of your harvest and create delicious, ready-to-enjoy meals that can brighten your table anytime.
So, whether you’re new to home canning or a seasoned pro, these steps ensure your food stays safe, tasty, and full of that homemade charm. Happy jarring!