7 Steps to Use Oxygen Absorbers for Food Storage
To use oxygen absorbers for food storage, first pick the right size for your container. Make certain your containers and food are clean and dry.
Quickly place the absorber inside, avoiding direct contact with food.
Seal the container airtight immediately to lock out oxygen. Store it in a cool, dark spot with low humidity.
Check your stored food regularly for any issues.
Keep leftover absorbers sealed tightly for future use.
Following these steps prepares you to preserve your food longer and better. Using oxygen absorbers is a simple and effective way to maintain freshness and extend the shelf life of your stored food.
Just a little care goes a long way!
Key Takeaways
- Select the correct size oxygen absorber based on container volume and food type to ensure effective oxygen removal. This step is crucial because the right size will help keep your food fresh longer.
- Thoroughly clean and dry airtight containers before adding dry food to prevent moisture and contamination. You don’t want any water or dirt messing with your stored food.
- Immediately place the oxygen absorber inside the container after opening, avoiding direct contact with food if reactive. This helps the absorber do its job without affecting the food quality.
- Seal the container airtight right after absorber placement to maintain a low-oxygen environment and preserve food quality. If you leave it open, oxygen will sneak back in, defeating the purpose.
- Store sealed containers in a cool, dark place below 75°F, regularly checking for leaks, moisture, and absorber effectiveness. Keeping an eye on things ensures your food stays safe and fresh for as long as possible.
Choose the Right Size and Type of Oxygen Absorber
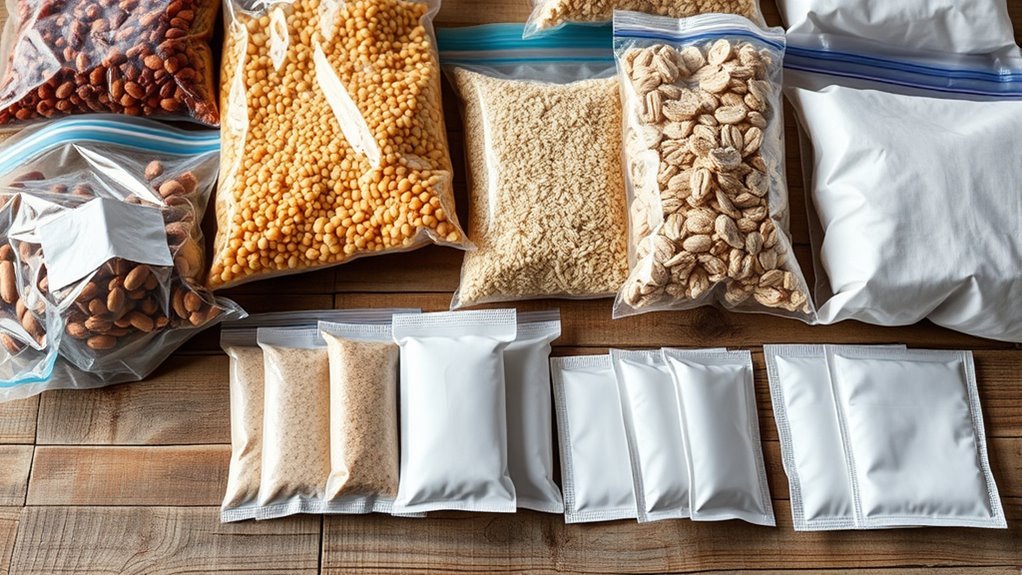
When you store food, selecting the right size and type of oxygen absorber is crucial to keep your items fresh. Match the oxygen absorber size to your food storage containers—for example, use a 300 CC absorber for a quart jar or 500 CC for a half-gallon container.
Choose oxygen absorber sizes like 300 CC for quart jars or 500 CC for half-gallon containers to keep food fresh.
Check the oxygen absorption capacity listed on the packet to ensure the appropriate size for effective oxygen removal. Oxygen scavengers work best with dry foods that have low moisture content; avoid using them with oily or high-moisture items.
For ideal food preservation, consider vacuum sealing your containers alongside absorbers. Using larger or multiple absorbers helps if you’re storing bigger volumes or foods with higher oxygen needs.
Choosing reputable brands with visual indicators ensures your oxygen absorbers are active and dependable for long-term storage. It’s a simple step that can really make a difference in keeping your food fresh.
Prepare Your Food and Storage Containers
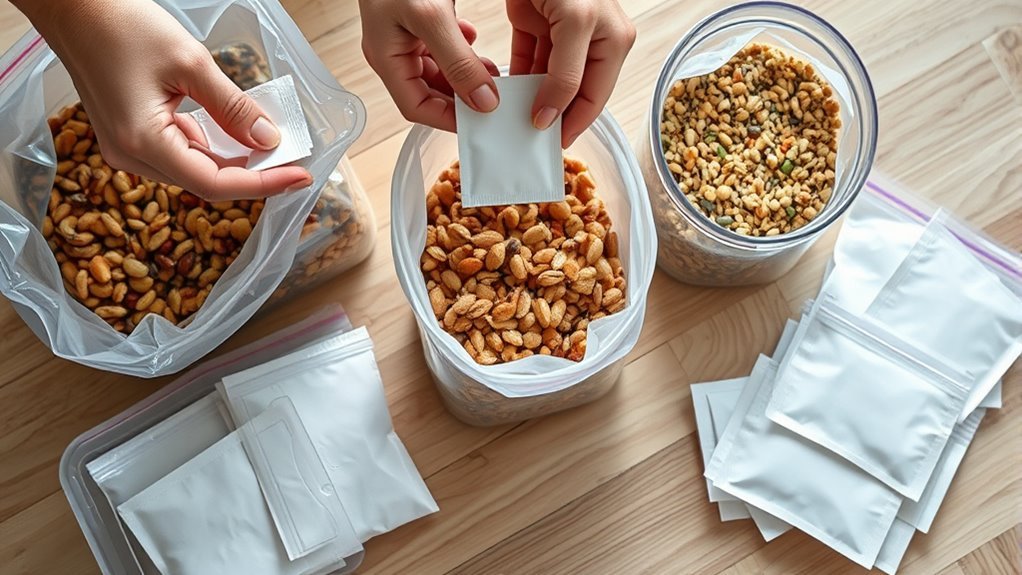
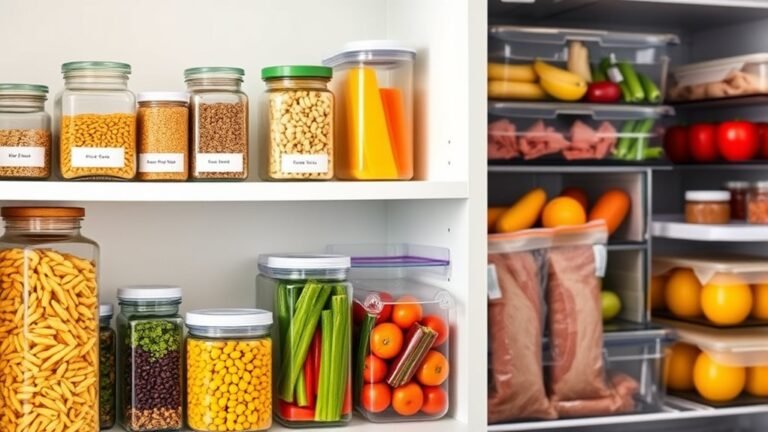
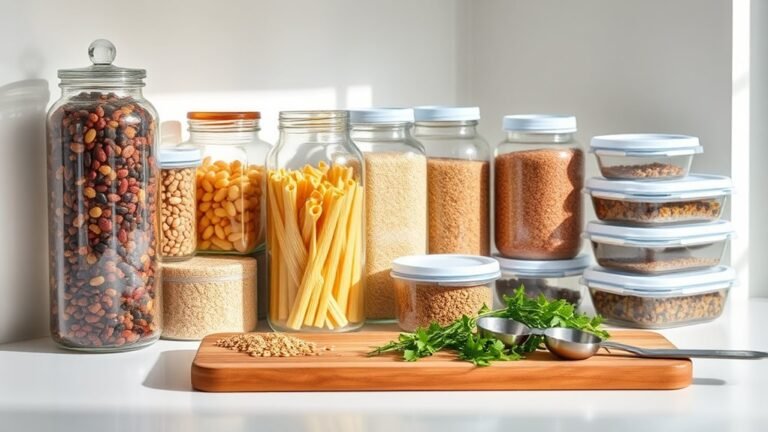
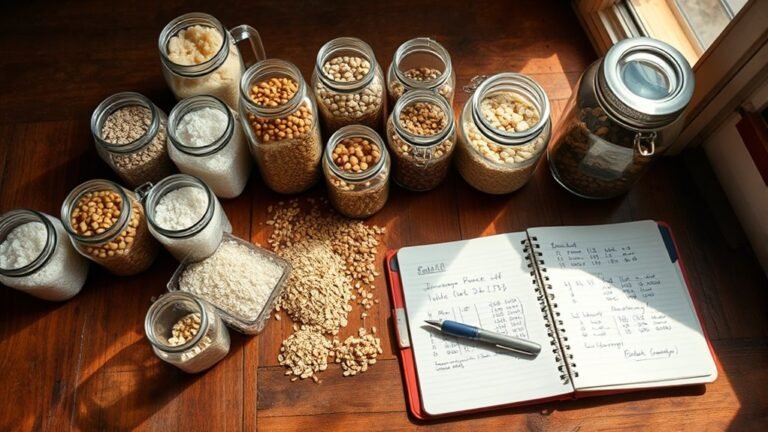
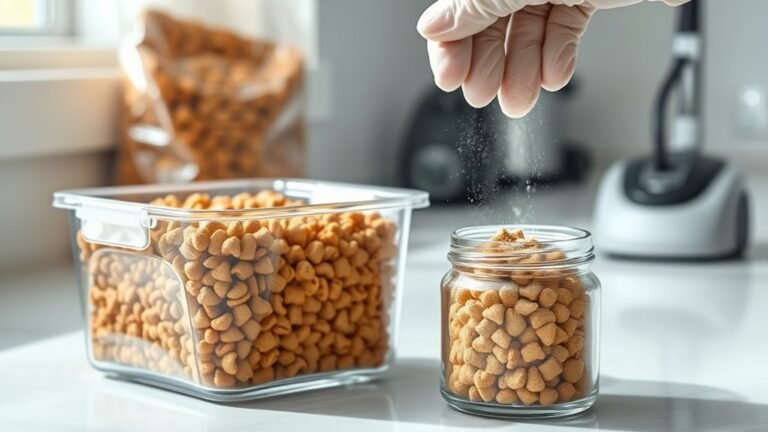
Make sure your storage containers are spotless and completely dry to prevent any moisture from compromising your stored items. Use airtight containers like mason jars or Mylar bags for effective container sealing.
Fill them only with dry foods and dry ingredients such as grains, pasta, or dried herbs to maintain ideal food storage conditions. Cleanliness during preparation is key to preserving quality and extending shelf life.
| Step | Key Point |
|---|---|
| 1. Cleanliness | Containers must be spotless |
| 2. Dryness | Ensure containers are dry |
| 3. Container Type | Choose airtight containers |
| 4. Food Selection | Use dry foods only |
| 5. Preparation | Avoid moisture during storage |
This storage method sets the stage for effective use of oxygen absorbers.
Place the Oxygen Absorber Inside the Container
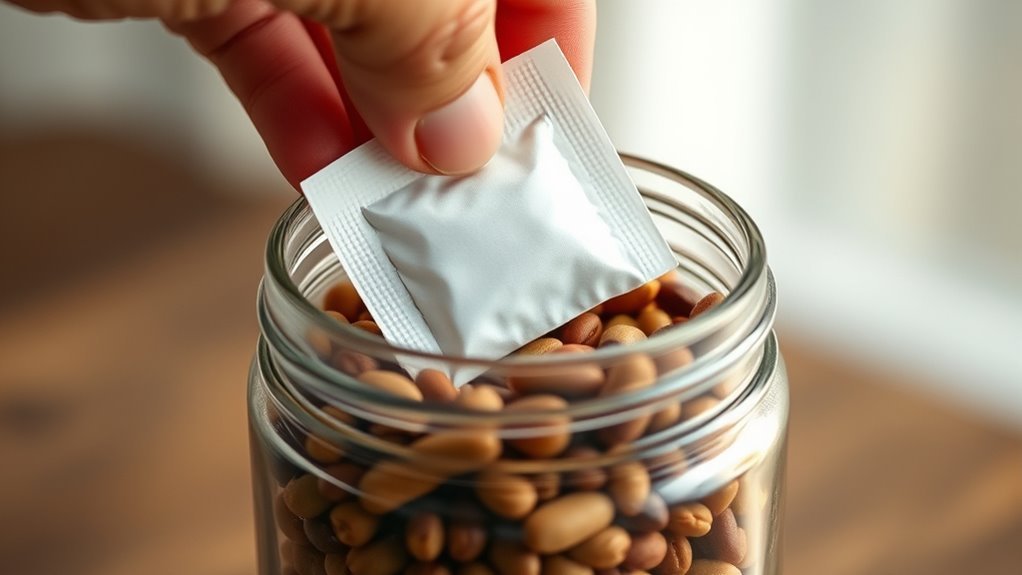
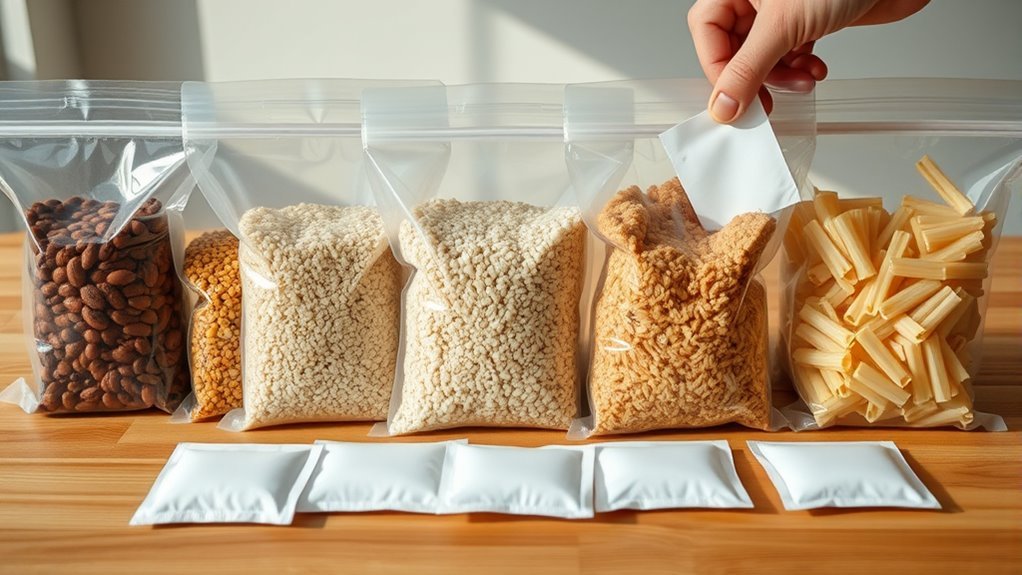
Although oxygen absorbers start working as soon as you open their package, you should quickly pick the right size and place it inside your clean, dry container to guarantee maximum effectiveness. Handle the oxygen absorber carefully to minimize air exposure, and make sure your container is free of any moisture before placing the absorber.
Gently position the pack inside, avoiding direct contact with food if the absorber contains reactive materials. For ideal oxygen removal, place the absorber near the top or center of the container.
Once you’ve placed the oxygen absorber, prepare to seal the container airtight immediately to prevent fresh air from entering. This careful placement and handling help maintain the quality of your food storage by efficiently reducing oxygen and protecting against spoilage.
Seal the Container Airtight Immediately
After placing the oxygen absorber inside your container, you need to seal it airtight without delay. To preserve the quality of your food storage, seal immediately using airtight containers, vacuum seal bags, or heat-sealing methods.
This airtight seal prevents oxygen from sneaking back in, which could otherwise mess with the oxygen absorber’s job and reduce food safety. When sealing, make sure to close and secure lids tightly to keep that low-oxygen environment that’s so important for long-term preservation.
If you wait too long to seal, ambient air can creep in, making the absorber less effective at protecting your food. So, by sealing airtight right after putting in the oxygen absorber, you maximize oxygen removal and help your stored food last longer safely and effectively.
Store the Sealed Containers in Optimal Conditions
When you store sealed containers with oxygen absorbers, keeping them in a cool, dark place below 75°F helps preserve the food quality and packaging integrity. Choose a storage area that offers humidity control to avoid moisture, which can activate residual oxygen or damage airtight seals.
Place your sealed containers on elevated shelves away from direct sunlight to reduce UV exposure and minimize temperature fluctuations. These storage conditions protect the oxygen absorbers’ effectiveness and extend shelf life.
Make it a habit to inspect the storage area regularly for leaks, condensation, or any damage that could compromise leak prevention and food quality. By carefully managing these factors, you ensure your stored food remains fresh and safe for longer periods.
Monitor the Condition of Stored Food and Absorbers
To keep your stored food fresh and safe, you need to monitor both the food and the oxygen absorbers regularly. Perform a visual inspection for spoilage signs like mold, strange odors, or moisture detection. These may indicate oxygen exposure.
Check oxygen absorber indicators; a pink color usually confirms the absorber’s effectiveness. Make sure airtight seals are intact by verifying container integrity. Loose or broken lids can let oxygen in, which compromises food preservation.
Look for absorber exhaustion signs, such as hardening or rust-colored residues. These signal that the absorber is spent. Regularly assess storage conditions and replace or reseal containers and oxygen absorbers as needed.
This is especially important for long-term storage. Staying on top of this helps maintain ideal food quality and extends shelf life effectively. It’s all about being proactive with your food storage!
Properly Store and Handle Leftover Oxygen Absorbers
Although oxygen absorbers are designed for single use, you can extend their utility by properly storing any leftovers in airtight, moisture-proof containers like small canning jars or sealed Mylar bags. This prevents oxygen exposure that deactivates the absorbers and supports stored food preservation.
Follow these steps for proper handling:
- Repackage immediately after opening and reseal oxygen absorbers in airtight containers to maintain oxygen absorber effectiveness.
- Store them in a cool, dark place away from heat, sunlight, and strong odors.
- Label containers with the expiration date and contents to ensure FIFO use and avoid using expired absorbers.
- Regularly check for oxygen absorber activation signs like hardness or color change and discard exhausted packets.
Proper moisture-proof storage keeps your oxygen absorbers ready for reliable food storage. So, keep them sealed tight and store them right!
Frequently Asked Questions
What Foods Should You Not Use Oxygen Absorbers With?
You shouldn’t use oxygen absorbers with sugar, salt, sticky dehydrated fruits, baking soda, baking powder, or oily foods.
These items either react poorly or don’t benefit from oxygen removal, so avoid using absorbers with them.
Can You Store Rice in Mason Jars With Oxygen Absorbers?
You bet you can store rice in mason jars with oxygen absorbers! Just make sure it’s bone dry before sealing tight.
This simple trick keeps your rice fresh as a daisy for months on end. It’s super easy and totally worth the effort!
How Many Oxygen Absorbers to Use in a 5 Gallon Bucket?
You’ll want to use about 4 to 6 oxygen absorbers in a 5-gallon bucket. That guarantees enough oxygen removal for safe food storage.
Especially if the bucket’s fully packed with dry goods like rice or beans. This way, you keep everything fresh longer and avoid spoilage.
How Do You Know if Oxygen Absorbers Are Working?
You’ll know oxygen absorbers are working when their color changes from pink or purple to rust-red or black, like a sunset fading.
If they stay dull or brittle, they’ve stopped absorbing oxygen and won’t protect your food.
Conclusion
By using oxygen absorbers, you can extend your food’s shelf life by up to 8 times compared to traditional storage methods. Following these 7 steps guarantees your food stays fresh, flavorful, and safe for longer periods.
Remember to pick the right size, seal your containers airtight, and store everything properly. With just a little effort, you’ll reduce waste and enjoy your stored food when you need it most.
Keep an eye on absorbers to maximize their effectiveness! Using oxygen absorbers correctly is a simple yet powerful way to preserve your food’s quality. This method helps keep your food fresh and safe by removing oxygen, which slows down spoilage and prevents mold. By sealing your food properly and choosing the right oxygen absorber size, you ensure your stored goods last longer and maintain their flavor. So, take these steps to protect your food storage and get the most out of your supplies!