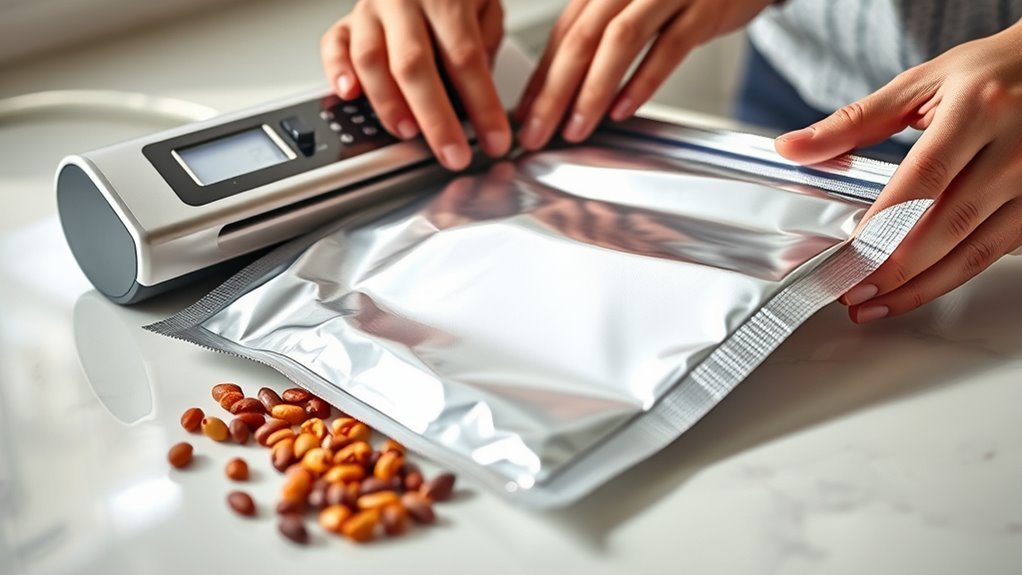
How to Vacuum Seal Mylar Bags for Food Storage in 3 Easy Steps
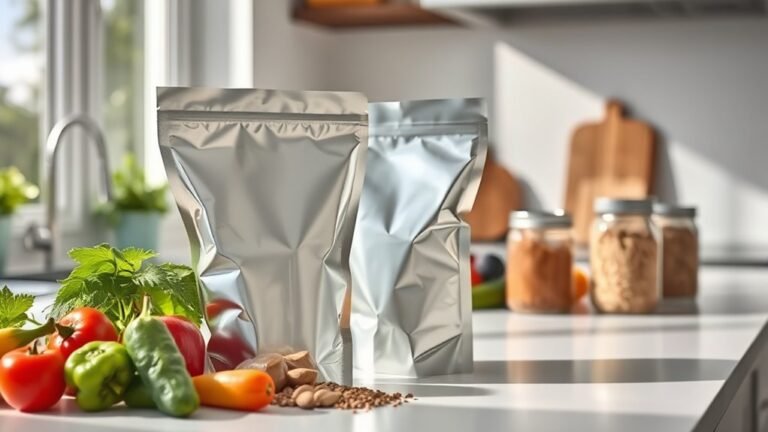
To vacuum seal Mylar bags for food storage, start by filling clean, dry bags with your dry goods. Make sure to leave some space at the top for sealing. This step is key to ensuring you don’t overfill and can get a proper seal.
Next, place an oxygen absorber on top of the food inside the bag. Then, use a vacuum sealer or snorkel system to suck out the air. This creates a low-oxygen environment that helps keep your food fresh much longer.
Finally, heat seal the bag securely. Double-check the seal to make sure it’s airtight.
Following these simple steps will help you preserve your food’s freshness for the long haul. Plus, with a little practice, you’ll get the sealing technique down perfectly!
Key Takeaways
- Fill clean, dry Mylar bags with dry food, leaving 4-6 inches at the top for sealing.
- Place an oxygen absorber on top of the food inside the bag before sealing.
- Use a vacuum sealer to remove air, making sure the sealing edge is flat and free of debris.
- Seal the bag with a heat sealer or vacuum sealer, applying the correct temperature and pressure.
- Check the seal for leaks by tugging on the bag or even dunking it in water before storing.
It’s pretty straightforward once you get the hang of it! Just take your time to ensure a good seal, and your food will stay fresh much longer.
Preparing Mylar Bags and Food for Sealing
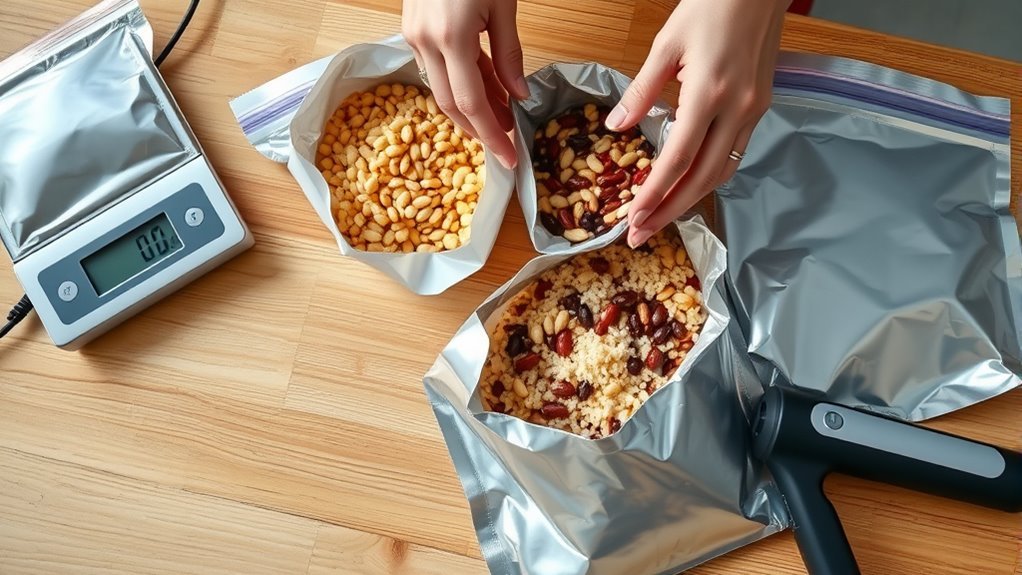
Before sealing your Mylar bags, make sure they’re clean, dry, and free of any dust or debris to prevent leaks. Start by filling the bag with dry foods like rice or beans, leaving about 4-6 inches of space at the top for sealing.
During bag preparation, use a clean towel or flat surface to create a smooth, wrinkle-free sealing edge. Wipe the inner edges carefully to guarantee moisture removal, which is vital for a strong, airtight seal.
Place the correct size oxygen absorber on top of the dry foods before sealing to help extend shelf life. When you use a vacuum sealer, make sure the sealing edge is flat and free of particles to secure a proper seal.
This way, you’ll ensure your food storage remains airtight and fresh. It’s a simple step that makes a big difference!
Removing Air and Adding Oxygen Absorbers
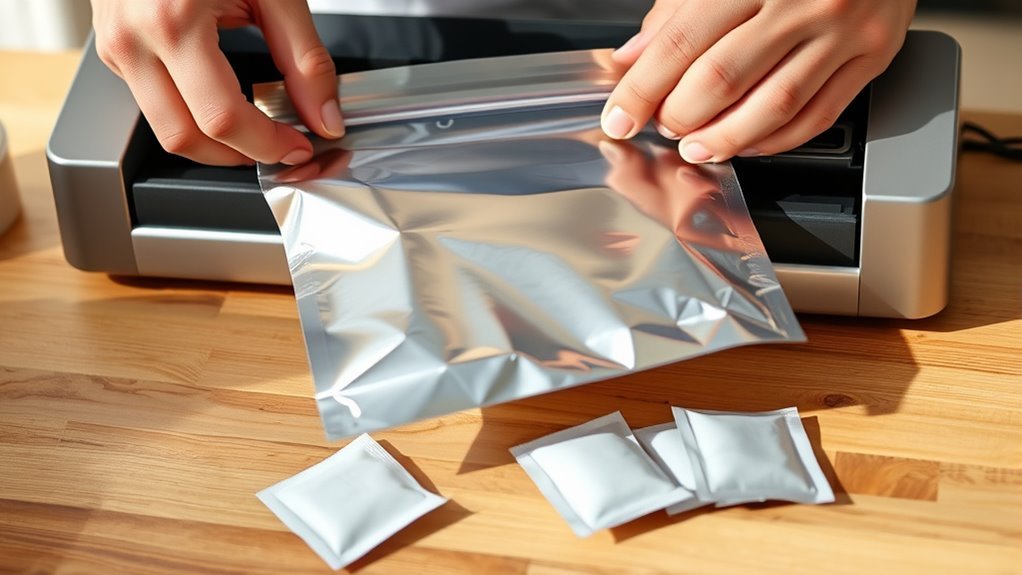
Once you’ve prepared your Mylar bags and added oxygen absorbers, the next step is removing the air to create a sealed, low-oxygen environment. Place the appropriate size oxygen absorber on top of the food inside each bag before sealing.
After adding oxygen absorbers, remove air to create a sealed, low-oxygen environment for long-term storage.
Then, insert the filled Mylar bag into a compatible vacuum sealer or use a snorkel system for air removal. If your bags aren’t embossed, a chamber vacuum sealer works best to effectively extract air without relying on textured channels.
Use the vacuum sealer to evacuate oxygen, which helps extend your food storage life up to 10-30 years. Afterward, quickly create an airtight seal to lock in freshness.
Proper air removal combined with oxygen absorbers ensures your sealed bags maintain an ideal environment for long-term storage. This way, your food stays fresh and safe for years to come.
Sealing Techniques and Storage Best Practices
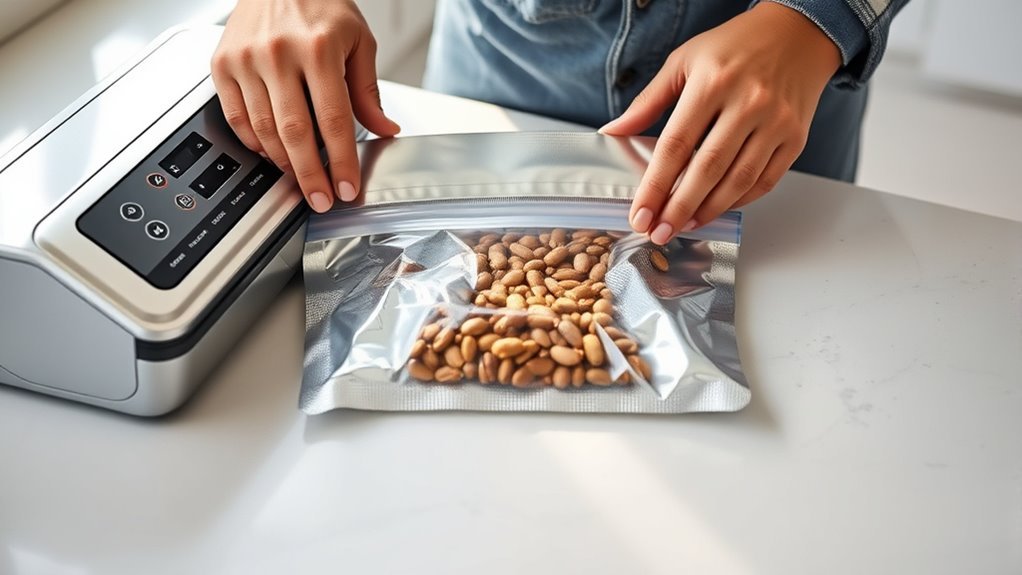
When sealing Mylar bags, you’ll want to use a heat sealer, impulse sealer, or vacuum sealer set to the correct temperature and dwell time to guarantee a secure, airtight closure. The choice of sealing technique depends on your bag material.
Smooth, non-embossed bags benefit from double sealing or reinforcement with a flat iron, while embossed bags work best with vacuum sealing using textured channels. Before sealing, make sure to remove as much air as possible and add oxygen absorbers to maximize shelf life.
After sealing, always perform seal testing by gently tugging or dunking the bag in water to confirm seal integrity. These steps are vital for long-term storage because they prevent oxygen exposure and help preserve food quality.
Proper vacuum sealing combined with effective sealing techniques ensures your stored food stays fresh and safe. It’s simple, but it really makes a difference in how long your food lasts!
Frequently Asked Questions
How to Seal Mylar Bags for Long Term Food Storage?
You’ll want to fill the Mylar bag, add an oxygen absorber, then seal it tightly using a heat sealer or flat iron.
Double seal for security and store the bag in a cool, dry, dark place.
This helps keep your food fresh for the long term and protects it from moisture and air. It’s pretty simple once you get the hang of it!
How Do I Vacuum Seal Mylar Bags?
Sealing Mylar bags is like tucking your food into a cozy, airtight sleeping bag.
You’ll either use a chamber vacuum sealer or place the Mylar inside a compatible vacuum bag, ensuring it’s wrinkle-free and dry before sealing.
It’s pretty simple once you get the hang of it! Just make sure there’s no moisture or wrinkles to keep that seal tight and fresh.
What Foods Cannot Be Stored in Mylar Bags?
You shouldn’t store soft cheeses, fresh produce like bananas or leafy greens, raw mushrooms, onions, or hot cooked foods in Mylar bags.
These items spoil quickly or release moisture that breaks the seal and causes spoilage.
Do I Need a Vacuum Sealer for Mylar Bags?
You don’t always need a vacuum sealer for Mylar bags, but using one guarantees better air removal and longer food freshness.
Without it, you risk spoilage, so a sealer’s worth the investment for airtight storage. It really helps keep your food safe and tasty for a lot longer.
Conclusion
By properly preparing your Mylar bags and food, you’ll pave the path to perfect preservation. Removing air and adding oxygen absorbers guarantees freshness stays sealed and safe.
Sealing with skill and storing smartly safeguards your supplies, saving space and stress. Stick to these simple steps, and you’ll secure sustenance silently, successfully stretching shelf life.
So, seal swiftly, store smartly, and savor the satisfaction of saving your snacks securely for seasons to come! Vacuum sealing Mylar bags is a fantastic way to keep your food fresh longer while protecting it from moisture, air, and pests. Just follow these easy steps, and you’ll enjoy fresh, safe food storage that lasts.