5 Easy Steps to Make Waxed Cloth for Food Storage
First, wash and dry your 100% cotton fabric, then cut it into squares.
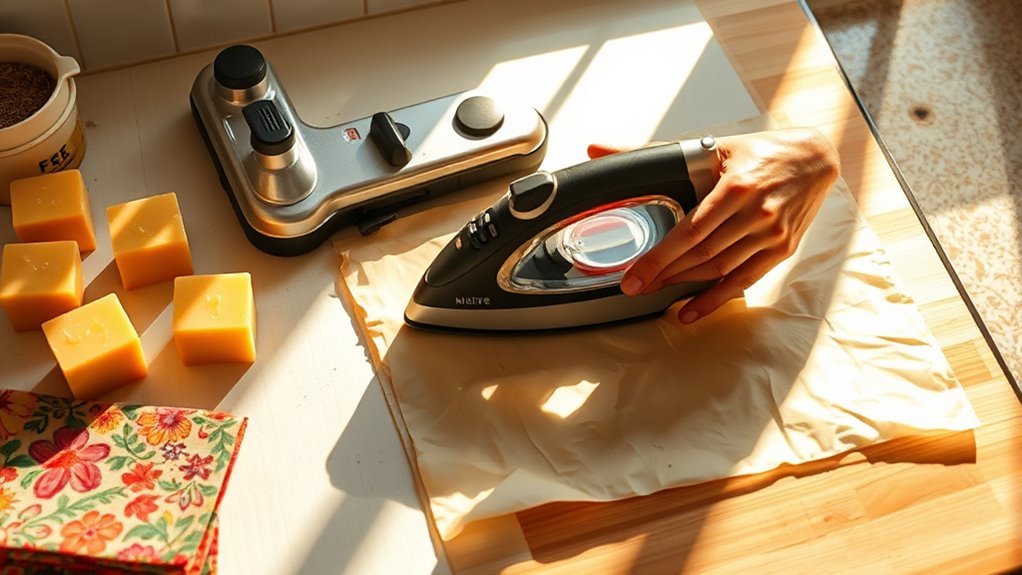
Sprinkle beeswax evenly on the fabric laid on parchment paper.
Bake at 170°F for about 7 minutes until the wax melts and coats the fabric.
Hang the wraps to cool and harden evenly.
When using, clean them with cold water and avoid hot temperatures to preserve the wax.
Keep going to uncover tips that extend the life and effectiveness of your wraps.
Key Takeaways
- Wash and dry 100% cotton fabric, then cut into desired sizes like 12″ squares.
- Evenly sprinkle about 1 oz of beeswax on each fabric piece placed on parchment paper.
- Bake fabric at 170°F for around 7 minutes until beeswax melts and covers fabric uniformly.
- Hang waxed fabric immediately to cool and harden evenly without clumping.
- Clean wraps with cold water, air dry, and re-wax as needed to maintain effectiveness.
Get Your Materials Ready and Prep the Fabric

Before you begin, make sure to wash and completely dry your 100% cotton fabric, as thinner materials work well for waxed wraps. Once dry, cut the fabric into your desired sizes—12″ × 12″ squares are a popular choice.
Wash and dry 100% cotton fabric thoroughly before cutting into 12″ squares for perfect waxed wraps.
Using pinking shears can help reduce fraying, though it’s optional. Preheat your oven to 170°F and line a baking sheet with parchment paper; this prevents beeswax from sticking during the melting process.
Have about 1 oz of food-grade beeswax per wrap ready, so you’re prepared when it’s time to apply. Finally, set up a clean workspace with a hanging area where you can let your wraps dry and harden evenly after melting.
These prep steps ensure a smooth, efficient process. You’ll be all set to make your waxed wraps without any hassle!
Apply Beeswax to Fabric for Beeswax Wraps
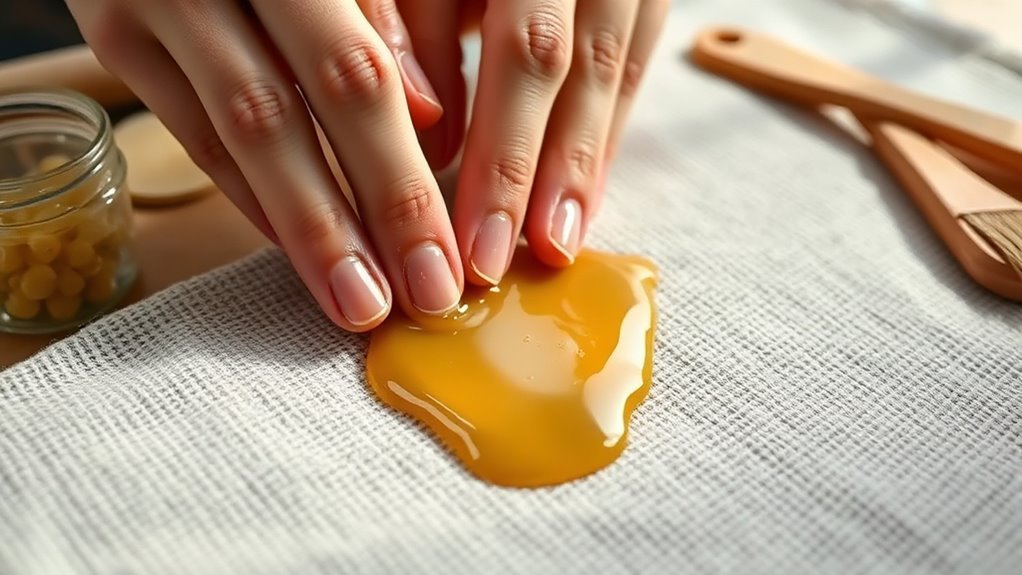
Once your fabric is ironed flat and your oven is preheated to 170°F, you’re ready to apply the beeswax. Lay your 100% cotton square on parchment paper, then sprinkle about 1 oz of beeswax evenly over the surface.
Using DIY beeswax ensures natural and safe wraps. Make sure the beeswax covers the fabric lightly but thoroughly for effective beeswax wraps. Avoid clumps by distributing the wax carefully before baking.
This even coating is essential for your wraps to work well. If you notice any missed spots after melting, just brush them on with a disposable paintbrush.
The goal is a consistent layer that will adhere and protect your food. Preparing your fabric this way sets the foundation for durable, reusable beeswax wraps.
Bake Your Wraps Carefully to Set the Wax
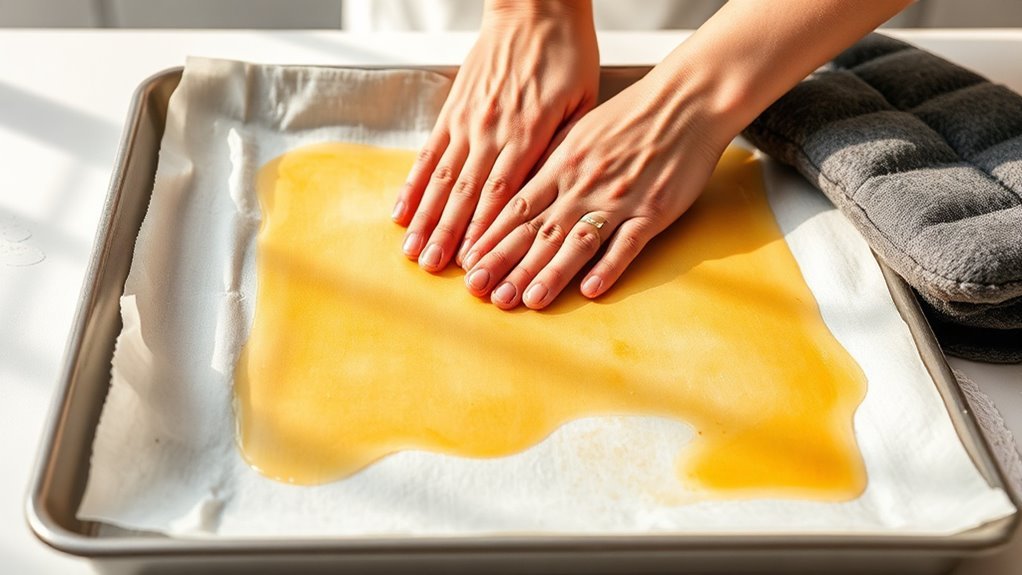
Since beeswax melts at a relatively low temperature, you’ll want to bake your wraps at 170°F to make sure the wax melts evenly without catching fire. Start by preheating your oven and lining a baking sheet with parchment paper.
Place your washed and cut cotton squares on the sheet, then sprinkle about 1 oz of beeswax per wrap evenly on top. Bake for around 7 minutes, just until the beeswax completely melts and covers the fabric uniformly.
If you notice any missed spots, take the wraps out briefly, brush melted wax over those areas, and bake again for a couple more minutes. Remove the wraps immediately to prevent wax from cooling and sticking to the baking sheet.
This careful baking ensures durable, well-coated food wraps. It’s worth taking your time here to get it just right!
Hang Wraps to Harden Wax
Carefully lift each wax-coated wrap from the baking sheet to prevent any wax from sticking, then hang them in your prepared drying area so the beeswax can harden evenly. This step is vital to guarantee your wraps maintain their shape and effectiveness, unlike flimsy plastic wrap.
To hang your wraps properly:
- Set up a drying area with a rack or string where wraps can hang freely without touching.
- Quickly transfer each wrap while the wax is still warm and workable to avoid clumping or uneven hardening.
- Allow the wraps to fully harden at room temperature, which helps the wax solidify and bond with the fabric.
Once hardened, your wraps will be ready for food storage and can last up to a year with proper use. Easy, right? Just be patient while they dry, and you’ll have reusable wraps that really work!
Clean and Care for Your Beeswax Wraps
After hanging your wraps to harden, maintaining their quality through proper cleaning and care will keep them effective for months. Always wash your beeswax wraps with cold soapy water after use, then let them air-dry fully.
Avoid hot water, as it can soften the wax layer and reduce effectiveness. Use your wraps to cover a plate or wrap cold foods, but never microwave or expose them to high heat, since beeswax melts around 147°F.
If you notice light spots or thinning wax, simply re-wax by baking your wrap briefly at about 170°F to refresh the coating. With gentle cleaning and proper care, your cotton beeswax wraps can last up to a year, making them a sustainable, reusable alternative for storing food.
Frequently Asked Questions
How Do You Make Wax Cloth?
You make wax cloth by melting beeswax onto clean, dry cotton fabric. Spread the wax evenly, let it cool and harden, then use it to wrap food.
It’s reusable and washable with cold water and soap. Pretty handy, right? Just make sure not to wash it with hot water or put it in the dryer, or the wax might melt away.
Can Bacteria Grow in Beeswax?
Just like hidden shadows in a sunny room, bacteria can grow on beeswax if you’re not careful. You shouldn’t trust it to kill germs.
Always clean your wraps gently and keep them dry to stay safe. That way, you can avoid any unwanted visitors on your beeswax wraps!
How Do I Store My Beeswax Wraps?
You should store your beeswax wraps flat or rolled, keeping them away from heat to prevent softening.
Make sure they’re completely dry after washing with cold water, and avoid microwaving to maintain their quality.
What Are the Downsides of Using Beeswax Food Wraps?
You’ll love how your beeswax wrap melts away on hot food or in the microwave—oh wait, that’s a downside!
Plus, they need gentle washing, can wear out, and sometimes need rewaxing.
Not exactly hassle-free!
Conclusion
Now that you’ve crafted your beeswax wraps, you hold the key to a greener kitchen treasure chest. Like a gentle hug, these wraps keep your food fresh while cutting down on waste.
With simple care, they’ll last through countless meals, making your storage routine eco-friendly and stylish. Embrace this easy swap, and watch your homemade wraps transform everyday food storage into a mindful, sustainable habit.
Using waxed cloth for food storage is a fantastic way to reduce plastic use and keep your kitchen eco-friendly. These wraps are reusable, washable, and perfect for storing anything from sandwiches to fruits. By choosing this natural alternative, you’re making a positive impact on the environment while keeping your food fresh and protected. So, give your kitchen a green upgrade with beeswax wraps and enjoy the benefits of sustainable food storage every day!